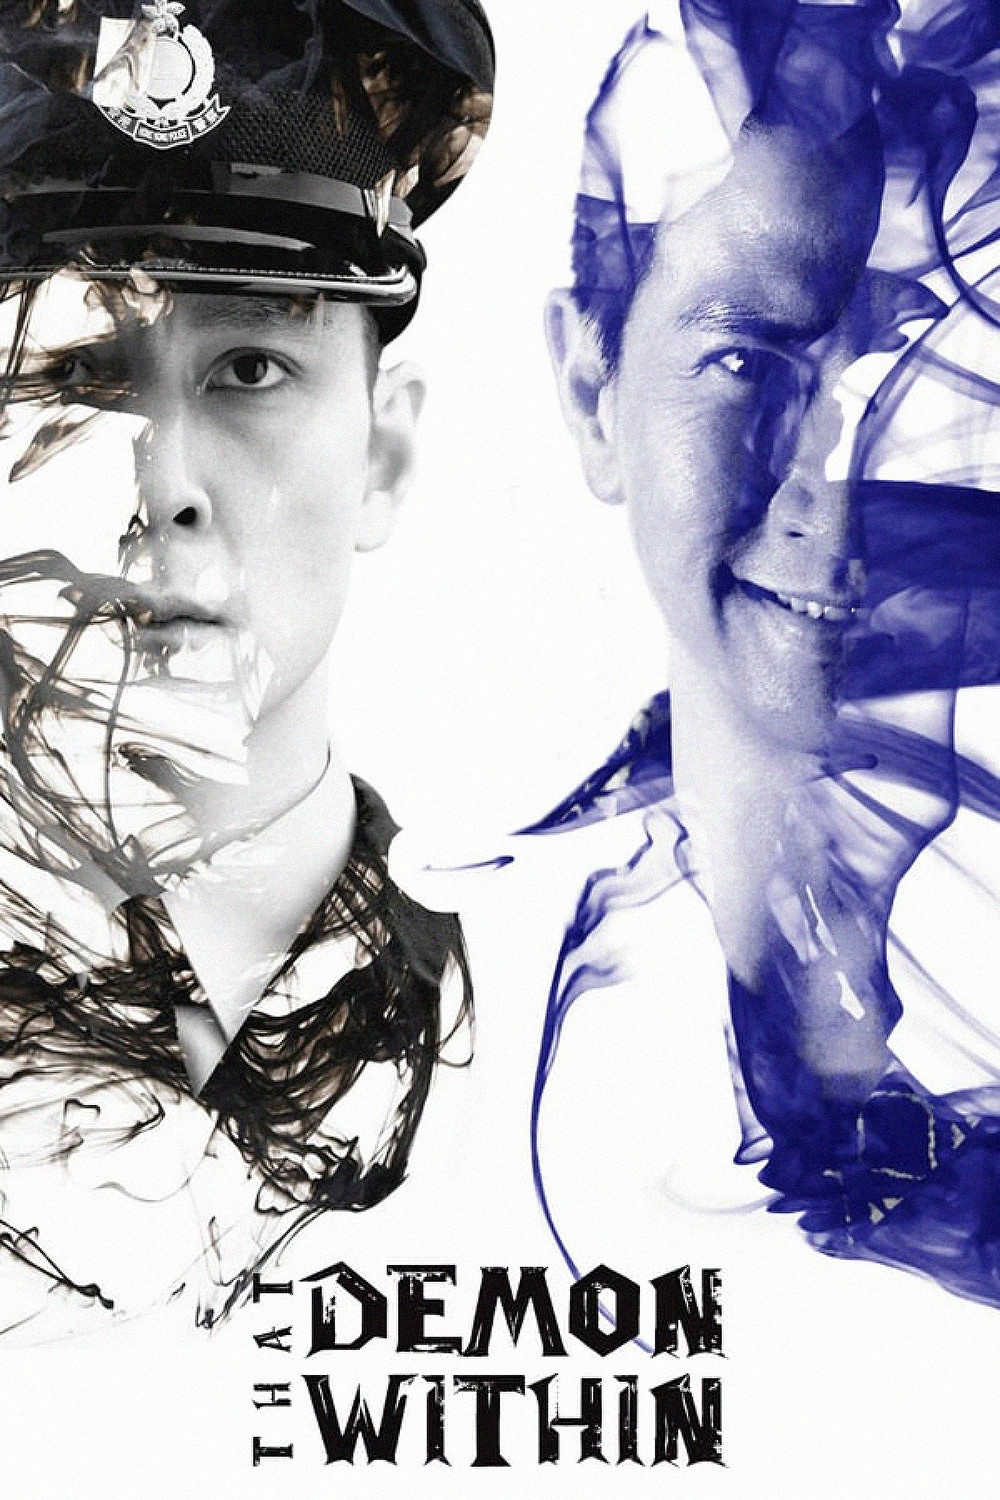
Story Structure — 5 Plot Phases
The Robbery and the Rescue
Criminals pray before a robbery and discover diamonds among the stolen goods. Dave joins a raid, then gives blood to the injured Hon without knowing his criminal history.
Key Events
-
Criminals Pray Before Robbery — A group of criminals pray for luck and protection before carrying out a robbery.
Location: Unspecified
-
Diamonds Found in Stolen Goods — During the robbery, the criminals discover diamonds among the stolen goods.
Location: Robbery site
-
Raid on Armed Suspect — Fearful Dave joins a police raid on an armed suspect, where Hon Kong is badly injured. Characters: Dave Wong, Hon Kong / Riot police officer
Location: Raid site
-
Dave Gives Hon Blood — Dave gives blood to save the badly injured Hon, unaware that he is a notorious robber. Characters: Dave Wong, Hon Kong / Riot police officer
Location: Hospital
Diamonds Divide the Gang
Hon escapes from the hospital while police try to find him. The diamonds trigger a violent dispute, and Broker negotiates over shares and weapons as distrust grows.
Key Events
-
Hon Escapes Hospital — Hon escapes from the hospital as police attempt to track him down. Characters: Hon Kong / Riot police officer, Dave Wong
Location: Hospital
-
Gang Disputes Diamond Shares — The diamonds prompt a violent dispute among the criminals; Broker negotiates shares and weapons. Characters: Broker, Ben Chan
Location: Unspecified
-
Dave Seeks Psychological Help — Dave discusses work-related strain and the blood donation that saved Hon. Characters: Dave Wong, Liz Kwok
Location: Counseling session
Dave Confronts His Fears
Dave seeks help for the psychological strain of his work and revisits his decision to save Hon. He discloses his fear of fire and recalls his volatile father, whose possible schizophrenia raises concerns about Dave's own mental health.
Key Events
-
Dave Reveals Fear of Fire — Dave reveals that fire terrifies him and describes a traumatic episode involving punishment. Characters: Dave Wong, Liz Kwok
Location: Counseling session
-
Father's Possible Illness Emerges — Dave recalls his strict, volatile father and learns that his father may have had schizophrenia. Characters: Dave Wong, Dave's Father
Location: Unspecified
-
Attack Disrupts Workplace Arrest — Police locate Effigy's workplace, but an attack disrupts the arrest and lets criminals flee. Characters: Dave Wong
Location: Effigy's workplace
The Investigation Unravels
Police pursue the gang, but an attack interrupts an attempted arrest at Effigy's workplace and allows criminals to flee. Hon's actions and the group's distrust keep the conflict escalating.
Key Events
-
Hon's Actions Deepen Gang Distrust — Hon's actions and distrust within the group intensify the gang's internal conflict. Characters: Hon Kong / Riot police officer, Ben Chan
Location: Unspecified
-
Diamond Exchange Message — A message proposes trading Hon for the diamonds, adding a new complication to the investigation. Characters: Dave Wong, Hon Kong / Riot police officer
Location: Unspecified
A Partnership Without an Outcome
A message proposes exchanging Hon for the diamonds, and Dave follows information about a vehicle through Ben Chan. After a caretaker recalls Dave's childhood, Dave asks Hon to help bring down the gang; the available account ends before the outcome is revealed.
Key Events
-
Dave Questions Ben Chan — Dave seeks information from Ben Chan about a vehicle connected to the deal. Characters: Dave Wong, Ben Chan
Location: Unspecified
-
Caretaker Recalls Dave's Childhood — A former school caretaker recalls Dave's troubled childhood and his change after his father's death. Characters: Dave Wong, Dave (childhood)
Location: Old school
-
Dave Asks Hon for Help — After learning a car owner is connected to the police, Dave asks Hon to help bring down the gang. Characters: Dave Wong, Hon Kong / Riot police officer
Location: Unspecified