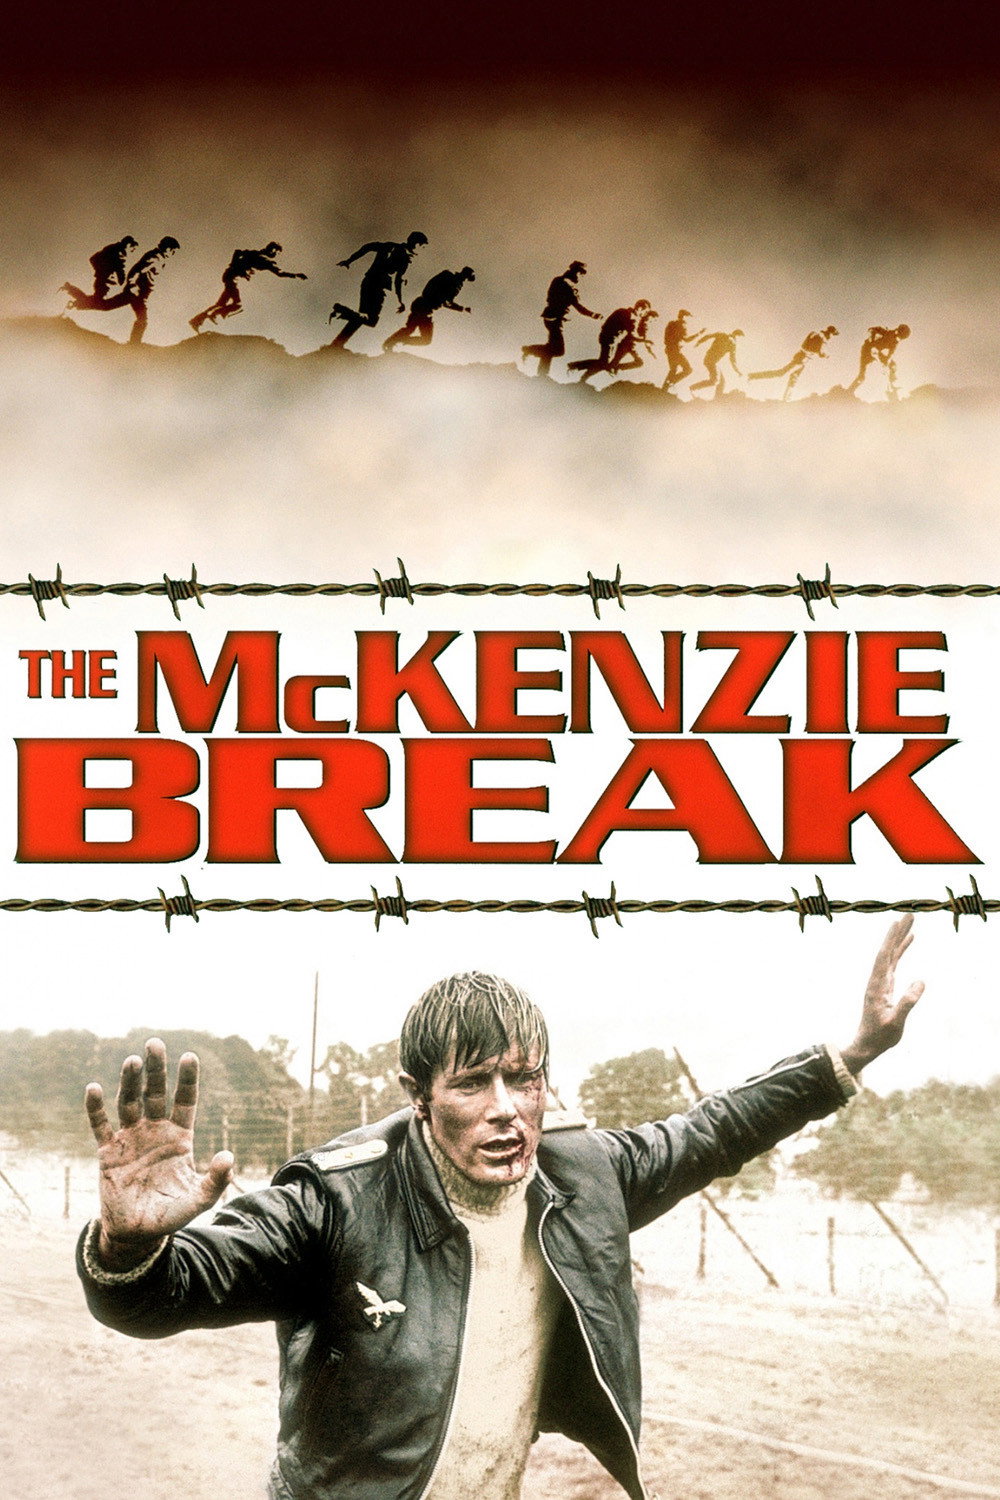
Story Structure — 5 Plot Phases
Authority Under Siege
A reprisal order and a roll-call refusal expose the weakness of Perry's rigid camp administration. The prisoners' ambush transforms disciplinary tension into an open security crisis.
Key Events
-
McKenzie POW Camp — The British-run POW camp is introduced as the setting of mounting German prisoner tensions. Characters: Major Perry
Location: North Scotland
-
Reprisal Shackling Order — Perry receives orders to handcuff German officers in reprisal for shackled British officers. Characters: Major Perry
Location: McKenzie POW Camp
-
Roll Call Refusal — German prisoners refuse to appear for roll call, challenging Perry's authority. Characters: Major Perry
Location: Prisoner Barracks
-
Barracks Ambush — Prisoners ambush British guards when they attempt to force them from the barracks. Characters: Major Perry
Location: Prisoner Barracks
-
Connor Receives Protection — Kerr bails Connor out of punishment for off-duty indiscretions. Characters: Captain Jack Connor, General Kerr
Location: British Military Office
-
Connor Sent North — Kerr sends Connor to investigate the escalating tensions at Camp McKenzie. Characters: Captain Jack Connor, General Kerr
Location: British Military Office
A Divided Prison Camp
Connor arrives under Kerr's authority and takes operational control. Factional divisions, a tunnel, violence, and a disguised escape make the camp increasingly unstable.
Key Events
-
Connor Sent North — Kerr sends Connor to investigate the escalating tensions at Camp McKenzie. Characters: Captain Jack Connor, General Kerr
Location: British Military Office
-
Command Changes Hands — Connor arrives and effectively assumes operational control from Perry. Characters: Captain Jack Connor, Major Perry
Location: McKenzie POW Camp
-
Prisoner Factionalism — A divide emerges between German submariners and Luftwaffe prisoners.
Location: McKenzie POW Camp
-
Tunnel Nears Completion — A prisoner escape tunnel is discovered to be nearing completion.
Location: Prisoner Barracks
-
Prisoner Beating — A Luftwaffe prisoner is savagely beaten during a confrontation between prisoners and guards.
Location: McKenzie POW Camp
-
Disguised Escape — Two German prisoners dressed as British soldiers escape during the resulting chaos. Characters: Major Perry
Location: McKenzie POW Camp
-
Hospitalized Prisoner — The injured prisoner is hospitalized and repeatedly says, "twenty-eight submariners."
Location: Camp Hospital
-
Hospital Diversion — A staged fight distracts the guards before the hospitalized prisoner can be questioned.
Location: Camp Hospital
The Calculated Escape
Connor breaks the coded correspondence and learns the basic escape plan. Rather than stop it immediately, he intends to channel the escapees toward prepared patrols.
Key Events
-
Hospital Diversion — A staged fight distracts the guards before the hospitalized prisoner can be questioned.
Location: Camp Hospital
-
Code Is Broken — Connor has a cryptographer break the code used in prisoner letters to Germany. Characters: Captain Jack Connor
Location: British Intelligence Office
-
Escape Trap Planned — Connor learns the escape plan and decides to let the prisoners escape into prepared patrol routes. Characters: Captain Jack Connor
Location: British Intelligence Office
-
Barracks Cave-In — Heavy rain triggers a cave-in over a barrack full of Luftwaffe prisoners, diverting attention from the escape. Characters: Captain Jack Connor, Major Perry
Location: Prisoner Barracks
-
Lorry Reaches Coast — A small group of escaping submariners drives a lorry toward a pre-arranged coastal rendezvous. Characters: Captain Jack Connor
Location: Coastal Road
Fire Along The Coast
The escapees exploit a barracks cave-in and drive toward the coast while British forces widen the search. A burning lorry finally exposes the rendezvous.
Key Events
-
Lorry Reaches Coast — A small group of escaping submariners drives a lorry toward a pre-arranged coastal rendezvous. Characters: Captain Jack Connor
Location: Coastal Road
-
Search Net Expands — After the escapees evade patrols, local police and the Royal Navy join the search. Characters: Captain Jack Connor
Location: North Scottish Coast
-
Burning Lorry Revealed — The lorry crashes into a hole, igniting gasoline and attracting Connor's aircraft. Characters: Captain Jack Connor
Location: Coastal Rendezvous
-
Aircraft Signals MTB — Connor's aircraft spots the fire and alerts a motor torpedo boat. Characters: Captain Jack Connor
Location: Coastal Airspace
The Abandoned Raft
Connor's aircraft summons a motor torpedo boat as the escapees reach the submarine. The submarine crash dives, leaving the final raft behind and placing Connor's unconventional strategy under scrutiny.
Key Events
-
Aircraft Signals MTB — Connor's aircraft spots the fire and alerts a motor torpedo boat. Characters: Captain Jack Connor
Location: Coastal Airspace
-
Submarine Crash Dive — The submarine crash dives as the motor torpedo boat arrives, abandoning the last raft. Characters: Captain Jack Connor
Location: Coastal Waters
-
Mutual Predicament — Connor observes that both he and the escaping commander are now in serious trouble. Characters: Captain Jack Connor
Location: Coastal Airspace
A German U-Boat commander plans a daring escape from a PoW camp in Scotland.