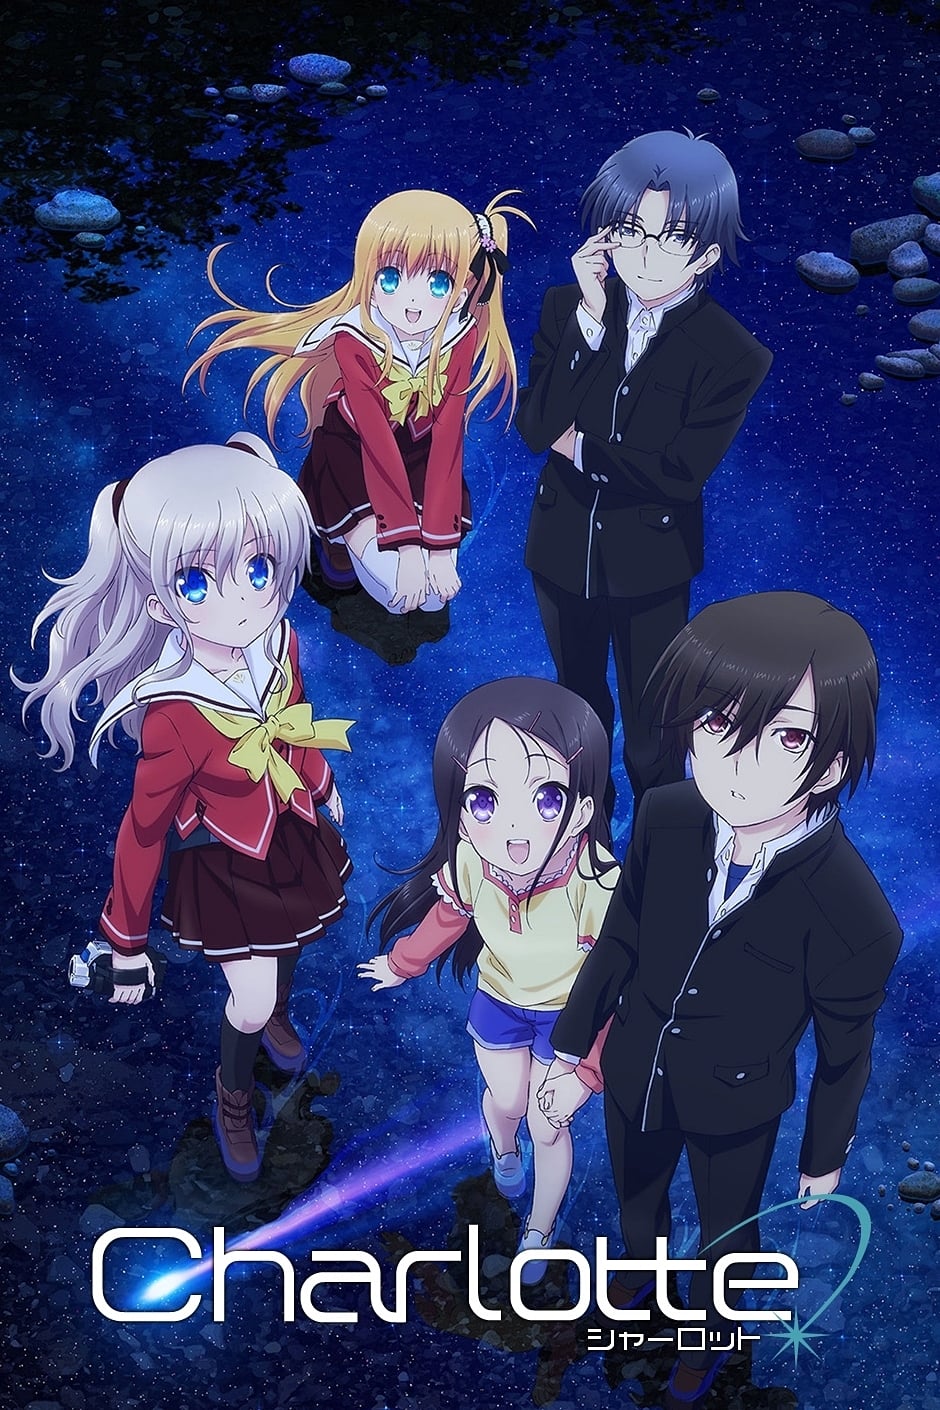
Plot Analysis Summary
Architectural breakdown of the single-season arc focusing on ability hunts, personal tragedy, and systemic revelation.
Story Structure — 4 Plot Phases
Season 1: Council Hunts & Bonds
Yu joins the student council to hunt ability users, forming initial alliances with Tomori while uncovering their hidden pasts and motivations.
Key Events
-
Yu's Body-Swap Introduction — Yu utilizes his five-second body-swapping ability to maintain his honor student status. Characters: Yu Otosaka
Location: Hoshinoumi Academy
-
Meeting Nao Tomori — Yu's stable life is interrupted by the appearance of Nao Tomori. Characters: Yu Otosaka, Nao Tomori
Location: Hoshinoumi Academy
-
Student Council Hunting Begins — Yu reluctantly joins the student council to secure individuals with special abilities. Characters: Yu Otosaka, Nao Tomori
Location: Various Locations
-
Tomori's Past Revealed — Tomori's determination to fulfill duties is linked to a cruel destiny awaiting ability wielders. Characters: Nao Tomori
Location: Student Council Office
-
Idol Hunt — Council searches for an idol possessing soul possession and pyrokinesis. Characters: Yu Otosaka, Nao Tomori
Location: Urban Area
Season 1: Tragedy & Isolation
Ayumi's illness and subsequent death shatter Yu's emotional stability, forcing him into isolation while Tomori and the council attempt to reach him.
Key Events
-
Idol Hunt — Council searches for an idol possessing soul possession and pyrokinesis. Characters: Yu Otosaka, Nao Tomori
Location: Urban Area
-
Baseball Pitcher Confrontation — Council challenges a telekinetic pitcher to a game to stop his diabolical throws. Characters: Yu Otosaka, Nao Tomori
Location: Baseball Field
-
Mountain Stakeout — Council members stake out while Yu discovers ZHIEND's music through Tomori's player. Characters: Yu Otosaka, Nao Tomori
Location: Mountains
-
Ayumi's Nightmare — Ayumi shares a nightmare that Tomori uses as a clue to deduce her ability. Characters: Ayumi Otosaka, Nao Tomori
Location: Condo
-
Ayumi's Death — Ayumi passes away, causing Yu to isolate himself and cut off all communication. Characters: Ayumi Otosaka, Yu Otosaka
Location: Yu's Home
Season 1: Revelation & Sacrifice
Yu gradually returns to normalcy, attends a pivotal concert, and learns of Shunsuke's time-leap sacrifice, prompting a desperate rescue mission.
Key Events
-
Ayumi's Death — Ayumi passes away, causing Yu to isolate himself and cut off all communication. Characters: Ayumi Otosaka, Yu Otosaka
Location: Yu's Home
-
Yu's Isolation — Yu leads a dissolute life, denying council members' attempts to check on him. Characters: Yu Otosaka
Location: Yu's Home
-
Return to School — Yu accepts Ayumi's death and returns to school, finding comfort in unchanged routines. Characters: Yu Otosaka, Nao Tomori
Location: Hoshinoumi Academy
-
ZHIEND Gig & Blind Woman — Yu attends a live gig with Tomori and encounters a foreign-looking woman with a white cane. Characters: Yu Otosaka, Nao Tomori
Location: Concert Venue
-
Gig Emotional Peak — During the second gig, Yu experiences a profound internal emotional shift. Characters: Yu Otosaka, Nao Tomori
Location: Concert Venue
-
Shunsuke's Time-Leap Sacrifice — Shunsuke reveals his time-leap ability and lost eyesight, prompting Yu to take his place. Characters: Shunsuke Otosaka, Yu Otosaka
Location: Unknown
Season 1: Truth & Final Decision
The origin of abilities is revealed in a laboratory, leading Yu to make the ultimate choice to plunder all powers, accepting a heavy personal price.
Key Events
-
Shunsuke's Time-Leap Sacrifice — Shunsuke reveals his time-leap ability and lost eyesight, prompting Yu to take his place. Characters: Shunsuke Otosaka, Yu Otosaka
Location: Unknown
-
Ayumi Rescue Mission — Yu successfully travels back in time to rescue Ayumi from her fatal fate. Characters: Yu Otosaka, Ayumi Otosaka
Location: Time Stream
-
Laboratory Revelation — Kumagami and Medoki reveal the true origin behind the outbreaks of special abilities. Characters: Yu Otosaka, Kumagami, Medoki
Location: Laboratory Facilities
-
Hospital Recovery — Council friends and Ayumi visit Yu, who is hospitalized from injuries sustained during the rescue. Characters: Yu Otosaka, Nao Tomori
Location: Hospital
-
Tomori's Hospital Visit — Tomori visits Yu, leading to a pivotal conversation that shapes his final decision. Characters: Yu Otosaka, Nao Tomori
Location: Hospital Room
-
The Plunder Decision — Yu decides to plunder every ability wielder on Earth to provide salvation for all. Characters: Yu Otosaka
Location: Hospital Room
-
Sacrificial Resolution — Yu pays a huge personal price to execute the plunder, ending the season on a note of tragic salvation. Characters: Yu Otosaka
Location: Global