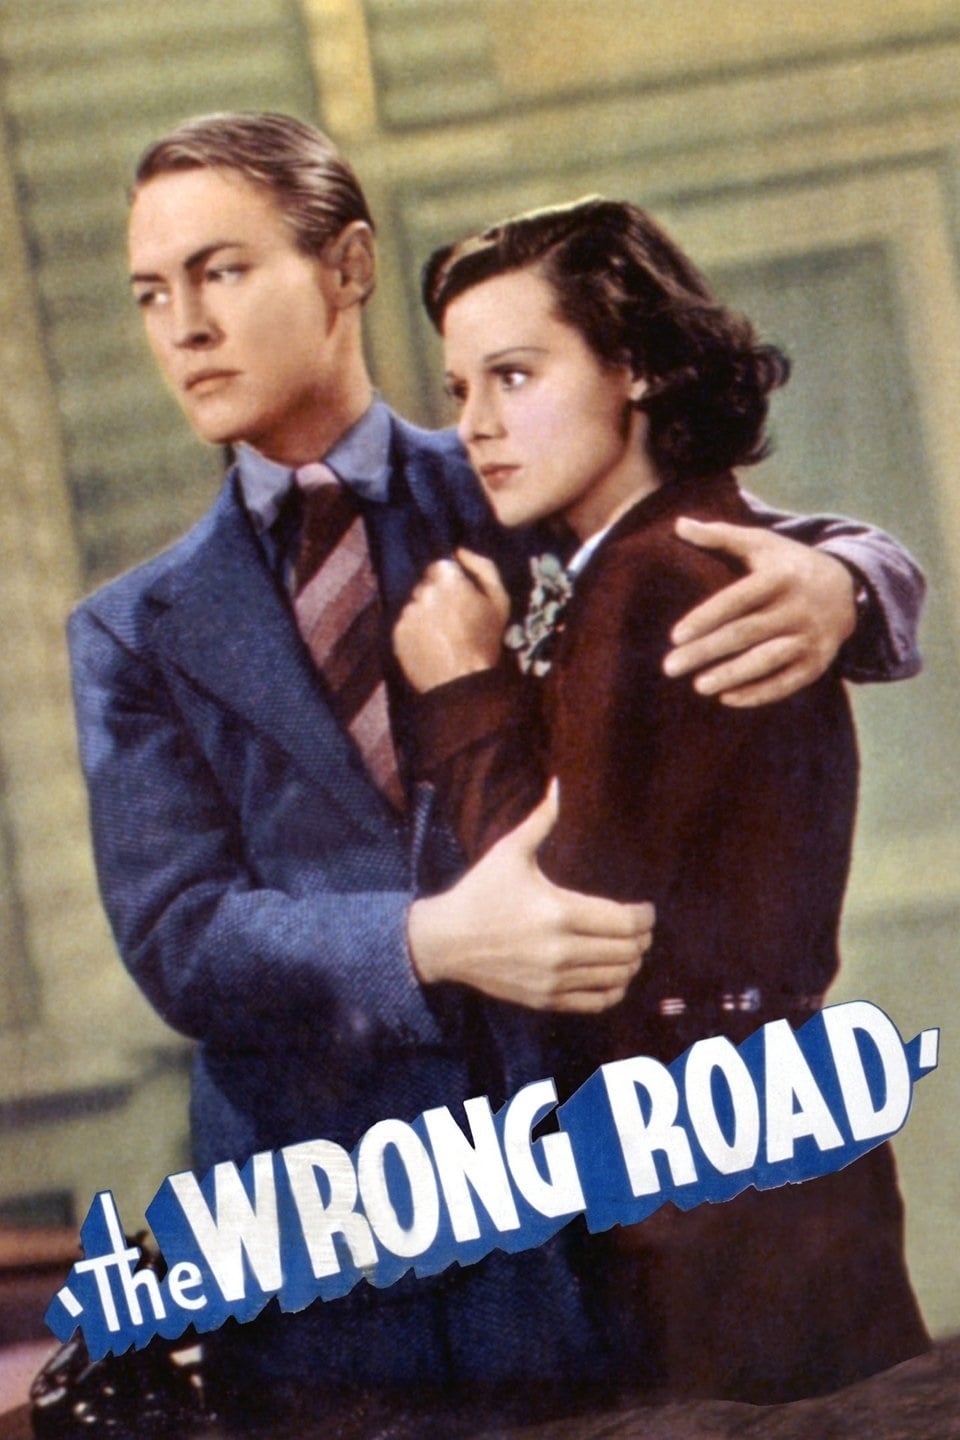
Story Structure — 5 Plot Phases
The Heist Blueprint
Cromwell and Mack, facing financial hardship, plan and execute a $100,000 bank robbery. They successfully conceal the funds and prepare for imprisonment.
Key Events
-
The Heist Blueprint — Cromwell and Mack devise a plan to rob his workplace.
Location: Bank Premises
-
Execution of the Robbery — The couple successfully steals the money and secures it.
Location: Bank Vault
Prison and Release
The couple serves their sentences as planned. Upon release, they immediately attempt to retrieve their hidden fortune, unaware of external threats.
Key Events
-
Execution of the Robbery — The couple successfully steals the money and secures it.
Location: Bank Vault
-
Concealing the Loot — They hide the funds in a secure spot before arrest.
Location: Safe Location
-
Serving Sentences — Both serve their prison terms as originally planned.
Location: Prison
Dual Pursuit
Insurance investigator Atwill and the old cellmate begin tracking the couple. Conflicting motives create a tense atmosphere as the pair navigates the city.
Key Events
-
Release and Retrieval — The couple is freed and immediately seeks the hidden money.
Location: Prison Gates
-
Investigator Appears — Insurance investigator Atwill begins tailing the couple.
Location: City Streets
-
Atwill's Warning — Atwill expresses his desire for them to abandon crime.
Location: Public Square
-
Cellmate's Demand — The old cellmate surfaces and demands a share of the money.
Location: Alleyway
Confrontation at the Hideout
The cellmate discovers the money and demands a cut. Atwill intervenes, urging reform. The couple faces a critical moral crossroads.
Key Events
-
Cellmate's Demand — The old cellmate surfaces and demands a share of the money.
Location: Alleyway
-
Dual Pursuit — The couple is simultaneously tracked by both pursuers.
Location: Urban District
-
Hideout Discovery — The cellmate locates the concealed funds.
Location: Safe Location
-
Standoff at Vault — A tense confrontation erupts over the recovered money.
Location: Safe Location
-
Atwill's Intervention — Atwill arrives to mediate and urge a peaceful resolution.
Location: Hideout Exterior
Choosing a New Path
Authorities resolve the standoff. Inspired by Atwill, the couple abandons the stolen money and commits to a lawful future, breaking the cycle of crime.
Key Events
-
Atwill's Intervention — Atwill arrives to mediate and urge a peaceful resolution.
Location: Hideout Exterior
-
Moral Dilemma — The couple weighs Atwill's advice against the cellmate's coercion.
Location: Hideout
-
Final Confrontation — All parties converge for a decisive clash over the money.
Location: City Streets
-
Authority Intervention — Law enforcement resolves the conflict between the pursuers.
Location: Police Station
-
Choosing a New Path — The couple abandons the stolen money and leaves crime behind.
Location: City Horizon
-
Atwill's Satisfaction — The investigator watches them depart, pleased with their reform.
Location: City Street
-
Cycle Broken — The couple successfully escapes the cycle of crime and prison.
Location: Open Road
-
Financial Aftermath — The money is left behind as the couple prioritizes freedom.
Location: Hideout
-
Reform Confirmed — The couple's lawful future is secured, validating Atwill's efforts.
Location: Downtown