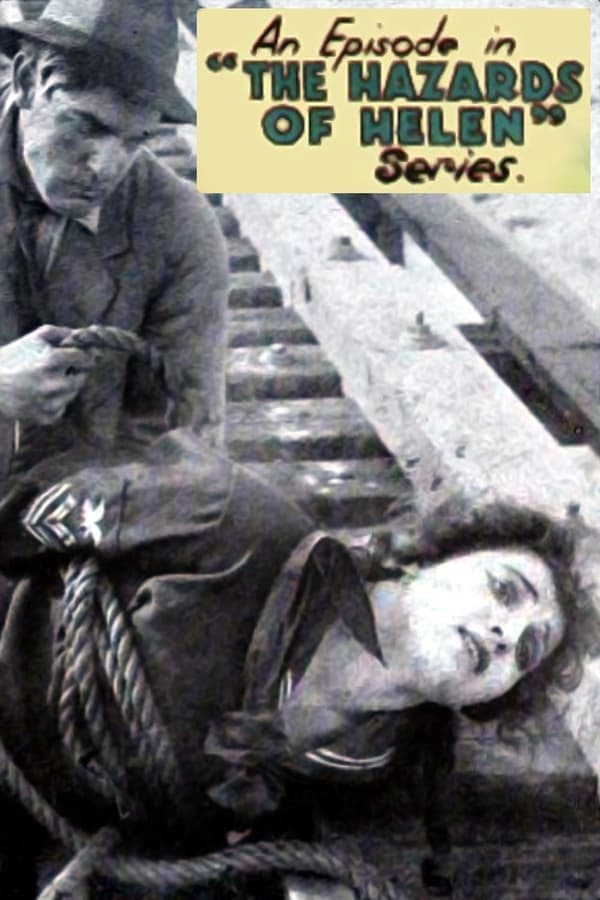
Story Structure — 5 Plot Phases
The Safe and the Gems
Deering and his gang rifle the station safe and obtain valuable gems. Helen seizes the package, creating the central struggle over its possession.
Key Events
-
Station Safe — Deering's gang targets the station safe. Characters: Deering - Head of the Wharf Rat Gang
Location: Railroad station
-
Safe Is Rifled — Deering and his gang rifle the station safe. Characters: Deering - Head of the Wharf Rat Gang
Location: Railroad station
-
Valuable Gems — The gang gains possession of valuable gems. Characters: Deering - Head of the Wharf Rat Gang
Location: Railroad station
-
Helen Seizes Package — Helen seizes the package from Deering's gang. Characters: Helen, Deering - Head of the Wharf Rat Gang
Location: Railroad station
The River Gamble
Helen throws the package into the river to keep it from Deering's gang. The lost package immediately becomes the focus of a dangerous recovery effort.
Key Events
-
Helen Seizes Package — Helen seizes the package from Deering's gang. Characters: Helen, Deering - Head of the Wharf Rat Gang
Location: Railroad station
-
Package Thrown Away — Helen throws the package into the river. Characters: Helen
Location: Riverbank
-
River Current — The package enters the river and becomes difficult to recover. Characters: Helen
Location: River
-
Recovery Effort Begins — Railroad men form a human chain to recover the package. Characters: Helen, Morton - the Baggageman
Location: Railroad beside the river
The Human Chain
Railroad men form a human chain while Helen climbs down toward the floating package. She tries to catch it with her feet as the recovery attempt reaches its most precarious point.
Key Events
-
Human Chain Forms — The railroad men extend themselves toward the river. Characters: Helen, Morton - the Baggageman
Location: Riverbank
-
Helen Climbs Down — Helen climbs down the human chain toward the package. Characters: Helen, Morton - the Baggageman
Location: Riverbank
-
Foot-Reach Attempt — Helen attempts to catch the package with her feet. Characters: Helen, Morton - the Baggageman
Location: Above the river
-
Gang Boards Launch — Deering and his men board a launch. Characters: Deering - Head of the Wharf Rat Gang
Location: River
The Launch Seizure
Deering and his men board a launch and approach the recovery effort. They succeed in grabbing both Helen and the package.
Key Events
-
Gang Boards Launch — Deering and his men board a launch. Characters: Deering - Head of the Wharf Rat Gang
Location: River
-
Launch Approaches — Deering's launch moves toward Helen and the package. Characters: Helen, Deering - Head of the Wharf Rat Gang
Location: River
-
Helen Is Grabbed — Deering and his men succeed in grabbing Helen. Characters: Helen, Deering - Head of the Wharf Rat Gang
Location: River
-
Package Recovered — The gang recovers both Helen and the package. Characters: Helen, Deering - Head of the Wharf Rat Gang
Location: Launch on the river
-
Freight Train — Morton takes control of a freight train. Characters: Morton - the Baggageman
Location: Railroad line
The Freight Train Rescue
Morton takes over a freight train and pursues the crooks. He captures them and rescues Helen and the gems.
Key Events
-
Freight Train — Morton takes control of a freight train. Characters: Morton - the Baggageman
Location: Railroad line
-
Morton Pursues Gang — Morton uses the freight train to pursue the crooks. Characters: Morton - the Baggageman, Deering - Head of the Wharf Rat Gang
Location: Railroad line and river route
-
Train Reaches Crooks — Morton catches up with Deering's group. Characters: Morton - the Baggageman, Deering - Head of the Wharf Rat Gang
Location: Railroad line
-
Crooks Captured — Morton captures the crooks. Characters: Morton - the Baggageman, Deering - Head of the Wharf Rat Gang
Location: Railroad line
-
Helen Rescued — Morton rescues Helen from Deering's group. Characters: Helen, Morton - the Baggageman, Deering - Head of the Wharf Rat Gang
Location: Near the river and railroad
-
Gems Recovered — Helen and the gems are recovered after the capture. Characters: Helen, Morton - the Baggageman, Deering - Head of the Wharf Rat Gang
Location: Near the railroad