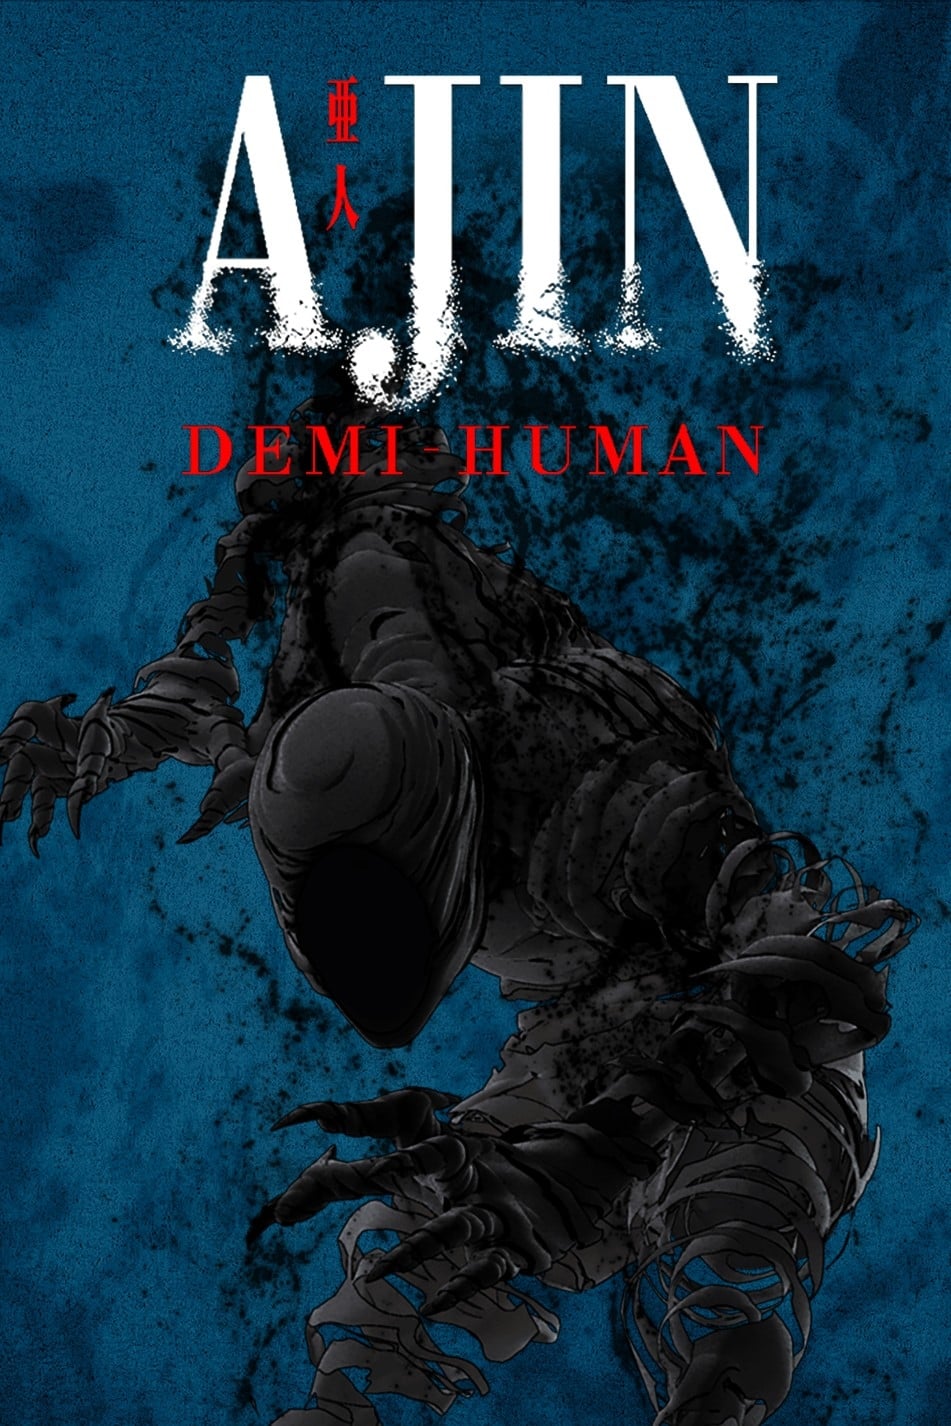
Plot Analysis Summary
The narrative follows Kei's transformation from a fugitive seeking personal safety into a central opponent of Satō's escalating war, while government control, Ajin resistance, and shifting alliances reshape the conflict.
Story Structure — 6 Plot Phases
Season 1: Awakening and Flight
Kei discovers that he is an Ajin after surviving a fatal accident. Kaito helps him escape, while government forces and Satō begin competing attempts to control his fate.
Key Events
-
Kei Discovers Immortality — Kei is hit by a truck, dies, and rapidly recovers, revealing that he is an Ajin. Characters: Kei Nagai
Location: Japanese street
-
Kaito Begins the Escape — Kaito takes Kei into the hills and helps him evade immediate capture. Characters: Kei Nagai, Kaito
Location: Mountain roads
-
The First Black Ghost — After Kei is killed by an attacker, his Black Ghost appears and immobilizes those nearby. Characters: Kei Nagai, Kaito
Location: Roadside
-
Izumi Reveals Her Ability — Izumi is revealed to be an Ajin and uses her Black Ghost against another Black Ghost. Characters: Izumi Shimomura
Location: Urban pursuit area
-
Kei Is Captured — Kei is taken into government custody after Satō's plan makes him vulnerable to experimentation. Characters: Kei Nagai, Tosaki, Satō
Location: Government facility
Season 1: Refusal and Radicalization
Kei experiences experimentation and rejects Satō's violent campaign. Satō instead exposes the government's treatment of Ajin and recruits followers for a wider attack.
Key Events
-
Facility Assault — Satō attacks the facility while Kei is subjected to painful experiments. Characters: Kei Nagai, Satō, Tosaki
Location: Research facility
-
Kei Rejects Satō — Kei objects when Satō kills helpless surgeons and refuses to become part of his massacre. Characters: Kei Nagai, Satō
Location: Research facility
-
Tosaki Faces Oversight — Institutional pressure increases after Tosaki loses control of the situation and the Ajin sample escapes. Characters: Tosaki, Sokabe
Location: Ajin Control Commission
-
Satō Exposes Experiments — Satō publicizes government experiments on Ajin and announces a meeting intended to attract other Ajin. Characters: Satō
Location: Research complex
-
The Ajin Meeting — Satō offers attending Ajin the chance to join his massacre and holds those who refuse. Characters: Satō
Location: Private meeting site
Season 1: The Pharmaceutical Strike
Kei attempts to live quietly while Satō launches an attack on Grant Pharmaceuticals. The building collapse and destruction of the police assault team establish Satō as a national-level threat.
Key Events
-
Kei Chooses Isolation — Kei hides in a village and adopts a peaceful routine instead of immediately confronting Satō. Characters: Kei Nagai
Location: Rural village
-
Ko Finds Kei — A young Ajin finds Kei and proposes joining forces against Satō, but Kei restrains him because he wants to preserve his quiet life. Characters: Kei Nagai
Location: Forest and village
-
IBM Limits Explained — Research explains that Black Ghosts are unstable, short-lived, difficult to control, and may act against their host's commands. Characters: Kei Nagai
Location: Rural hideout
-
Grant Pharmaceuticals Targeted — Satō's group begins its attack while Tosaki coordinates the defense of the pharmaceutical company. Characters: Satō, Tosaki
Location: Grant Pharmaceuticals
-
The Building Collapse — Satō collapses a nearby fifty-story building onto Grant Pharmaceuticals. Characters: Satō, Tosaki
Location: Grant Pharmaceuticals
-
Assault Team Destroyed — Satō repeatedly revives, uses his Black Ghost, and kills the Metropolitan Police Assault Team. Characters: Satō
Location: Grant Pharmaceuticals
Season 2: Reluctant Coalition
Satō announces a second wave of assassinations, while Kei seeks Tosaki as an ally. The group studies IBM behavior and prepares a coordinated response.
Key Events
-
Kei Escapes Again — Kei uses his Black Ghost to delay police, releases his captive companion, and is eventually intercepted by Tosaki. Characters: Kei Nagai, Tosaki
Location: Forest outskirts
-
Tosaki Must Resign — Sokabe informs Tosaki that he must resign because Satō remains unchecked and Kei and his ally escaped. Characters: Tosaki, Sokabe
Location: Ajin Control Commission
-
The Second Wave Announced — Satō announces plans to assassinate fifteen people and demands that the government admit to experiments on Ajin. Characters: Satō
Location: Public broadcast
-
Kei Seeks Tosaki — Kei decides that defeating Satō requires a powerful ally and goes to find Tosaki. Characters: Kei Nagai, Tosaki
Location: Hospital
-
IBM Testing Resumes — Kei's IBM is tested, confirming that it can act on its own impulses and may behave differently from other IBMs. Characters: Kei Nagai, Izumi Shimomura
Location: Research site
-
Assassination Campaign — Satō's targets are killed one after another while his opponents prepare a counteroperation. Characters: Satō
Location: Multiple urban sites
Season 2: Failed Containment
Satō's assassination campaign continues and multiple traps fail. Izumi is wounded, Tosaki is tortured, and Satō's forces overcome specialized anti-Ajin defenses.
Key Events
-
Assassination Campaign — Satō's targets are killed one after another while his opponents prepare a counteroperation. Characters: Satō
Location: Multiple urban sites
-
Izumi Is Betrayed — Izumi is badly wounded during the trap, while Almeida tortures Tosaki for information about the missing researcher. Characters: Izumi Shimomura, Tosaki, Almeida
Location: Parking structure
-
The Trap Collapses — Kei sends his IBM to intercept the fleeing group, and Izumi shoots Almeida with a tranquilizer dart during the pursuit. Characters: Kei Nagai, Izumi Shimomura, Almeida
Location: Urban pursuit route
-
Anti-Ajin Weapons Fail — Satō's group enters the building, but specialized weapons are neutralized and the defenders must rely on conventional tactics. Characters: Satō, Tosaki
Location: Musashi Heavy Industries
-
Kei Confronts Satō's Plan — Kei's group reaches the meeting room before Satō and places the intended target under protection. Characters: Kei Nagai, Satō, Tosaki
Location: Musashi Heavy Industries
-
The Third Wave Begins — Satō captures a military base, installs missile launchers, and announces the beginning of his third wave. Characters: Satō
Location: Self-Defense Force base
Season 2: The Tunnel Countdown
Satō begins his third wave with nerve gas and demands control of Japan. Former followers defect, while Kei's coalition races against a military plan that could kill civilians along with Satō.
Key Events
-
The Government Deadline — Satō rejects limited territorial concessions, launches a nerve-gas projectile, and gives the government three days to surrender. Characters: Satō, Tosaki
Location: National broadcast
-
Former Followers Defect — Masumi and Gen offer to help Tosaki and Kei capture Satō, and Kei proposes burying him alive. Characters: Masumi Okuyama, Gen, Tosaki, Kei Nagai
Location: Underground meeting site
-
The Nerve-Gas Countdown — A proposed military strike would kill Satō but also endanger tens of thousands of civilians, leaving only hours to act. Characters: Tosaki, Kei Nagai
Location: Self-Defense Force base area
-
The Tunnel Operation — The allied group attempts to trap Satō underground, but the operation separates them when the tunnels collapse. Characters: Kei Nagai, Tosaki, Masumi Okuyama, Gen
Location: Underground tunnels
-
Izumi Faces Satō — Izumi confronts Satō to protect the injured Tosaki, but Satō overpowers her before Kei intervenes with his IBM. Characters: Izumi Shimomura, Satō, Tosaki
Location: Underground tunnels
-
The Final IBM Duel — Kei's IBM battles Satō's IBM while Izumi incapacitates Satō's partner, bringing the season-long confrontation to its decisive stage. Characters: Kei Nagai, Satō, Izumi Shimomura
Location: Underground tunnels