Story Structure — 4 Plot Phases
The Unwilling Sheriff
John Bonniwell arrives in Broken Lance and stops a bank raid, earning a sheriff appointment from banker Steve Barat. Eleanor Sager convinces him to accept the role, but he quickly realizes Barat intends to use him as a compliant tool for his corrupt schemes.
Key Events
-
Civil War Vet Arrives — John Bonniwell, a sniper and Civil War veteran, travels through Broken Lance en route to Oregon. Characters: John Bonniwell
Location: Train Transit
-
Bank Raid Thwarted — John stops a Jesse James gang raid, kills three members, and is wounded. Characters: John Bonniwell, Gil Hatton
Location: Local Bank
-
Hospital Recovery — Eleanor cares for John, and he learns banker Steve Barat paid his bills. Characters: John Bonniwell, Eleanor Sager
Location: Hospital
-
Sheriff Appointment — John is elected sheriff by Barat's influence but initially wants to resign. Characters: John Bonniwell, Steve Barat
Location: Hospital
-
Eleanor's Persuasion — Eleanor convinces John to accept the sheriff post, sparking their bond. Characters: John Bonniwell, Eleanor Sager
Location: Hotel
Shadows of Control
Barat manipulates town affairs by charging exorbitant fees and bribing officials to free arrested gang members. John refuses to enforce Barat's unjust orders, escalating the conflict into a life and death struggle as Barat hires hitmen to eliminate rivals.
Key Events
-
Eleanor's Persuasion — Eleanor convinces John to accept the sheriff post, sparking their bond. Characters: John Bonniwell, Eleanor Sager
Location: Hotel
-
Barat's Control Revealed — John realizes Barat expects him to be a compliant tool for his machinations. Characters: John Bonniwell, Steve Barat
Location: Town Square
-
Wagoner Cattle Dispute — Barat charges exorbitant fees for cattle crossing; John refuses to arrest the rancher. Characters: John Bonniwell, Steve Barat
Location: Ranch Land
-
Saloon Brawl — Hatton gang starts a fight; John arrests them for disturbing peace. Characters: John Bonniwell, Gil Hatton
Location: Golden Prairie Saloon
-
Bail Bribery — Barat posts bail, freeing the arrested gang members overnight. Characters: Steve Barat, Gil Hatton
Location: Courthouse
-
Tom Wagoner's Murder — Barat hires the gang to murder Tom Wagoner after he refuses to pay. Characters: Steve Barat, Gil Hatton
Location: Ranch
Brother's Dilemma
Barat stages a fake bank robbery and uses his brother Jeff to discredit John. Eleanor's confession of love to Jeff triggers his moral awakening, leading him to warn John about Barat's impending gang raid and false theft charges.
Key Events
-
Tom Wagoner's Murder — Barat hires the gang to murder Tom Wagoner after he refuses to pay. Characters: Steve Barat, Gil Hatton
Location: Ranch
-
Bank Robbery Fabrication — Barat stages a fake robbery and enlists his brother Jeff to discredit John. Characters: Steve Barat
Location: Bank
-
Jeff's Confession — Jeff reveals Barat's plan after Eleanor confesses her love for John. Characters: John Bonniwell, Eleanor Sager
Location: Hotel
-
False Theft Charges — Barat sends a telegram falsely charging John with theft in New York. Characters: Steve Barat, John Bonniwell
Location: Post Office
-
Gang Raid Warning — Jeff warns John about the impending gang attack orchestrated by Barat. Characters: John Bonniwell, Eleanor Sager
Location: Hotel
-
Bridge Undermining — John sabotages the bridge to trap the incoming gang. Characters: John Bonniwell, Gil Hatton
Location: Railroad Bridge
Blood on the Bridge
John sabotages a railroad bridge to ambush the incoming Hatton gang, resulting in a devastating collapse that kills Jeff and breaks the gang's morale. A final shootout eliminates the remaining outlaws, leading to Barat's arrest and John's engagement to Eleanor.
Key Events
-
Bridge Undermining — John sabotages the bridge to trap the incoming gang. Characters: John Bonniwell, Gil Hatton
Location: Railroad Bridge
-
Bridge Collapse — The bridge bursts, burying most of the gang and killing Jeff. Characters: Gil Hatton, John Bonniwell
Location: Railroad Bridge
-
Final Battle — A fierce shootout with the remaining gang ends with their leader's death. Characters: John Bonniwell, Gil Hatton
Location: Town Streets
-
Barat's Extradition — Barat is arrested and extradited to face justice for his crimes. Characters: Steve Barat, John Bonniwell
Location: Courthouse
-
Hospital Recovery — John recovers from his wounds while peace returns to Broken Lance. Characters: John Bonniwell, Eleanor Sager
Location: Hospital
-
Engagement Celebration — Eleanor reveals the town is celebrating peace and their engagement. Characters: John Bonniwell, Eleanor Sager
Location: Hotel
-
Town Peace Restored — The corrupt influence of Barat and the gang is completely eliminated. Characters: John Bonniwell, Eleanor Sager
Location: Broken Lance
-
New Beginning — John and Eleanor look forward to a future free from Barat's control. Characters: John Bonniwell, Eleanor Sager
Location: Town Square
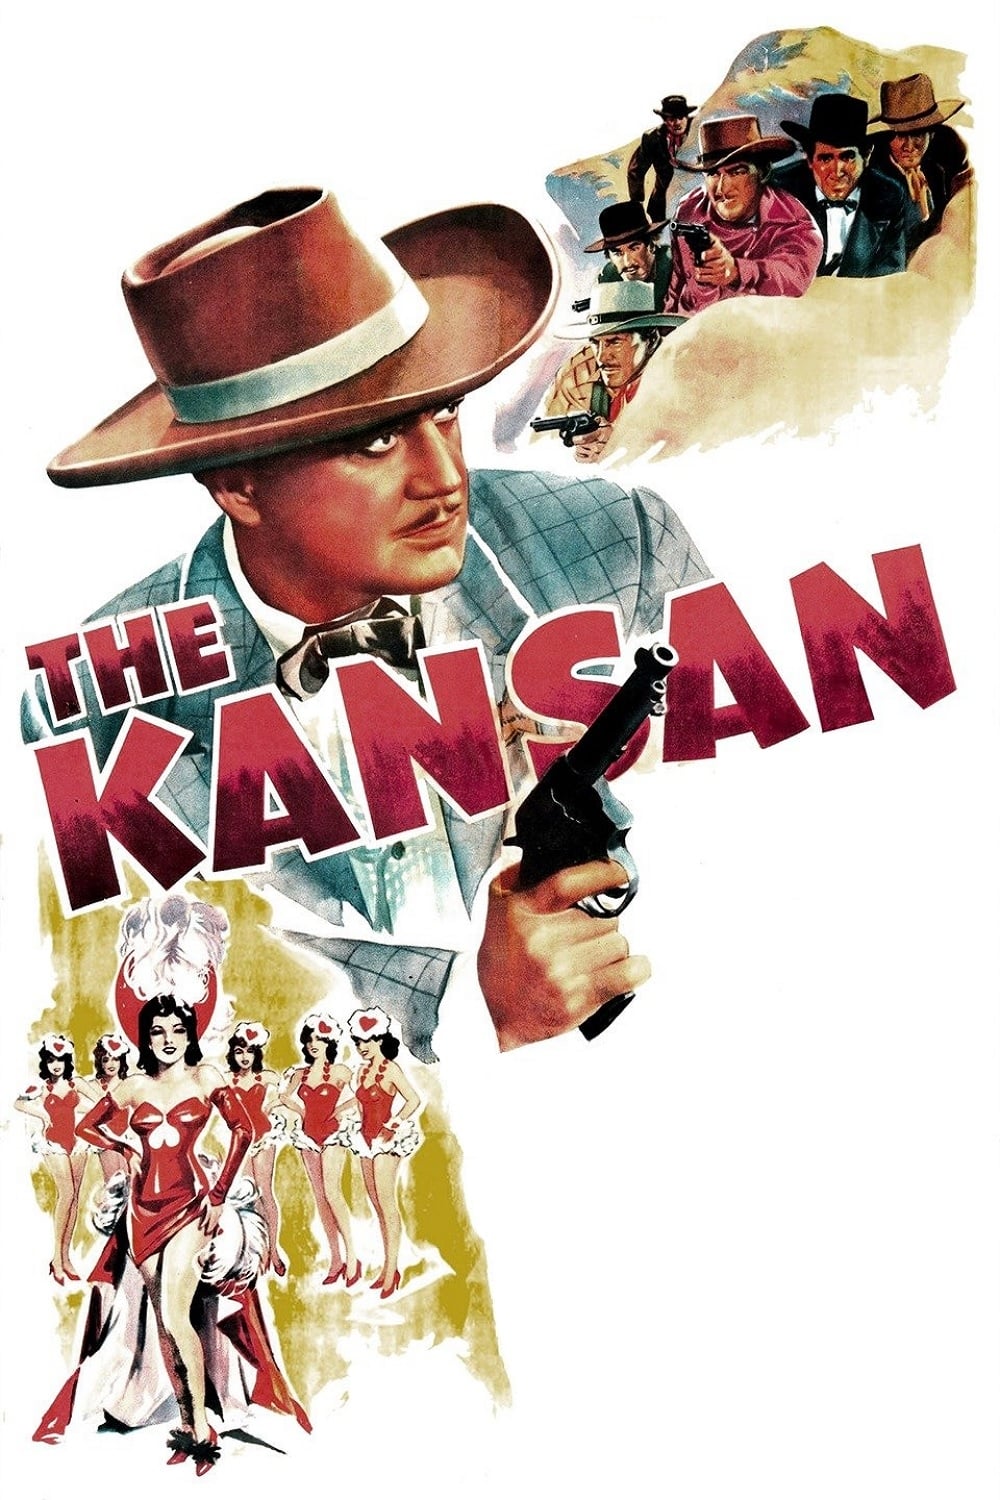
Wounded while stopping the James gang from robbing the local bank, a cowboy wakes up in the hospital to find that he's been elected town marshal. He soon comes into conflict with the town banker, who controls everything in town and is squeezing the townspeople for every penny he can get out of them.