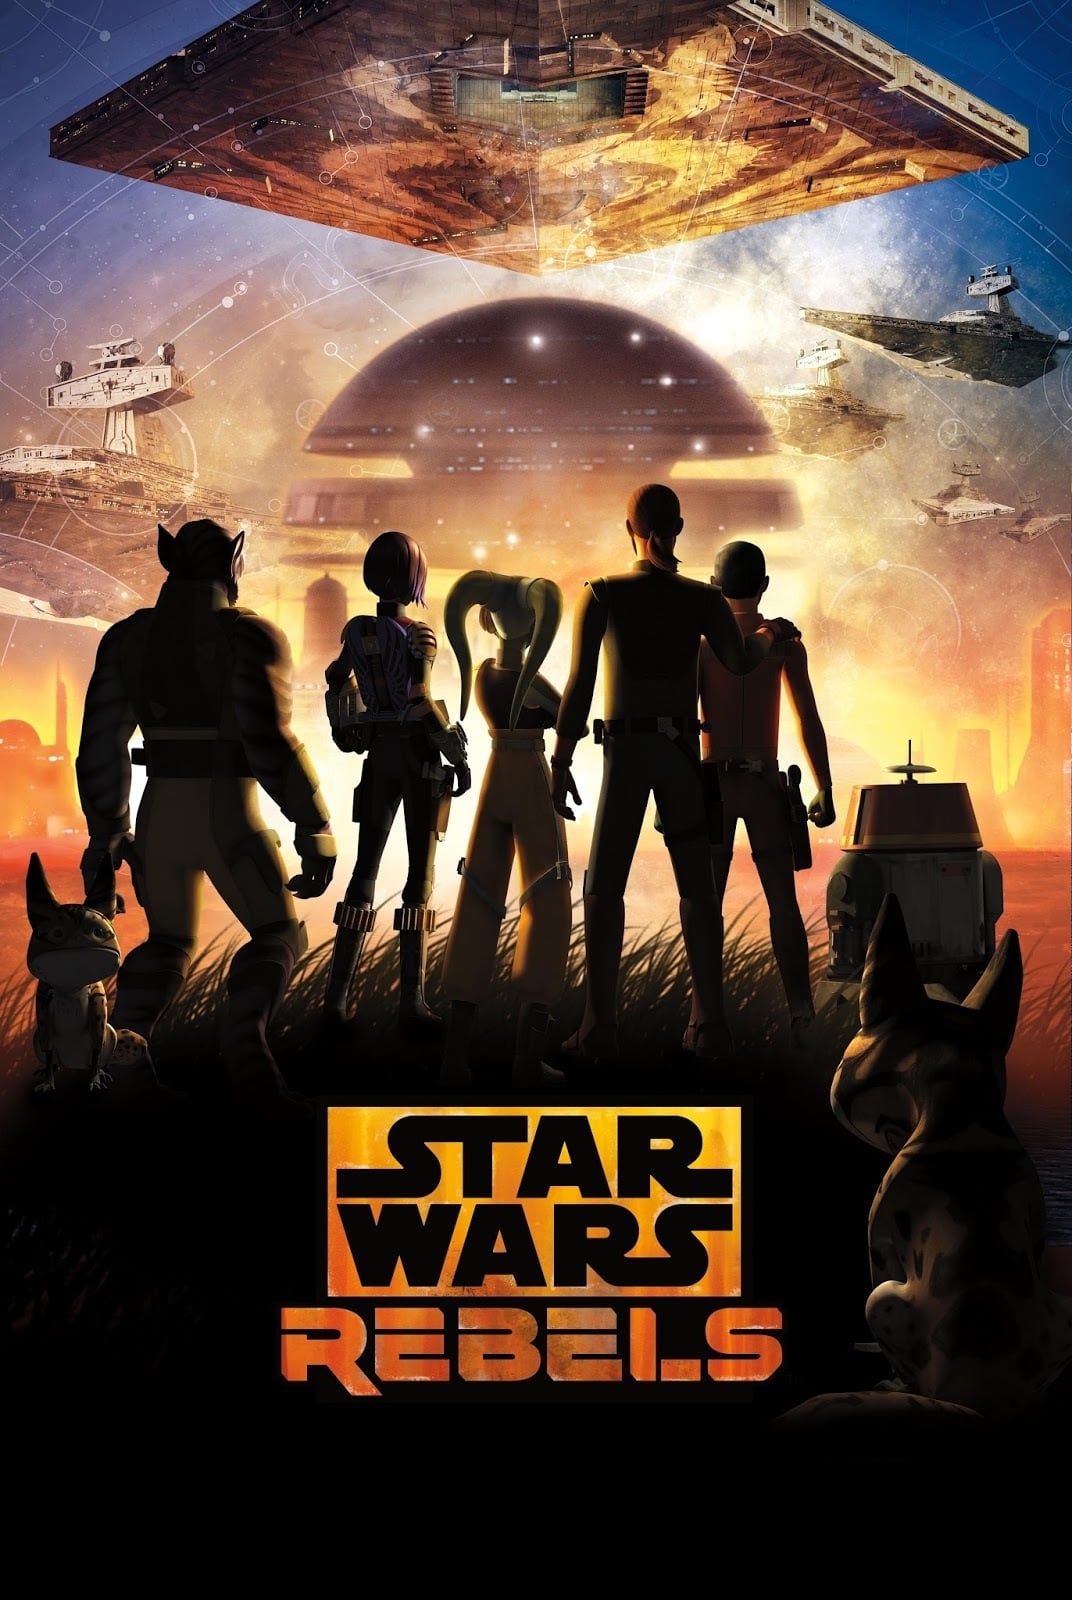
Story Structure — 5 Plot Phases
Season 1: A Rebel Cell Emerges
The Ghost crew opposes Imperial control while Ezra joins their cause and begins Jedi training under Kanan. Imperial pursuit grows as the crew considers making its rebellion known beyond Lothal.
Key Events
-
Ghost Crew Resists the Empire — The Ghost crew conducts raids and escapes Imperial pursuit. Characters: Hera Syndulla, Kanan Jarrus, Ezra Bridger, Sabine Wren, C1-10P 'Chopper'
Location: Lothal
-
Ezra Joins the Crew — Ezra's association with the Ghost crew begins as the Rebels oppose Imperial activity. Characters: Ezra Bridger, Kanan Jarrus, Hera Syndulla
Location: Lothal
-
Kanan Trains Ezra — Kanan struggles to teach Ezra the basics of the Force. Characters: Kanan Jarrus, Ezra Bridger
Location: Lothal
-
Ezra Faces His Past — Ezra investigates what happened to his missing parents and confronts painful uncertainty. Characters: Ezra Bridger
Location: Lothal
-
Imperial Pursuit Intensifies — Imperial forces identify the Rebel threat and pursue the crew and its emerging Jedi. Characters: Agent Kallus, The Inquisitor, Kanan Jarrus, Ezra Bridger
Location: Lothal
-
Rebels Broadcast Their Cause — The Rebels debate publicizing their cause and attack the Imperial communications network. Characters: Hera Syndulla, Kanan Jarrus, Ezra Bridger, Agent Kallus
Location: Lothal
-
Ahsoka Directs the Crew — Ahsoka directs the crew to seek out former clone troopers, including Rex. Characters: Ahsoka Tano, Hera Syndulla, Kanan Jarrus, Ezra Bridger
Location: Seelos system
Season 2: Allies and Jedi Trials
The Rebels broaden their network through Rex and other allies while facing Imperial hunters. Trust, Jedi guidance, and the dangers of the holocrons shape the season's conflicts.
Key Events
-
Ahsoka Directs the Crew — Ahsoka directs the crew to seek out former clone troopers, including Rex. Characters: Ahsoka Tano, Hera Syndulla, Kanan Jarrus, Ezra Bridger
Location: Seelos system
-
Kanan Distrusts Rex — Kanan's history with Order 66 makes cooperation with Rex difficult. Characters: Kanan Jarrus, Rex, Ezra Bridger
Location: Seelos system
-
Hera Finds the B-Wing — Hera obtains and pilots a powerful new craft to help break an Imperial blockade. Characters: Hera Syndulla
Location: Old Republic medical base
-
Sabine Reconciles with Ketsu — Sabine encounters her estranged friend Ketsu during a mission involving a courier droid. Characters: Sabine Wren, Ketsu Onyo, Ezra Bridger
Location: Space
-
Rex Joins Rebel Operations — The Rebels work with Rex to rescue captured comrades and sabotage an Imperial ship. Characters: Rex, Kanan Jarrus, Ezra Bridger
Location: Imperial Interdictor
-
Lasats Seek Refuge — The Rebels help Lasat survivors pursue a refuge, while the crew confronts the losses that shape their choices. Characters: Ezra Bridger
Location: Space
-
The Jedi Temple Tests Them — Kanan, Ezra, and Ahsoka each confront visions and questions at the Jedi Temple. Characters: Ahsoka Tano, Kanan Jarrus, Ezra Bridger
Location: Lothal Jedi Temple
Season 3: Thrawn's Pressure
The Rebels confront Maul, develop Mandalorian support, and encounter Thrawn's increasingly effective strategy. The discovery of the Rebel base brings the conflict to a dangerous siege.
Key Events
-
Kallus Reveals Fulcrum — Kallus assists the Rebels and discloses his secret role as Fulcrum. Characters: Agent Kallus, Ezra Bridger, Kanan Jarrus
Location: Lothal
-
Maul Exploits the Holocrons — Ezra and Kanan become entangled in Maul's search for knowledge through the holocrons. Characters: Ezra Bridger, Kanan Jarrus, Bendu
Location: Dathomir
-
Sabine Claims the Darksaber — Sabine trains with the Darksaber as the Rebels seek Mandalorian support. Characters: Sabine Wren, Kanan Jarrus, Fenn Rau
Location: Bendu's abode
-
Thrawn Discovers the Rebel Base — Thrawn discovers the Rebel base and places Phoenix Squadron under siege. Characters: Grand Admiral Thrawn, Hera Syndulla, Agent Kallus
Location: Atollon
-
Mon Mothma Defies the Empire — The Rebels help Mon Mothma escape Imperial pursuit after she speaks against the Emperor. Characters: Mon Mothma, Ezra Bridger, Hera Syndulla
Location: Space
-
Imperial Spy Threatens the Base — An Imperial infiltrator threatens to reveal the Rebels' base. Characters: C1-10P 'Chopper', AP-5, Ezra Bridger
Location: Atollon
-
Thrawn Tightens His Campaign — Thrawn's strategy increasingly pressures Rebel operations and threatens Lothal's resistance. Characters: Grand Admiral Thrawn, Agent Kallus, Ezra Bridger
Location: Lothal
-
Atollon Base Is Besieged — Imperial forces trap the Rebels at Atollon as Hera fights to keep the squadron alive. Characters: Hera Syndulla, Ezra Bridger, Grand Admiral Thrawn
Location: Atollon
-
Sabine Leads Mandalorian Resistance — Sabine's effort to oppose Imperial control connects the Mandalorian struggle to the Rebel cause. Characters: Sabine Wren, Fenn Rau
Location: Mandalore
Season 4: The Lothal Campaign
The Ghost crew returns to occupied Lothal and works against the TIE Defender project and Imperial control. Ezra, Hera, and their allies build toward a final campaign to liberate the planet.
Key Events
-
Sabine Leads Mandalorian Resistance — Sabine's effort to oppose Imperial control connects the Mandalorian struggle to the Rebel cause. Characters: Sabine Wren, Fenn Rau
Location: Mandalore
-
Rebels Return to Lothal — The Ghost crew returns to occupied Lothal after receiving information about the TIE Defender project. Characters: Ezra Bridger, Hera Syndulla, Ryder Azadi, Cikatro Vizago
Location: Lothal
-
Sabine Steals the Defender — Sabine takes the experimental fighter to escape after Thrawn witnesses its demonstration. Characters: Sabine Wren, Ezra Bridger, Grand Admiral Thrawn
Location: Lothal airfield
-
Hera Is Captured — Pryce holds Hera, and Ezra, Kanan, and Sabine prepare a rescue. Characters: Hera Syndulla, Governor Pryce, Ezra Bridger, Kanan Jarrus
Location: Lothal Imperial command center
-
Kanan Rescues Hera — The Rebels infiltrate the command center, free Hera, and recover her family heirloom. Characters: Kanan Jarrus, Hera Syndulla, Ezra Bridger, Sabine Wren
Location: Lothal Imperial command center
-
The Fuel Depot Is Destroyed — The destruction of the Imperial fuel depot halts the TIE Defender project. Characters: Ezra Bridger, Sabine Wren, Grand Admiral Thrawn
Location: Lothal
-
Ezra Enters the Temple Portal — Ezra enters the World Between Worlds as the Rebels confront the Temple's secrets. Characters: Ezra Bridger, Hera Syndulla, Sabine Wren
Location: Lothal Jedi Temple
-
A Coalition Forms for Lothal — Hera and Rex recruit allies to support the plan to liberate Lothal. Characters: Hera Syndulla, Rex, Agent Kallus, Hondo Ohnaka, Ketsu Onyo
Location: Lothal
Season 4: Liberation and Farewell
The Rebels gather allies and launch their ultimate operation on Lothal. The series closes on the crew's effort to end Imperial control of the planet.
Key Events
-
The Liberation Plan Begins — The Rebels move quickly to seize the capital before Thrawn returns from Coruscant. Characters: Ezra Bridger, Hera Syndulla, Grand Admiral Thrawn, Governor Pryce
Location: Lothal
-
The Ghost Crew Fights for Lothal — Ezra and the Ghost crew undertake their ultimate mission to liberate Lothal from Imperial control. Characters: Ezra Bridger, Hera Syndulla, Sabine Wren, C1-10P 'Chopper', Grand Admiral Thrawn
Location: Lothal
-
Lothal's Fate Is Decided — The series concludes with the Ghost crew's ultimate effort to free Lothal. Characters: Ezra Bridger, Hera Syndulla, Sabine Wren, C1-10P 'Chopper'
Location: Lothal