Story Structure — 4 Plot Phases
The Cushing Social Posting
Lieutenant Gregg Masterman enjoys a comfortable life as an aide to Rear Admiral Thomas, playing tennis and managing social events. A chance encounter leads him to give poor advice to Lieutenant Commander Roberts, setting off a chain of reassignments.
Key Events
-
Social Posting Life — Masterman enjoys a cushy aide role playing tennis and arranging social functions. Characters: Lieut. Gregg Masterman, Rear Admiral Stephen Thomas
Location: Navy Base
-
Bad Advice Encounter — Masterman gives Roberts bad advice during a chance encounter. Characters: Lieut. Gregg Masterman
Location: Navy Office
-
Ship Assignment — Thomas assigns Roberts command of the reconditioned WWI destroyer. Characters: Rear Admiral Stephen Thomas
Location: Admiral's Office
-
XO Reassignment — Thomas reassigns Masterman as Roberts' executive officer. Characters: Rear Admiral Stephen Thomas, Lieut. Gregg Masterman
Location: Navy Office
Storm, Rescue, and Shipboard Trials
Masterman is reassigned as Roberts' executive officer and helps veteran Henry Johnson reenlist. The crew faces a Pacific squall, rescues hospital evacuees, and manages emergency births while navigating wartime logistics.
Key Events
-
XO Reassignment — Thomas reassigns Masterman as Roberts' executive officer. Characters: Rear Admiral Stephen Thomas, Lieut. Gregg Masterman
Location: Navy Office
-
Johnson Reenlistment — Masterman helps Johnson reenlist to serve on his beloved ship. Characters: Lieut. Gregg Masterman, Chief Yeoman Henry Johnson
Location: Recruitment Office
-
Sea Training — Roberts tutors Masterman, emphasizing mission over individual welfare. Characters: Lieut. Gregg Masterman
Location: USS Warren Deck
-
First Air Attack — Masterman's error prevents the crew from shooting down an attacking plane. Characters: Lieut. Gregg Masterman
Location: Pacific Ocean
-
Convoy Detour — Warren replaces a broken escort destroyer for Thomas's convoy. Characters: Rear Admiral Stephen Thomas
Location: Pacific Fleet
-
Pacific Squall — Warren travels at flank speed through a heavy squall. Characters: Chief Yeoman Henry Johnson
Location: Stormy Waters
-
Johnson's Injury — Johnson falls and suffers a concussion during the storm. Characters: Chief Yeoman Henry Johnson
Location: USS Warren Deck
-
Speed Violation — Masterman reduces speed against orders to ease Johnson's ride. Characters: Lieut. Gregg Masterman, Chief Yeoman Henry Johnson
Location: USS Warren Bridge
Fog Bank Ambush and Command Shift
A Japanese plane cripples Admiral Thomas's flagship, drawing the Warren into a direct confrontation. A Japanese battleship emerges from the fog, and Roberts is injured during the exchange, forcing Masterman to assume command.
Key Events
-
Speed Violation — Masterman reduces speed against orders to ease Johnson's ride. Characters: Lieut. Gregg Masterman, Chief Yeoman Henry Johnson
Location: USS Warren Bridge
-
Hospital Evacuees — Crew rescues two pregnant women and twenty babies from a torpedoed ship. Characters: Lieut. Gregg Masterman
Location: Lifeboat
-
Shipboard Births — Crew manages two emergency births amidst wartime chaos. Characters: Chief Yeoman Henry Johnson
Location: USS Warren Sickbay
-
Flagship Crippled — Japanese plane damages Thomas's flagship steering mechanism. Characters: Rear Admiral Stephen Thomas
Location: Convoy Waters
-
Fog Bank Ambush — Japanese battleship emerges from fog and opens fire on the flagship. Location: Thick Fog
-
Smoke Screen Plan — Roberts outlines a plan to double-back and launch torpedoes at close range. Characters: Lieut. Gregg Masterman
Location: USS Warren Bridge
-
Captain Injured — Roberts is injured during the intense battle, forcing Masterman to take command. Characters: Lieut. Gregg Masterman
Location: USS Warren Bridge
Torpedo Barrage and Heroic Recognition
Masterman executes a daring smoke screen maneuver while Johnson takes the helm. The Warren launches a successful torpedo strike, destroying the enemy battleship. The crew returns to San Francisco to receive the Navy Cross.
Key Events
-
Captain Injured — Roberts is injured during the intense battle, forcing Masterman to take command. Characters: Lieut. Gregg Masterman
Location: USS Warren Bridge
-
Johnson at Helm — Delirious Johnson escapes sickbay and takes charge under Masterman. Characters: Chief Yeoman Henry Johnson, Lieut. Gregg Masterman
Location: USS Warren Helm
-
Torpedo Barrage — Warren fires six torpedoes into the enemy battleship. Characters: Lieut. Gregg Masterman
Location: Battleship Waters
-
Magazine Detonation — Torpedoes detonate ammunition magazines, completely destroying the capital ship. Location: Enemy Waters
-
Return to San Francisco — Warren returns to port after successful mission. Characters: Lieut. Gregg Masterman, Rear Admiral Stephen Thomas, Chief Yeoman Henry Johnson
Location: San Francisco Harbor
-
Navy Cross Ceremony — Thomas awards the Navy Cross to Roberts, Masterman, and Johnson. Characters: Rear Admiral Stephen Thomas, Lieut. Gregg Masterman, Chief Yeoman Henry Johnson
Location: USS Warren Deck
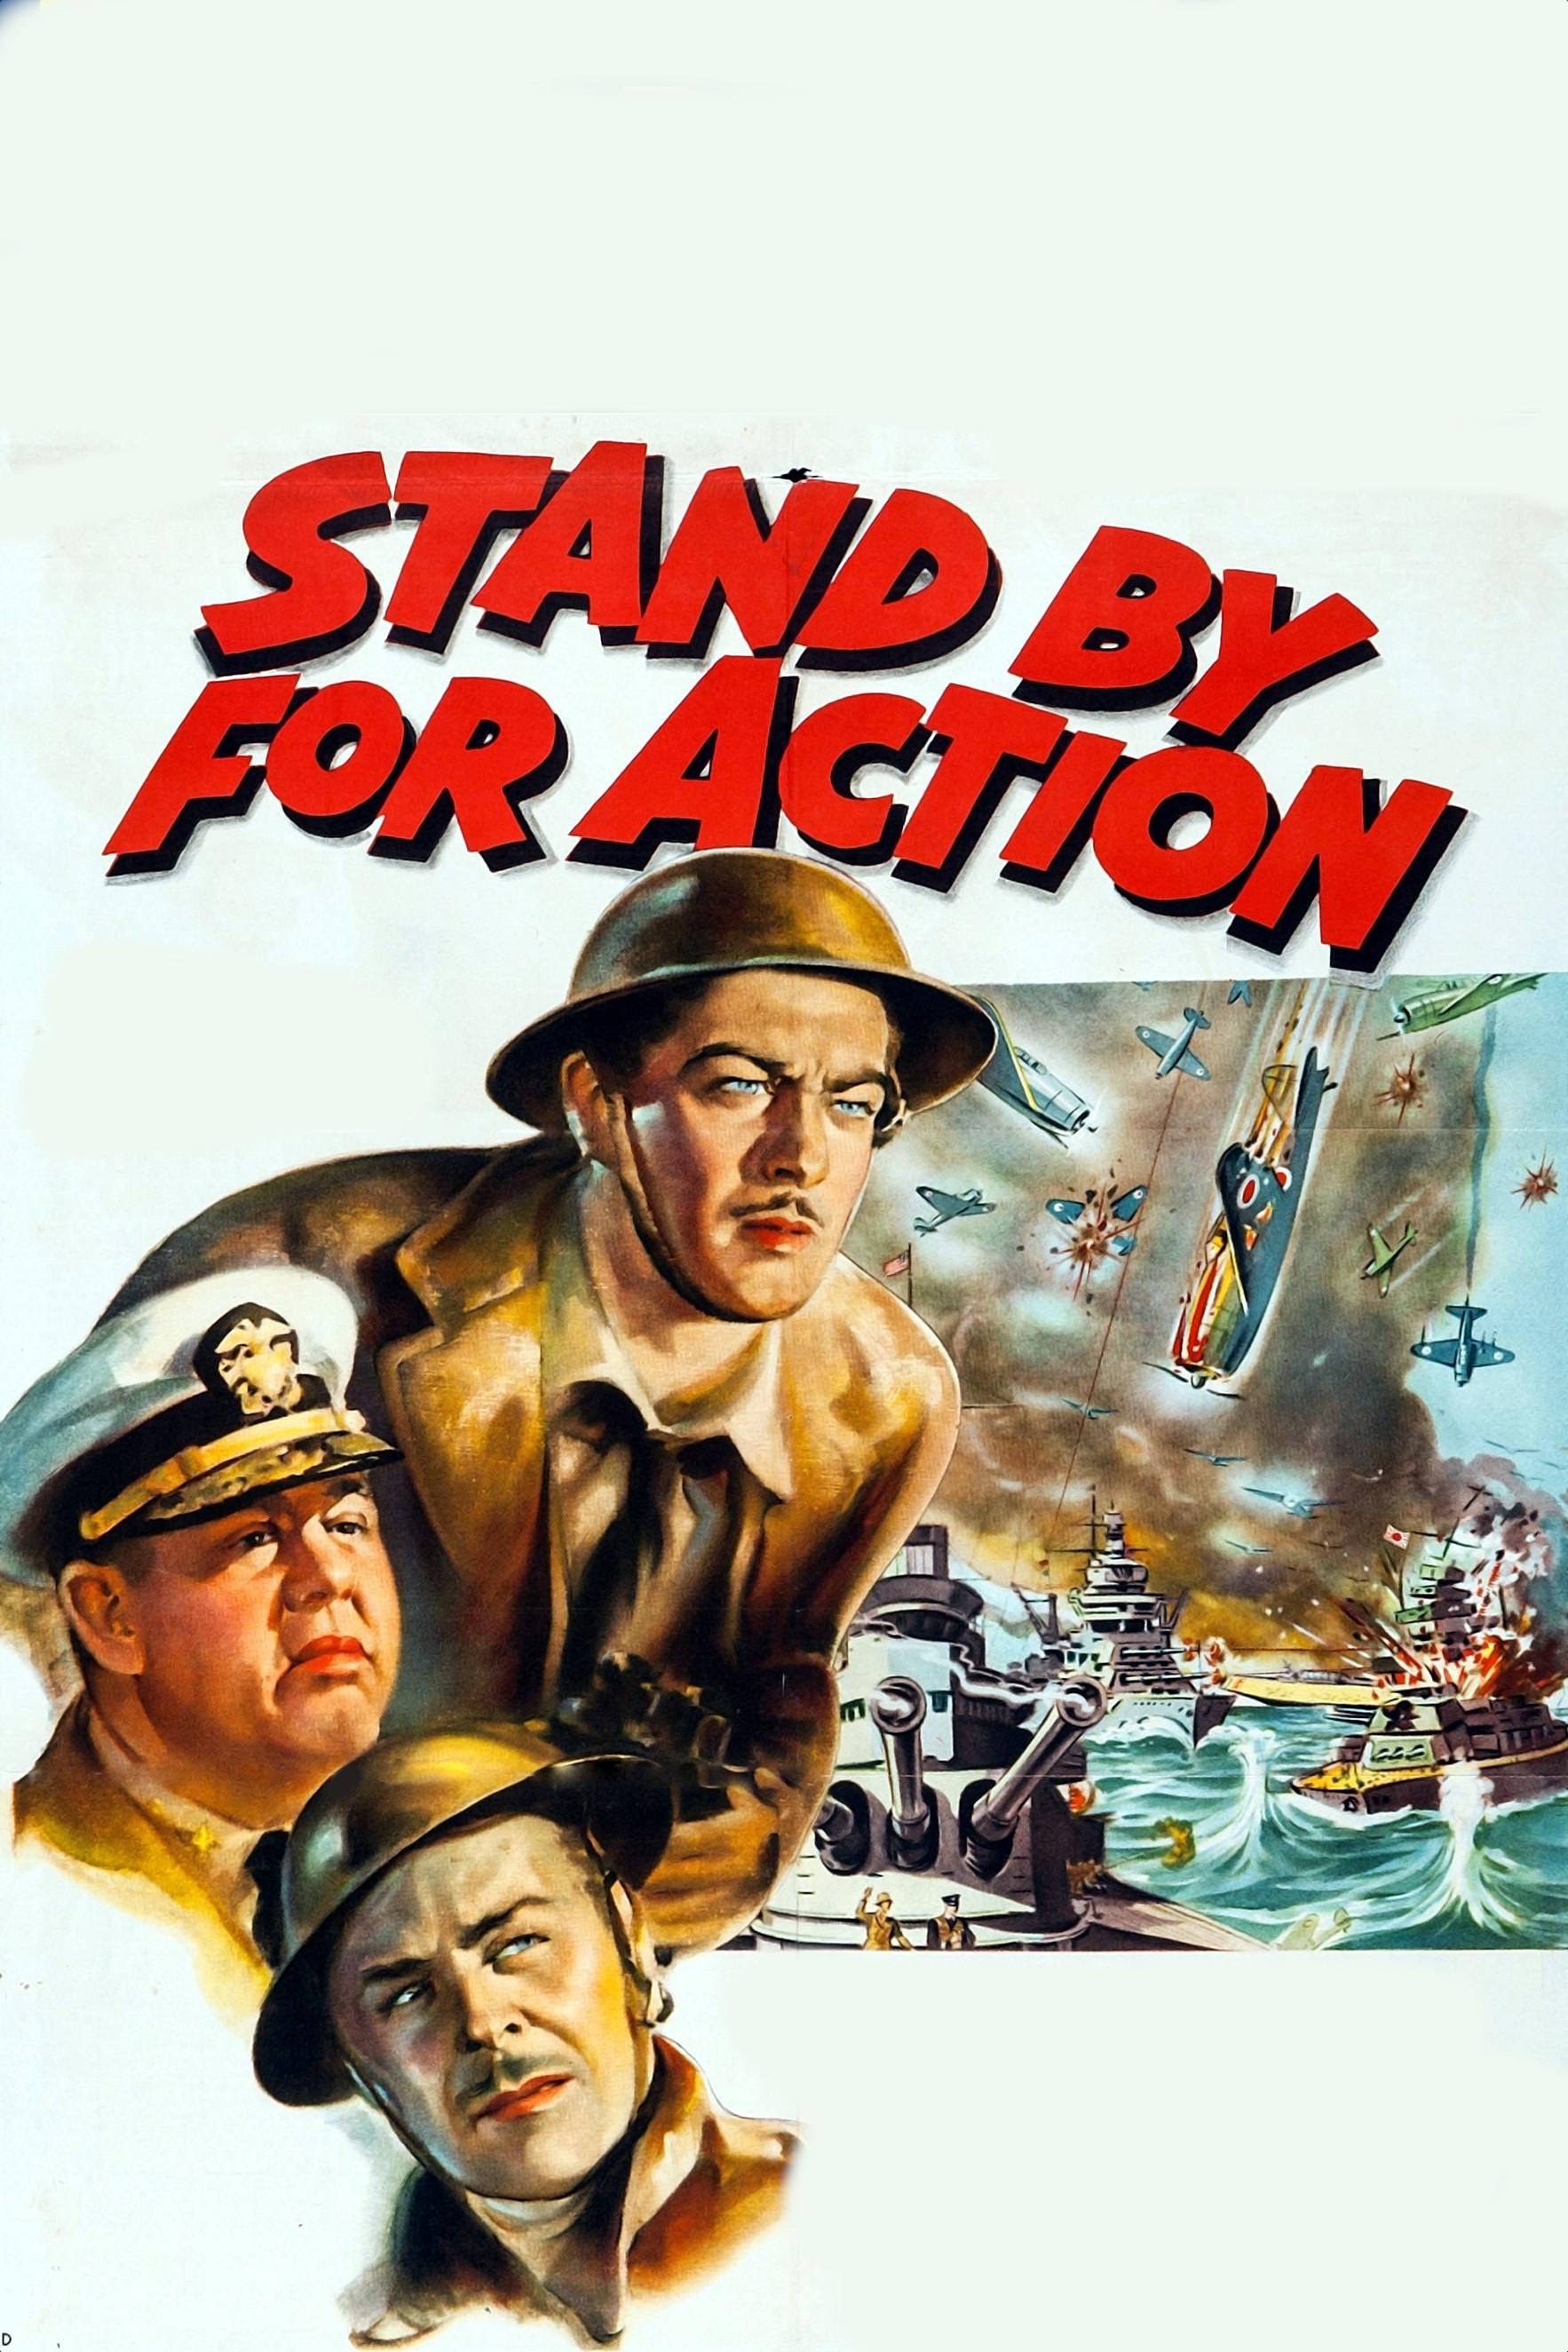
U. S. Navy Lieutenant Gregg Masterman, of The Harvard and Boston Back Bay Mastermans, learned about the sea while winning silver cups sailing his yacht. He climbs swiftly in rank, and is now Junior Aide to Rear Admiral Stephen Thomas.