Story Structure — 4 Plot Phases
The Fugitive's Escape
Red Bailey breaks out of jail and intercepts John Morland, leading to a staged car crash that masks the truth. The initial setup establishes the conspiracy and draws authorities into the investigation.
Key Events
-
Bailey's Jailbreak — Red Bailey escapes from custody, setting the conspiracy in motion. Characters: Red Bailey
Location: Jail
-
Car Intercept — Armed Bailey flags down Morland's vehicle, initiating their forced alliance. Characters: Red Bailey, John Morland
Location: Highway
-
Staged Car Crash — Police discover Morland's wrecked car with an unrecognizable body, masking the truth. Characters: John Morland
Location: Wreckage Site
Shadows at the Cabin
Morland hides Bailey at the cabin, but their alliance shatters into violence. Bailey flees with Marian Gordon, leaving Morland to execute the next phase of his deception.
Key Events
-
Staged Car Crash — Police discover Morland's wrecked car with an unrecognizable body, masking the truth. Characters: John Morland
Location: Wreckage Site
-
Cabin Concealment — Morland hides Bailey at the cabin before their alliance begins to crumble. Characters: John Morland, Red Bailey
Location: Weekend Cabin
-
Violent Fallout — Bailey and Morland fight, resulting in Bailey knocking Morland unconscious. Characters: Red Bailey, John Morland
Location: Cabin Interior
-
Bailey Resurfaces — Bailey appears publicly alongside his girlfriend Marian, drawing attention. Characters: Red Bailey, Marian Gordon
Location: City Streets
-
Bailey's Betrayal — Bailey turns against Morland after realizing the scheme's true nature. Characters: Red Bailey, John Morland
Location: Cabin
The Web of Deception
Surveillance and past clues reveal Morland's history of self-harm and elaborate plotting. Marian's involvement becomes apparent as investigators close in on the truth.
Key Events
-
Bailey Resurfaces — Bailey appears publicly alongside his girlfriend Marian, drawing attention. Characters: Red Bailey, Marian Gordon
Location: City Streets
-
Phone Surveillance — Authorities monitor Bailey and Marian's communications to track their movements. Characters: Red Bailey, Marian Gordon
Location: Safe House
-
Poison History Revealed — Clues surface that Morland once swallowed poison, hinting at his deceptive nature. Characters: John Morland
Location: Law Office
-
Marian's Support — Marian stands by Bailey during his fugitive status, unaware of the full conspiracy. Characters: Marian Gordon, Red Bailey
Location: Lodge
-
Evidence Compilation — Investigators piece together the timeline of the fake death and poisoning. Characters: John Morland
Location: Police Station
-
Wife Framing Plot — Morland's scheme to frame his wife for murder and poisoning is uncovered. Characters: John Morland
Location: Law Office
The Mastermind Revealed
Morland's survival and diabolical scheme are exposed, setting the stage for his ultimate downfall. The conspiracy unravels as the truth about the fake death comes to light.
Key Events
-
Conspiracy Unraveled — The connection between Bailey's escape and Morland's fraud is fully exposed. Characters: John Morland, Red Bailey
Location: Hidden Location
-
Mastermind Exposed — Morland is confirmed alive, revealing his diabolical plan to frame his wife. Characters: John Morland
Location: Detective HQ
-
Wife Framing Plot — Morland's scheme to frame his wife for murder and poisoning is uncovered. Characters: John Morland
Location: Law Office
-
Final Standoff — Authorities prepare to apprehend the mastermind as his plan collapses. Characters: John Morland
Location: Detective HQ
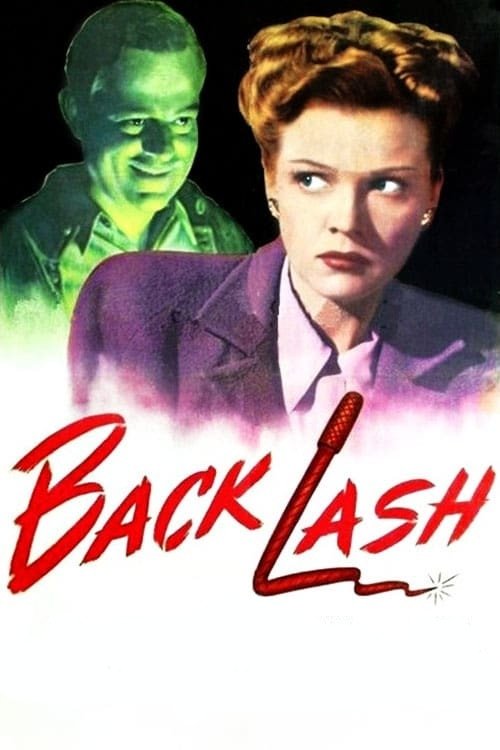
In a series of flashbacks, shows that attorney John Morland has given a lift to a hitchhiker who turns out to be a murderer. As a result, Morland himself is implicated in a killing. A pair of detectives discover that Morland has been having business problems and no end of difficulties with his wife Catherine. The trail of clues leads to a surprising revelation.