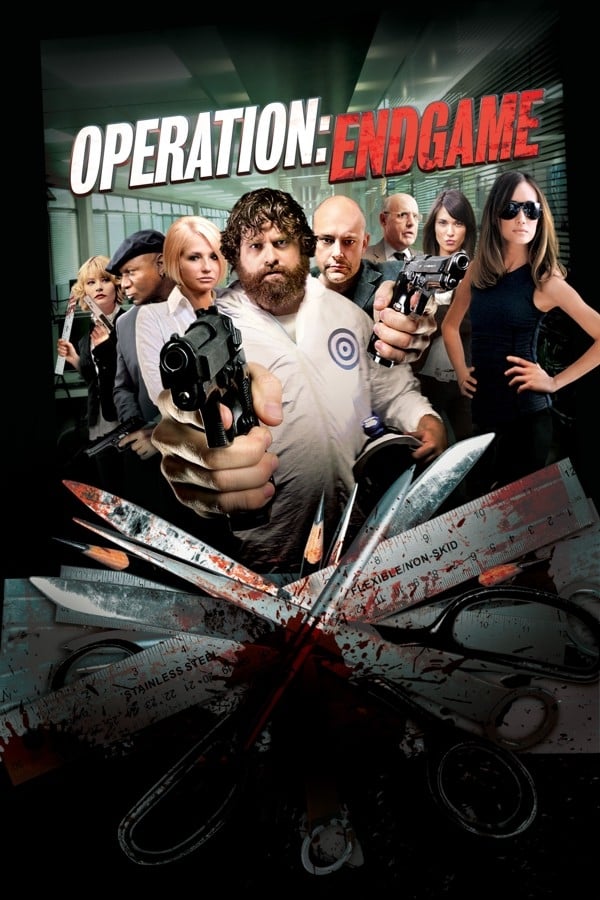
Story Structure — 5 Plot Phases
The Thief Enters the Factory
The Fool begins work as a thief and is brought into the Factory by Chariot and High Priestess. The opposing Alpha and Omega teams are introduced before the underground system becomes a death trap.
Key Events
-
Fool Begins Factory Employment — The Fool begins his first day as a thief hired by the secret Factory. Characters: Fool
Location: Government office
-
Agents Meet the Fool — Chariot and High Priestess meet the Fool before entering the underground offices. Characters: Fool, Chariot, High Priestess
Location: Factory entrance
-
Underground Factory Revealed — The agents enter the secret underground headquarters of the Factory. Characters: Fool, Chariot, High Priestess
Location: Underground Factory
-
Teams Face Bureaucratic Opposition — Alpha and Omega operate as opposing black-ops teams within a checks-and-balances system. Characters: Fool, Temperance, Chariot, High Priestess, Emperor
Location: Factory offices
-
The Factory Head Is Murdered — The teams discover that the Factory head has been murdered and a destructive project has begun. Characters: Fool, Temperance, Chariot, High Priestess
Location: Factory offices
The Endgame Lockdown
The agents discover that the Factory head has been murdered and that Project Endgame has sealed the teams underground. They form temporary mirror partnerships while the bomb raises the stakes.
Key Events
-
The Factory Head Is Murdered — The teams discover that the Factory head has been murdered and a destructive project has begun. Characters: Fool, Temperance, Chariot, High Priestess
Location: Factory offices
-
Project Endgame Traps Everyone — The underground offices are sealed while a bomb threatens everyone inside. Characters: Fool, Temperance, Chariot, High Priestess, Empress, Emperor
Location: Underground Factory
-
Mirror Pair Escape Plan — The agents decide to pair with opposing mirror operatives to search for an escape. Characters: Fool, Temperance, Chariot, Empress, Emperor
Location: Factory offices
-
Empress Kills Emperor — Empress murders her Omega counterpart as the Alpha purge begins. Characters: Empress, Emperor
Location: Factory corridor
-
High Priestess Is Killed — High Priestess is killed during the systematic elimination of Omega agents. Characters: High Priestess
Location: Factory offices
The Purge Behind Closed Doors
Alpha operatives begin killing their Omega counterparts. From the surveillance room, Susan, Carl, and Neil watch the carnage and uncover evidence that the system and clearance codes have been corrupted.
Key Events
-
Tower Kills High Priestess — An Alpha operative kills High Priestess during the team purge. Characters: High Priestess
Location: Factory offices
-
Chariot Retaliates — Chariot kills an Alpha operative and is nearly killed by another attacker. Characters: Chariot
Location: Factory corridor
-
Surveillance Room Watches Carnage — Susan, Carl, and Neil observe the agents' violence through surveillance equipment. Characters: Susan, Carl, Neil
Location: Surveillance room
-
Clearance Codes Are Switched — The observers learn the system is corrupted and identify a clearance-code switch tied to the inauguration. Characters: Susan, Carl, Neil
Location: Surveillance room
Secrets Beneath the Office
Hierophant attacks the Fool, and Temperance saves him while revealing Alpha's elimination order. The Fool, Temperance, and Chariot search the executive office, find a map, and secretly secure the discs.
Key Events
-
Hierophant Attacks the Fool — Hierophant attacks the Fool, but Temperance kills Hierophant and saves him. Characters: Fool, Hierophant, Temperance
Location: Factory corridor
-
Alpha Purge Is Exposed — Temperance reveals that Alpha was ordered to eliminate Omega on that day. Characters: Fool, Temperance
Location: Factory offices
-
Search Through Executive Office — The trio search the office for an escape route and crack open a safe. Characters: Fool, Temperance, Chariot
Location: Executive office
-
Escape Map Is Found — A map is discovered inside the opened safe and provides an escape path. Characters: Fool, Temperance, Chariot
Location: Executive office
-
Fool Steals Secret Discs — The Fool secretly steals discs while the trio searches for a way out. Characters: Fool, Temperance, Chariot
Location: Executive office
The Escape That Was a Betrayal
The remaining operatives fight until only the Fool and Temperance appear to survive. The Factory explodes, but the apparent escape is exposed as a setup when the Fool kills Temperance and leaves with the files.
Key Events
-
Final Alpha Confrontation — The surviving agents confront the remaining Alpha operatives in a series of violent fights. Characters: Fool, Temperance, Chariot, Empress, Hermit
Location: Factory offices
-
Chariot Sets an Opponent Ablaze — Chariot sets an Alpha operative on fire during the final confrontation. Characters: Chariot
Location: Factory offices
-
Hermit Kills Chariot — Hermit kills Chariot as the remaining agents fight for survival. Characters: Chariot, Hermit
Location: Factory offices
-
Temperance Ends the Purge — Temperance shoots Hermit and kills Empress, leaving herself and the Fool standing. Characters: Temperance, Hermit, Empress
Location: Factory offices
-
Elevator Escape and Explosion — The Fool and Temperance enter the elevator, kiss, and appear to escape as the Factory explodes. Characters: Fool, Temperance
Location: Exit elevator
-
Audio Tape Reveals Hidden Motive — Carl and Neil find a recording about the secret disc and its owner's confession of love for Susan. Characters: Carl, Neil, Susan
Location: Surveillance room
-
Fool Betrays Temperance — The elevator emerges from a bathroom stall, revealing that the Fool has killed Temperance. Characters: Fool, Temperance
Location: Bathroom stall
-
Susan Silences the Observers — Susan shoots Carl and Neil after the Fool reports that he has the incriminating disc. Characters: Susan, Carl, Neil
Location: Surveillance room
-
Fool Leaves with the Files — The Fool exits the building, enters a cab, and drives away with the disc. Characters: Fool
Location: City street