Story Structure — 5 Plot Phases
A Body with Impossible Symptoms
Hastings examines Jacobs's deformed body and challenges Deemer's explanation of acromegaly. The laboratory's giant specimens and Lund's violent breakdown reveal that the research has become dangerous.
Key Events
-
Jacobs Found in the Desert — Andrews calls Hastings to examine the severely deformed body identified as Jacobs. Characters: Dr. Matt Hastings, Sheriff Jack Andrews, Paul Lund / Eric Jacobs / Airport Workman
Location: Arizona desert
-
Deemer Explains Jacobs's Death — Deemer attributes Jacobs's condition to acromegaly, but Hastings questions the explanation. Characters: Dr. Matt Hastings, Prof. Gerald Deemer, Paul Lund / Eric Jacobs / Airport Workman
Location: Desert Rock
-
Giant Laboratory Specimens — Deemer's laboratory contains unusually large research animals, including a tarantula. Characters: Prof. Gerald Deemer
Location: Deemer's isolated desert laboratory
-
Lund Attacks Deemer — Deformed Lund attacks Deemer, injects him, breaks the tarantula cage, and starts a fire. Characters: Paul Lund / Eric Jacobs / Airport Workman, Prof. Gerald Deemer
Location: Deemer's laboratory
-
Lund Dies in the Fire — Lund collapses and dies as Deemer extinguishes the laboratory fire. Characters: Paul Lund / Eric Jacobs / Airport Workman, Prof. Gerald Deemer
Location: Deemer's laboratory
-
Deemer Buries Lund — Deemer buries Lund in the desert that night. Characters: Prof. Gerald Deemer, Paul Lund / Eric Jacobs / Airport Workman
Location: Desert outside Deemer's mansion
A Promised Food Supply
Clayton joins Deemer's laboratory as Burch presses him about Jacobs. Deemer presents his super-nutrient research while concealing the fire, Lund's fate, and the danger posed by the released tarantula.
Key Events
-
Deemer Buries Lund — Deemer buries Lund in the desert that night. Characters: Prof. Gerald Deemer, Paul Lund / Eric Jacobs / Airport Workman
Location: Desert outside Deemer's mansion
-
Clayton Joins the Laboratory — Clayton accepts a ride with Hastings to Deemer's laboratory. Characters: Stephanie 'Steve' Clayton, Dr. Matt Hastings
Location: Desert Rock
-
Burch Questions Deemer — Burch asks about Jacobs's death while Deemer evades him and gives Hastings and Clayton a misleading account of the fire and Lund. Characters: Joe Burch, Prof. Gerald Deemer, Dr. Matt Hastings, Stephanie 'Steve' Clayton
Location: Deemer's mansion
-
Deemer Describes the Nutrient — Deemer describes his attempt to create an artificial super-nutrient for an unlimited food supply. Characters: Prof. Gerald Deemer, Dr. Matt Hastings, Stephanie 'Steve' Clayton
Location: Deemer's mansion
The Rancher's Deadly Discovery
Hastings and Andrews investigate cattle reduced to skeletons and find the same unusual white substance. The tarantula kills Andersen and two men, making the threat impossible to dismiss.
Key Events
-
Cattle Found Stripped — Andrews and Hastings investigate stripped cattle skeletons and pools of thick white liquid. Characters: Sheriff Jack Andrews, Dr. Matt Hastings, Andy Andersen
Location: Andersen's ranch
-
Truck Attack at Night — The giant tarantula kills Andersen and two men inside a pickup truck. Characters: Andy Andersen
Location: Andersen's ranch
-
White Liquid Sampled — Hastings collects the white liquid and calls Deemer's laboratory for an analysis. Characters: Dr. Matt Hastings, Sheriff Jack Andrews
Location: Wrecked truck site
Venom and Deemer's Confession
Deemer attacks Clayton as Hastings seeks an analysis of the sample. Deemer reveals what happened with the experimental nutrient, and laboratory analysis identifies the substance as tarantula venom.
Key Events
-
White Liquid Sampled — Hastings collects the white liquid and calls Deemer's laboratory for an analysis. Characters: Dr. Matt Hastings, Sheriff Jack Andrews
Location: Wrecked truck site
-
Deemer Attacks Clayton — Clayton answers Hastings's call; Deemer ambushes her and the call is cut off. Characters: Prof. Gerald Deemer, Stephanie 'Steve' Clayton
Location: Deemer's mansion
-
Deemer Confesses the Experiment — Hastings finds Deemer near death; Deemer explains the nutrient and says Lund and Jacobs tested it on themselves. Characters: Dr. Matt Hastings, Prof. Gerald Deemer
Location: Deemer's mansion
-
The Liquid Is Venom — Analysis identifies the white substance as tarantula venom. Characters: Dr. Matt Hastings
Location: Arizona Agricultural Institute, Phoenix
The Town's Last Defense
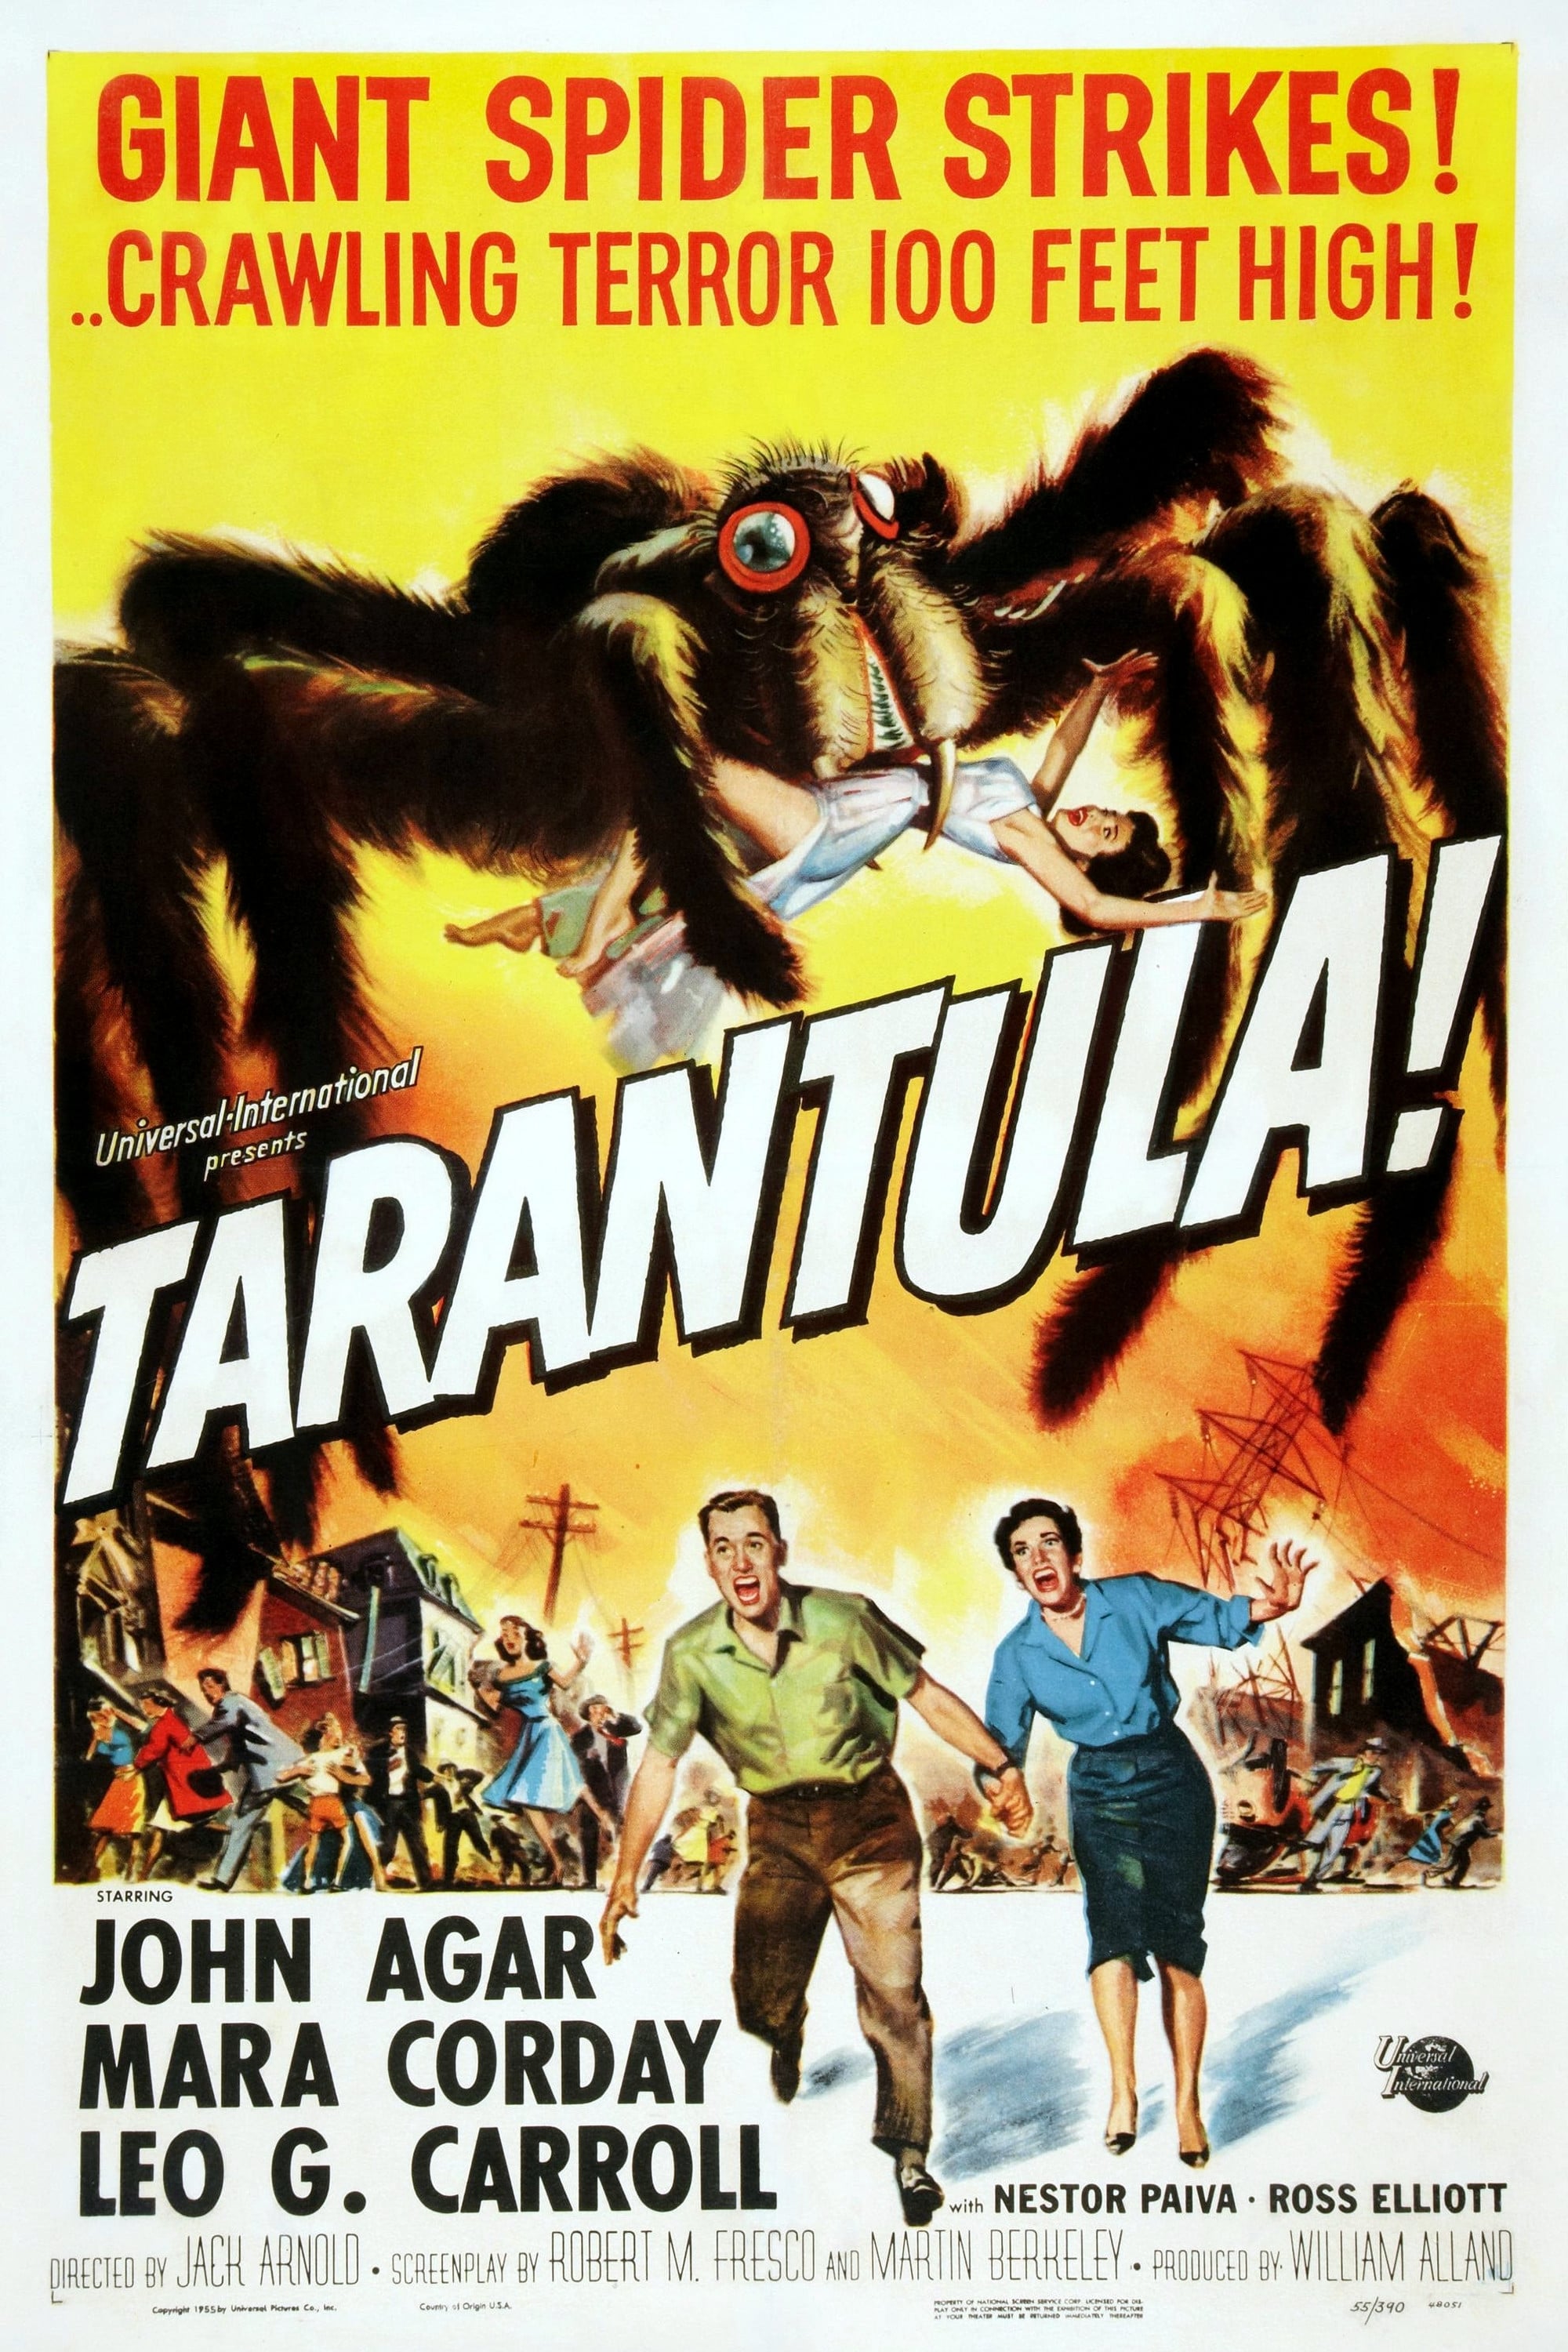
The enormous tarantula attacks Deemer's mansion, killing Deemer while Clayton escapes. Hastings rescues her, and after local weapons and dynamite fail, an Air Force napalm strike destroys the creature.
Key Events
-
Mansion Under Attack — The house-sized tarantula attacks the mansion; Deemer is killed and Clayton escapes. Characters: Dr. Matt Hastings, Stephanie 'Steve' Clayton, Prof. Gerald Deemer
Location: Deemer's mansion
-
Hastings Rescues Clayton — Hastings returns by car and rescues Clayton as the tarantula pursues them. Characters: Dr. Matt Hastings, Stephanie 'Steve' Clayton
Location: Road from Deemer's mansion
-
Police and Dynamite Fail — Andrews's men fail to stop the tarantula with guns, and a dynamite blast also has no effect. Characters: Dr. Matt Hastings, Stephanie 'Steve' Clayton, Sheriff Jack Andrews
Location: Highway near Desert Rock
-
Air Force Burns the Tarantula — Andrews summons the Air Force, whose napalm attack incinerates the tarantula at the town's edge. Characters: Sheriff Jack Andrews, Dr. Matt Hastings, Stephanie 'Steve' Clayton
Location: Edge of Desert Rock
-
Town Threat Ends — The tarantula is destroyed, ending its immediate threat to the town. Characters: Dr. Matt Hastings, Stephanie 'Steve' Clayton, Sheriff Jack Andrews
Location: Desert Rock