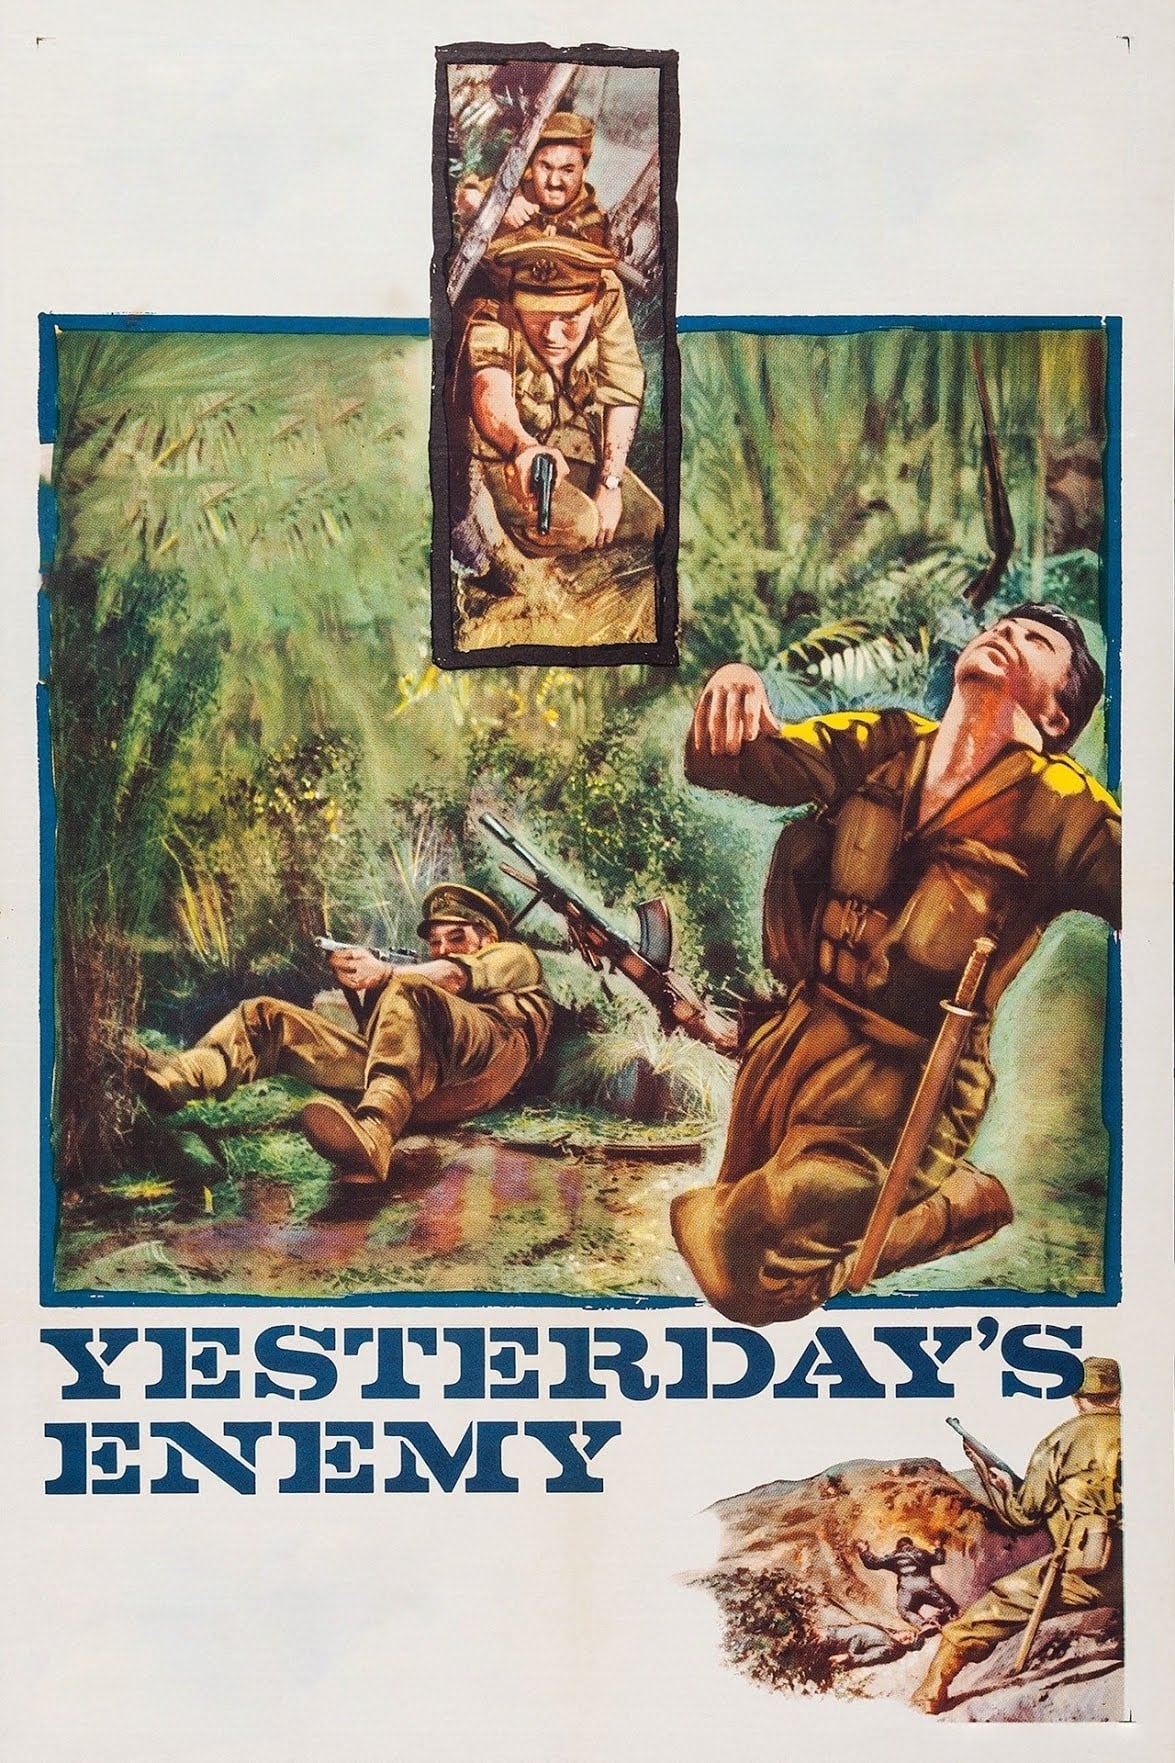
Plot Analysis Summary
A doomed British retreat becomes a moral and military struggle over survival, responsibility, and sacrifice.
Story Structure — 5 Plot Phases
Retreat Into The Village
The remnants of a British brigade retreat through the Burmese jungle and reach an enemy-held village. A costly battle destroys the local Japanese detachment, but the discovery of a colonel's map creates a larger strategic threat.
Key Events
-
Brigade Retreats Through Jungle — The remnants of a British brigade headquarters retreat through Burma while carrying several wounded officers. Characters: Brigadier
Location: Burmese jungle
-
Wounded Command Structure — The most senior officer is wounded, leaving the retreating group under a junior commander's leadership. Characters: Brigadier
Location: Burmese jungle
-
Enemy-Held Village — The retreating British group reaches a village occupied by a small Japanese detachment. Characters: Brigadier
Location: Small Burmese village
-
Village Battle — The British fight a short, costly battle and wipe out the Japanese soldiers stationed in the village. Characters: Padre, Max, Doctor
Location: Small Burmese village
-
Map Found On Colonel — A dead Japanese colonel is found carrying a map marked with unexplained symbols. Characters: Max, Doctor
Location: Village battlefield
The Price Of Information
A captured Burmese informer refuses to speak about the map. The execution of two hostages finally produces the revelation that a Japanese flanking attack threatens British supply lines.
Key Events
-
Informer Captured — A Burmese man attempting to flee is caught and identified as a Japanese informer. Characters: The Informer, Padre, Max, Doctor
Location: Village outskirts
-
Hostages Selected — The captain selects two villagers for execution to force the Informer to explain the map. Characters: The Informer, Padre, Max, Doctor
Location: Village square
-
Hostages Are Executed — The two hostages are killed despite protests from the Padre, Max, and the Doctor. Characters: The Informer, Padre, Max, Doctor
Location: Village square
-
Flanking Attack Revealed — Facing execution, the Informer reveals that the map shows a Japanese attack against British supply lines. Characters: The Informer, Padre, Max, Doctor
Location: Village square
-
Radio Is Damaged — The British discover that their radio is damaged, preventing an immediate warning to headquarters. Characters: Padre, Max, Doctor
Location: Village communications post
The Failed Warning
The damaged radio prevents an immediate warning, and the wounded agree to remain behind. An evacuation party is sent toward headquarters, but it is ambushed and destroyed.
Key Events
-
Wounded Left Behind — The wounded, including the dying Brigadier, agree to remain behind so the retreating force can move faster. Characters: Brigadier, Padre, Max, Doctor
Location: Enemy-held village
-
Evacuation Party Forms — A small party is chosen to reach British headquarters and report the Japanese attack plans. Characters: Padre, Max, Doctor
Location: Village road
-
Civilians Refuse Escape — Max and the Padre refuse evacuation and suggest that two other men take their places. Characters: Padre, Max, Doctor
Location: Village road
-
Evacuation Party Ambushed — The small party leaves the village but is ambushed, and everyone in it is killed. Characters: Doctor
Location: Jungle track
The Village Falls
The remaining British defend the village while the Burmese civilians evacuate. The ambush fails, the defenders are killed or captured, and the Japanese advance using prisoners as a shield.
Key Events
-
Defenders Prepare Ambush — The remaining British divide their forces, preparing to delay the approaching Japanese outside the village. Characters: Padre, Max, Doctor
Location: Village approaches
-
Villagers Evacuate — The surviving Burmese evacuate, and an English-speaking woman condemns both occupying armies. Characters: Padre, Max
Location: Village streets
-
Ambush Ends In Defeat — The British ambush fails, leaving the remaining defenders killed or captured. Characters: Padre, Max, Doctor
Location: Village approaches
-
Prisoners Shield Japanese Advance — The Japanese use captured British soldiers as a human shield while approaching the village. Characters: Padre, Max, Doctor
Location: Village outskirts
The Last Signal
The repaired radio sends a weak warning, though its success is uncertain. Under threat of execution, the captain attempts one final signal, dies, and leaves the prisoners awaiting death in prayer.
Key Events
-
Weak Radio Signal Sent — Radio operators repair the set and send a weak warning about the Japanese attack plans. Characters: Padre, Max, Doctor
Location: Village communications post
-
Commander Questions Prisoners — The Japanese commander questions the prisoners about the missing colonel and the map. Characters: Padre, Max, Doctor
Location: Captured village
-
Firing Squad Threat — The Japanese line up the prisoners and threaten to execute them unless information is provided. Characters: Padre, Max, Doctor
Location: Village square
-
Final Signal Attempt — The British captain runs toward the transmitter in a final attempt to warn headquarters. Characters: Padre, Max, Doctor
Location: Village communications post
-
Captain Is Shot — The captain is shot before completing the final signal, while the Japanese commander acknowledges his courage. Characters: Padre, Max, Doctor
Location: Village communications post
-
Prayer Before Execution — The Padre calmly leads the prisoners in the Lord's Prayer as they await execution. Characters: Padre, Max, Doctor
Location: Captured village
-
Memorial Cross At Kohima — The film ends on a silent memorial cross bearing the sacrifice's remembrance.
Location: Kohima War Cemetery