Story Structure — 5 Plot Phases
The Buried Weapon
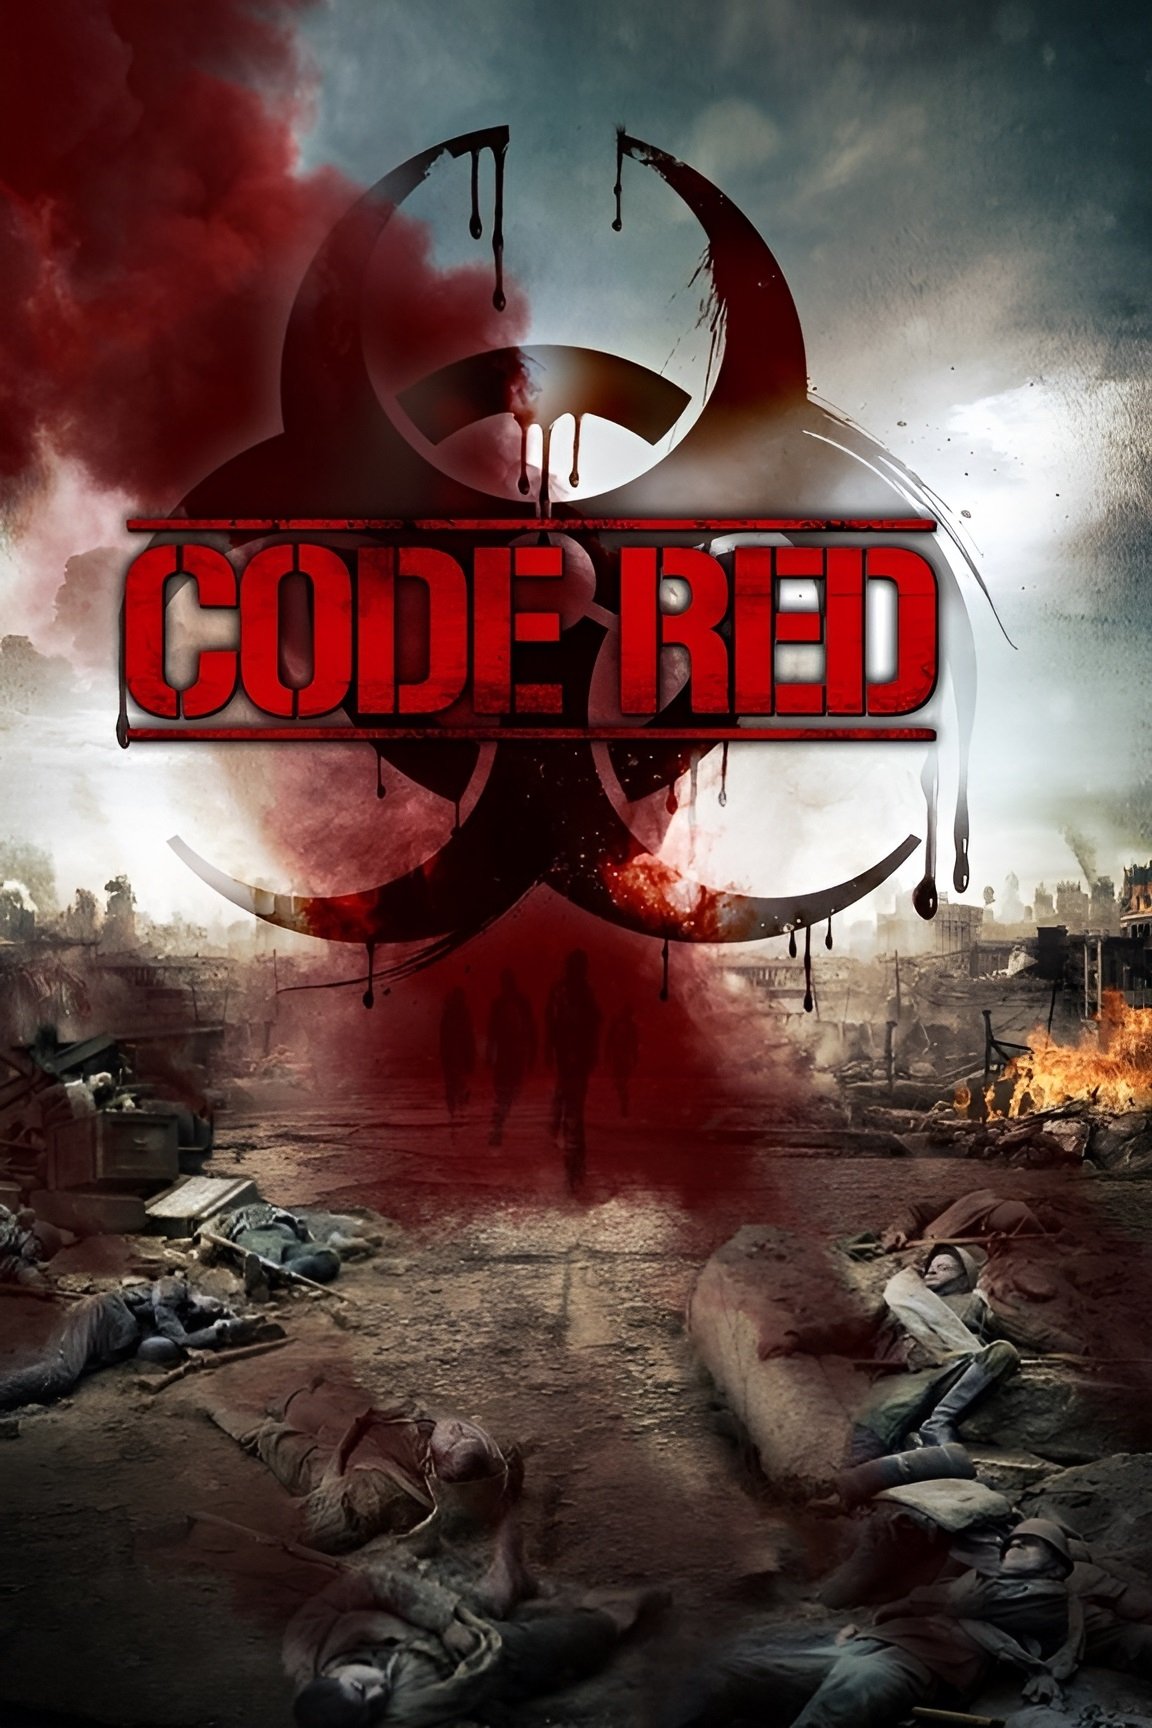
The story connects the Battle of Stalingrad to secret biochemical experiments and a soldier's warning diary. Decades later, investigators fear the weapon may still exist in Bulgaria.
Key Events
-
Battle of Stalingrad — The Battle of Stalingrad becomes a symbol of immense wartime destruction.
Location: Stalingrad
-
Secret Biochemical Experiments — Secret experiments allegedly seek to create super-warriors through biochemical weapons.
Location: Stalingrad
-
The Soldier's Diary — A surviving soldier's diary describes poisonous gas and a dangerous infection.
Location: Stalingrad
-
The Burned City Section — The diary claims an entire city section was burned to contain the infection.
Location: Stalingrad
-
Modern Military Investigation — Military investigators examine the diary because the weapon may still exist.
Location: Bulgaria
-
Transfer to Bulgaria — An American officer arrives as military responsibilities transfer between forces.
Location: Bulgaria
Evidence Beneath the Warehouse
The investigation reaches a munitions warehouse and a disturbing medical incident. A supposedly brain-dead patient rises, while official authorities suppress the doctor's account.
Key Events
-
Transfer to Bulgaria — An American officer arrives as military responsibilities transfer between forces.
Location: Bulgaria
-
The Munitions Warehouse — The investigation centers on a warehouse holding potentially contaminated weapons.
Location: Munitions warehouse
-
The Medical Emergency — A patient injured in an accident is declared brain dead after being found below the facility.
Location: Lowest level of the facility
-
The Patient Rises — The supposedly brain-dead patient rises and violently attacks a nurse.
Location: Lowest level of the facility
-
The Doctor Rejects Hallucination — The witnessing doctor refuses to accept the official hallucination explanation.
Location: Medical facility
-
Evidence Suppressed — The Bulgarian colonel confiscates records, suppresses evidence, and suspends the doctor.
Location: Medical facility
Fire in the Quarantine Town
The colonel orders contaminated weapons destroyed and uses threats and explosives to conceal the evidence. The resulting disaster spreads terror and fractures the evacuation.
Key Events
-
Weapons Marked for Destruction — The colonel secretly arranges for contaminated weapons to be destroyed.
Location: Munitions warehouse
-
Threats Against a Subordinate — The colonel threatens a subordinate whose wife and daughter are leaving town.
Location: Bulgaria
-
Explosions Conceal Evidence — Explosions are prepared to destroy weapons and conceal evidence.
Location: Munitions warehouse
-
The Town Disaster — The destruction causes a disaster that spreads terror through the town.
Location: Town
-
Miriam Separated — During the evacuation, Miriam becomes separated from her mother. Characters: Miriam
Location: Town
John's Dangerous Escape
Miriam is separated from her mother while John remains imprisoned. After obtaining his cell keys, John escapes and protects Miriam from infected attackers.
Key Events
-
Miriam Separated — During the evacuation, Miriam becomes separated from her mother. Characters: Miriam
Location: Town
-
John Seeks Cell Keys — John persuades Miriam to find a policeman and retrieve the keys to his cell. Characters: John, Miriam, Portly Policeman
Location: Police cell
-
John Escapes the Cell — John escapes imprisonment and begins protecting Miriam during the outbreak. Characters: John, Miriam
Location: Police cell
-
Attack by the Infected — John protects Miriam from infected attackers and promises to find her mother. Characters: John, Miriam
Location: Town
-
The Town Is Sealed — Emergency orders seal the town and soldiers are told to shoot anyone crossing the bridge.
Location: Bridge
Fuel Beyond the Bridge
The town is sealed and the bridge is guarded under shoot-on-sight orders. John, Miriam, and Alex attempt to cross the quarantine zone, but their vehicle nearly runs out of fuel.
Key Events
-
The Town Is Sealed — Emergency orders seal the town and soldiers are told to shoot anyone crossing the bridge.
Location: Bridge
-
Search for Miriam — John and another survivor search for Miriam and find her traveling with Alex. Characters: John, Miriam, Alex
Location: Town
-
Journey Toward the Bridge — Alex drives John and Miriam toward the bridge through the infected zone. Characters: John, Miriam, Alex
Location: Quarantine zone
-
Fuel Runs Low — The vehicle nearly runs out of fuel, forcing the group to stop. Characters: John, Miriam, Alex
Location: Road near the gas station
-
The Gas Station Stop — John waits with Miriam while Alex searches inside for a fuel container. Characters: John, Miriam, Alex
Location: Gas station
-
Unresolved Escape — The available account ends as they try to refuel and continue through quarantine. Characters: John, Miriam, Alex
Location: Gas station