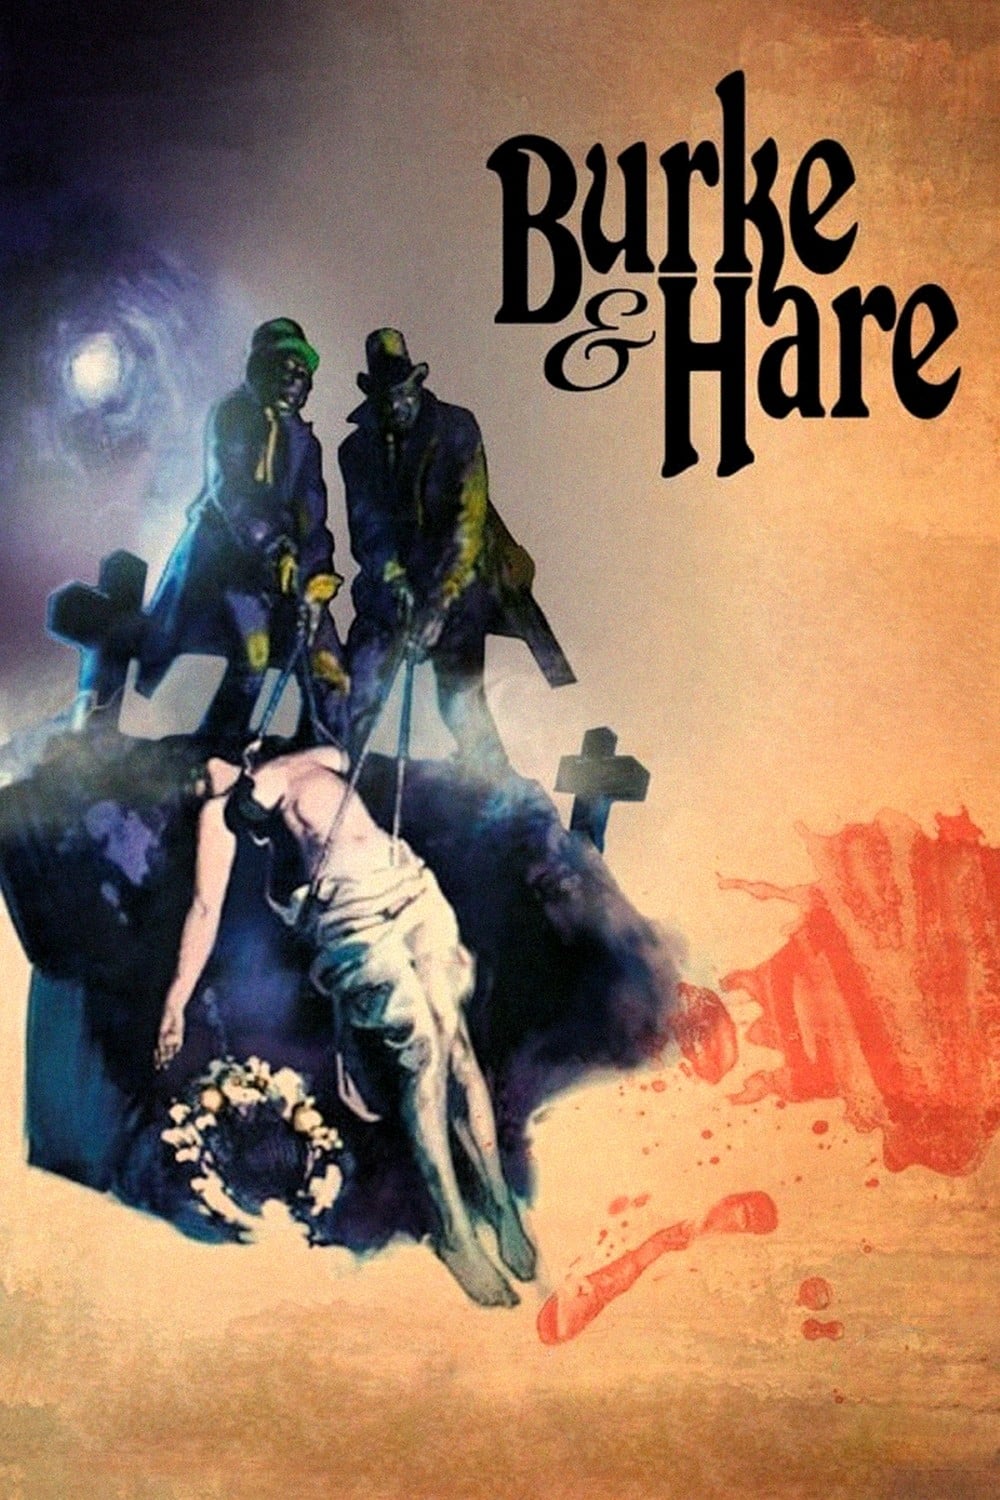
Story Structure — 5 Plot Phases
Bodies for Medical Science
Edinburgh's medical institutions need cadavers, while Burke and Hare discover that grave robbing can be highly profitable. Their first payment transforms a desperate practice into an organized business.
Key Events
-
Divided Edinburgh Society — The city is divided between impoverished laborers, wealthy pleasure seekers, and privileged medical professionals. Characters: Burke, Hare
Location: Edinburgh
-
Medical Demand for Bodies — A surgeon needs cadavers to support anatomical lectures and medical training. Characters: Burke, Hare
Location: Medical academy
-
The First Payment — Burke and Hare receive a large payment for their first supplied corpse. Characters: Burke, Hare
Location: Edinburgh
-
Grave Robbing Begins — The pair rob graves to meet the academy's demand for fresh bodies. Characters: Burke, Hare
Location: Edinburgh graveyard
-
Anatomy Lecture Success — Students respond positively to the surgeon's demonstrations and anatomical lectures. Characters: Burke, Hare
Location: Anatomy theatre
-
Graveyards Run Dry — The available graveyard bodies become insufficient for the profitable trade. Characters: Burke, Hare
Location: Edinburgh
The Trade Turns Bloody
When graveyard supplies run low, Burke and Hare begin murdering vulnerable people and passing the bodies off as stolen corpses. Their greed pushes them toward younger and more recognizable victims.
Key Events
-
Graveyards Run Dry — The available graveyard bodies become insufficient for the profitable trade. Characters: Burke, Hare
Location: Edinburgh
-
Murder Replaces Robbery — The partners begin killing vulnerable lodgers and pretend that they robbed the bodies. Characters: Burke, Hare
Location: West Port lodging house
-
Greed Escalates — Their greed makes them increasingly bold, leading them to select younger victims. Characters: Burke, Hare
Location: West Port
-
Jamie Is Brought Home — Daft Jamie is brought into the lodging house as a planned murder victim. Characters: Burke, Hare, Daft Jamie
Location: West Port lodging house
-
Jamie Is Delivered — Jamie is killed and his body is delivered for anatomical use. Characters: Burke, Hare, Daft Jamie
Location: Medical academy
-
The Head Is Destroyed — Because Jamie was recognizable and had signs of a fight, his head is destroyed. Characters: Burke, Hare, Daft Jamie
Location: Dissection room
-
Factory Accident Alibi — The guards are told that Jamie was a boy killed in a factory accident. Characters: Burke, Hare, Daft Jamie
Location: Medical academy
Jamie Cannot Disappear
Daft Jamie is selected despite being well known in the community. His damaged body forces the conspirators to destroy identifying evidence and invent a false explanation for his death.
Key Events
-
Jamie Is Brought Home — Daft Jamie is brought into the lodging house as a planned murder victim. Characters: Burke, Hare, Daft Jamie
Location: West Port lodging house
-
Jamie Is Delivered — Jamie is killed and his body is delivered for anatomical use. Characters: Burke, Hare, Daft Jamie
Location: Medical academy
-
The Head Is Destroyed — Because Jamie was recognizable and had signs of a fight, his head is destroyed. Characters: Burke, Hare, Daft Jamie
Location: Dissection room
-
Factory Accident Alibi — The guards are told that Jamie was a boy killed in a factory accident. Characters: Burke, Hare, Daft Jamie
Location: Medical academy
-
Brothel Burns Down — A brothel burns, forcing Marie and other prostitutes to seek new accommodation. Characters: Burke, Marie
Location: Local brothel
Marie on the Anatomy Table
A brothel fire leaves Marie seeking shelter, and Burke offers accommodation. Her later appearance as a cadaver shocks the investigating student and exposes the human cost of the corpse trade.
Key Events
-
Brothel Burns Down — A brothel burns, forcing Marie and other prostitutes to seek new accommodation. Characters: Burke, Marie
Location: Local brothel
-
Burke Offers Shelter — Burke meets Marie and offers her accommodation after the fire. Characters: Burke, Marie
Location: Bar
-
Marie Misses Her Rendezvous — Marie fails to meet her medical student lover, beginning her unexplained disappearance. Characters: Marie
Location: Edinburgh
-
Marie Appears on the Table — Marie is recognized as a dead body during an anatomy demonstration. Characters: Marie
Location: Anatomy theatre
-
A False Medical Explanation — The death is falsely explained as the result of alcoholism. Characters: Marie
Location: Medical academy
-
Nighttime Investigation — A medical student secretly enters the private dissection room and investigates Marie's death. Characters: Marie
Location: Private dissection room
The Final Discovery
The investigation leads toward West Port and Burke's Halloween gathering. A drunken fight brings in the City Guard, who discover another dead body and close the circle around the criminals.
Key Events
-
Nighttime Investigation — A medical student secretly enters the private dissection room and investigates Marie's death. Characters: Marie
Location: Private dissection room
-
The West Port Trail — The investigation is directed toward a tavern in West Port, where Burke is present. Characters: Burke, Marie
Location: Tavern in West Port
-
The Halloween Gathering — Burke brings an old match-seller home to join a Halloween gathering. Characters: Burke, Hare
Location: Tanners Close
-
The Drunken Fight — A drunken fight breaks out as the investigating student arrives and tracks the group down. Characters: Burke, Hare
Location: Tanners Close
-
The Guard Breaks In — The City Guard is called, breaks up the fight, and discovers a dead body. Characters: Burke, Hare
Location: Tanners Close
-
The Criminal Aftermath — A voice-over explains what ultimately happened to the central figures and victims. Characters: Burke, Hare, Marie, Daft Jamie
Location: Edinburgh