Plot Analysis Summary
A security investigation spirals into mistaken identities, disputed orders, and competing chases over papers and stolen property.
Story Structure — 5 Plot Phases
A Security Job Begins
Major Upton's security business becomes involved with Jeffrey Armitage's laboratory trouble. Upton visits Armitage's home over fears of theft and assigns Hobbs to conduct surveillance.
Key Events
-
A Detective's Weary Lot — A woman recounts events to an interviewer as a song introduces the weary life of a detective.
Location: Unspecified interview setting
-
Security Business Enters the Case — Major Upton's security business becomes involved with Armitage's laboratory troubles. Characters: Major Upton, Jeffrey Armitage
Location: England
-
Fear of a Laboratory Theft — After a theft is feared, Upton visits Armitage and offers to inspect the safe. Characters: Jeffrey Armitage, Major Upton
Location: Armitage's home
-
Hobbs Begins Surveillance — Upton assigns Hobbs to follow Armitage's wife and record her movements and meetings. Characters: Major Upton, Hobbs
Location: Unspecified
Surveillance and Mishaps
Hobbs struggles through surveillance, including a mistaken first impression of a visitor. Attempts to enter a locked enclosure produce comic mishaps, while Miles becomes entangled and encounters Utta.
Key Events
-
A Visitor's Changing Description — Nervous Hobbs reports a suspicious-looking visitor, then revises his description after seeing him more clearly. Characters: Hobbs
Location: Unspecified surveillance location
-
The Locked Enclosure — Men attempt to enter a locked enclosure, setting off comic mishaps.
Location: Locked enclosure
-
Miles Encounters Utta — Miles becomes entangled in events and encounters Utta. Characters: Miles Gannet, Utta Armitage
Location: Unspecified
The Papers and Conflicting Orders
The stolen papers appear at Armitage's house, prompting Jeffrey to demand an explanation. Upton and Hamilton give conflicting accounts of who ordered the retrieval.
Key Events
-
Papers Return to Armitage's House — The stolen papers turn up at Armitage's house, and Jeffrey demands an explanation. Characters: Jeffrey Armitage, Major Upton, Simon Hamilton
Location: Armitage's home
-
Upton Explains the Retrieval — Upton says he sent Hamilton to retrieve the papers after hearing of a possible raid. Characters: Major Upton, Simon Hamilton, Jeffrey Armitage
Location: Armitage's home
-
Orders Are Disputed — Hamilton says Upton ordered the retrieval; Upton first denies it, then wonders whether he did. Characters: Major Upton, Simon Hamilton
Location: Unspecified
Chases Multiply
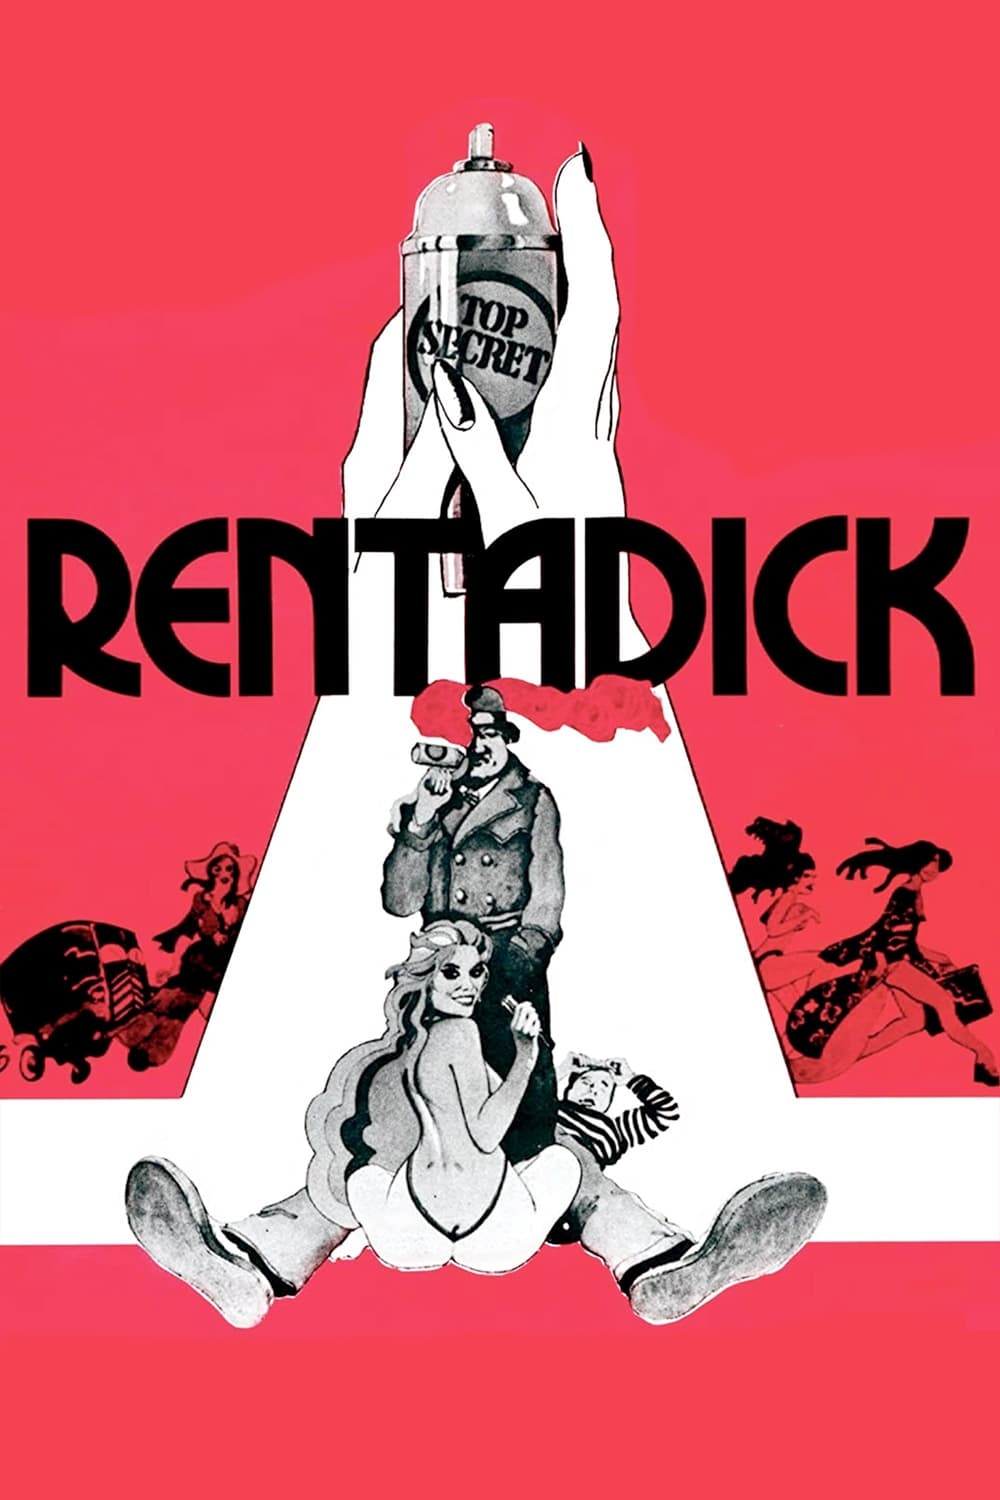
The pursuit spreads from the papers to a camera and a gas cylinder. A detective disappears with a woman's mink coat, prompting her and Upton to give chase.
Key Events
-
The Papers and Camera Chase — People chase after the papers and a camera as events accelerate.
Location: Unspecified
-
The Gas Cylinder Pursuit — The pursuit expands to include a cylinder of gas.
Location: Unspecified
-
The Mink Coat Disappears — A detective disappears with the woman's mink coat, and she and Upton give chase. Characters: Major Upton
Location: A woman's home
The Loot Confrontation
Hamilton tries to claim the loot as West challenges him and Hobbs identifies him as the gas-cylinder thief. Disguises, accusations, Upton's dismissal of the men, and a final struggle leave the scheme in disarray.
Key Events
-
Hamilton Claims the Loot — Hamilton tries to claim the loot; West challenges him, and Hobbs identifies him as the gas-cylinder thief. Characters: Simon Hamilton, West, Hobbs, Major Upton
Location: Unspecified confrontation site
-
Confusion and Dismissal — Disguises and confused accusations intensify the uproar before Upton dismisses the men. Characters: Major Upton, Simon Hamilton, West, Hobbs
Location: Unspecified confrontation site
-
Scheme Left in Disarray — The final struggle leaves the outcome of the scheme in disarray. Characters: Major Upton, Simon Hamilton, West, Hobbs
Location: Unspecified confrontation site