Story Structure — 5 Plot Phases
Assumption of Command
Lawrence takes over UDT 4 after Cassidy's death and faces immediate distrust and brawls. Vincent offers leniency at the captain's mast to help Lawrence establish authority before the first mission.
Key Events
-
Lawrence Assumes Command — Lawrence takes over UDT 4 after Cassidy's death, facing immediate distrust and brawls. Characters: Lt. Cmdr. John Lawrence, Jake Flannigan
Location: Transport Ship Deck
-
Captain's Mast Leniency — Vincent understands the team's grief and offers leniency to help Lawrence establish authority. Characters: Lt. Cmdr. Pete Vincent, Lt. Cmdr. John Lawrence
Location: Captain's Mast
-
Pre-Mission Discipline — Lawrence holds his own mast and disciplines the team before the beach location mission. Characters: Lt. Cmdr. John Lawrence, Jake Flannigan
Location: Ship Deck
Doubt and Sacrifice
Lawrence divides the platoon for a dangerous diversion mission, resulting in heavy casualties and his own coral injury. He orders a rescue but continues back, deepening the team's distrust.
Key Events
-
Platoon Division — Lawrence divides the platoon, placing Klinger in charge of a dangerous diversion. Characters: Lt. Cmdr. John Lawrence, Jake Flannigan
Location: Planning Room
-
Coral Injury & Artillery Strike — Lawrence cuts his leg on coral while the diversion boat is hit, killing Klinger and most men. Characters: Lt. Cmdr. John Lawrence, Jake Flannigan
Location: Underwater Beach
-
Rescue Order & Continued Mission — Lawrence orders a rescue for surviving frogmen but continues back to secure gathered intelligence. Characters: Lt. Cmdr. John Lawrence, Jake Flannigan
Location: Underwater
Crisis and Confession
Lawrence hides his illness while Flannigan leads the beach clearance. Creighton's fatal prank leads to a confession that triggers Lawrence's furious reprimand and mass transfer requests.
Key Events
-
Transfer Requests — Distrust peaks as Flannigan and others request transfers, but Lawrence insists on completing the next mission. Characters: Jake Flannigan, Lt. Cmdr. John Lawrence
Location: Ship Deck
-
Sick Commander's Absence — Lawrence hides his coral poisoning and stays behind, leaving Flannigan in charge of the beach clearance. Characters: Lt. Cmdr. John Lawrence, Jake Flannigan
Location: Sick Bay
-
Creighton's Beach Prank — Creighton sneaks ashore to leave a sign, gets shot, and Flannigan tows him to safety. Characters: Jake Flannigan
Location: Japanese Beach
-
Confession & Upbraiding — Flannigan confesses to Creighton's injuries, prompting Lawrence to furiously reprimand the entire team. Characters: Jake Flannigan, Lt. Cmdr. John Lawrence
Location: Sick Bay
-
Beach Clearance Execution — Flannigan leads the team to angrily but efficiently complete the beach clearance task. Characters: Jake Flannigan
Location: Japanese Beach
The Torpedo Gambit
A torpedo strikes the ship and lodges in the sick bay. Lawrence volunteers to disarm it with Flannigan's help, proving his courage and shifting the team's perception.
Key Events
-
Torpedo Impact — A torpedo strikes the ship and lodges in the sick bay next to Creighton's bed. Characters: Lt. Cmdr. John Lawrence, Lt. Cmdr. Pete Vincent
Location: Transport Ship
-
Torpedo Disarmament — Lawrence volunteers to disarm the live torpedo with Flannigan's crucial assistance. Characters: Lt. Cmdr. John Lawrence, Jake Flannigan
Location: Sick Bay
-
Final Mission Orders — Lawrence receives orders to destroy a Japanese submarine pen and expresses pride in serving with them. Characters: Lt. Cmdr. John Lawrence, Jake Flannigan
Location: Bridge
Triumph and Acceptance
Lawrence leads the final submarine pen mission, gets stabbed in combat, and is rescued by Flannigan. The successful mission cements mutual respect and formal acceptance.
Key Events
-
Submarine Pen Infiltration — The team plants explosives but is discovered when a man accidentally trips a signal wire. Characters: Lt. Cmdr. John Lawrence, Jake Flannigan
Location: Japanese Submarine Pen
-
Hand-to-Hand Combat — Lawrence engages in close combat and is stabbed by a Japanese diver while planting charges. Characters: Lt. Cmdr. John Lawrence, Jake Flannigan
Location: Submarine Pen
-
Flannigan's Rescue — Despite being ordered to leave him, Flannigan tows the wounded Lawrence to safety. Characters: Jake Flannigan, Lt. Cmdr. John Lawrence
Location: Underwater
-
Mission Success & Recuperation — The mission succeeds, and Lawrence recuperates beside the injured Creighton. Characters: Lt. Cmdr. John Lawrence
Location: Sick Bay
-
Portrait Signing & Acceptance — Swayed by Lawrence's bravery, the men accept him and ask him to sign Cassidy's portrait for his widow. Characters: Lt. Cmdr. John Lawrence, Jake Flannigan
Location: Sick Bay
-
Morale Shift — The team's perception of Lawrence shifts from cowardice to respect following the torpedo incident. Characters: Lt. Cmdr. John Lawrence, Jake Flannigan
Location: Transport Ship
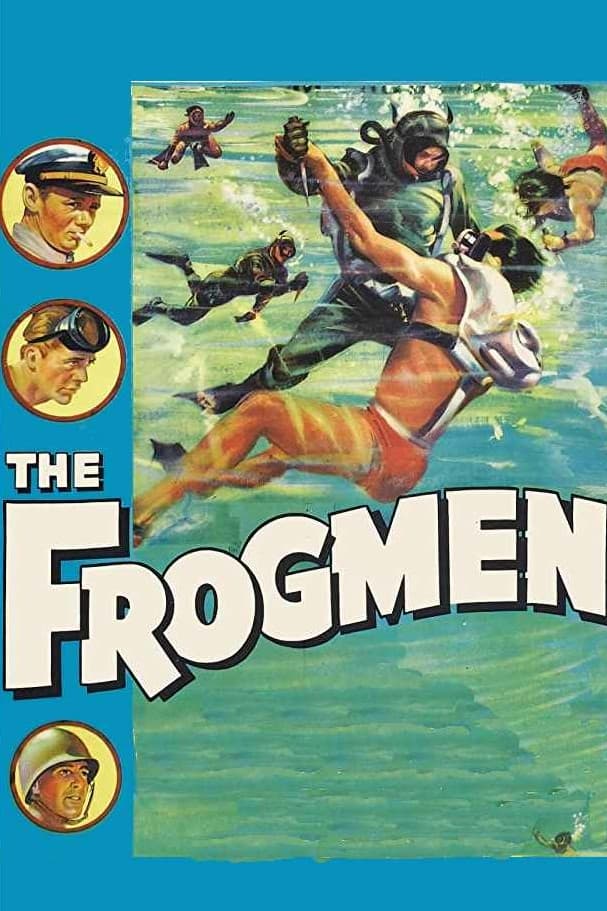
The new commander of a Navy Underwater Demolition Team--nicknamed "Frogmen"--must earn the respect of the men in his unit, who are still grieving over the death of their former commander and resentful of the new one.