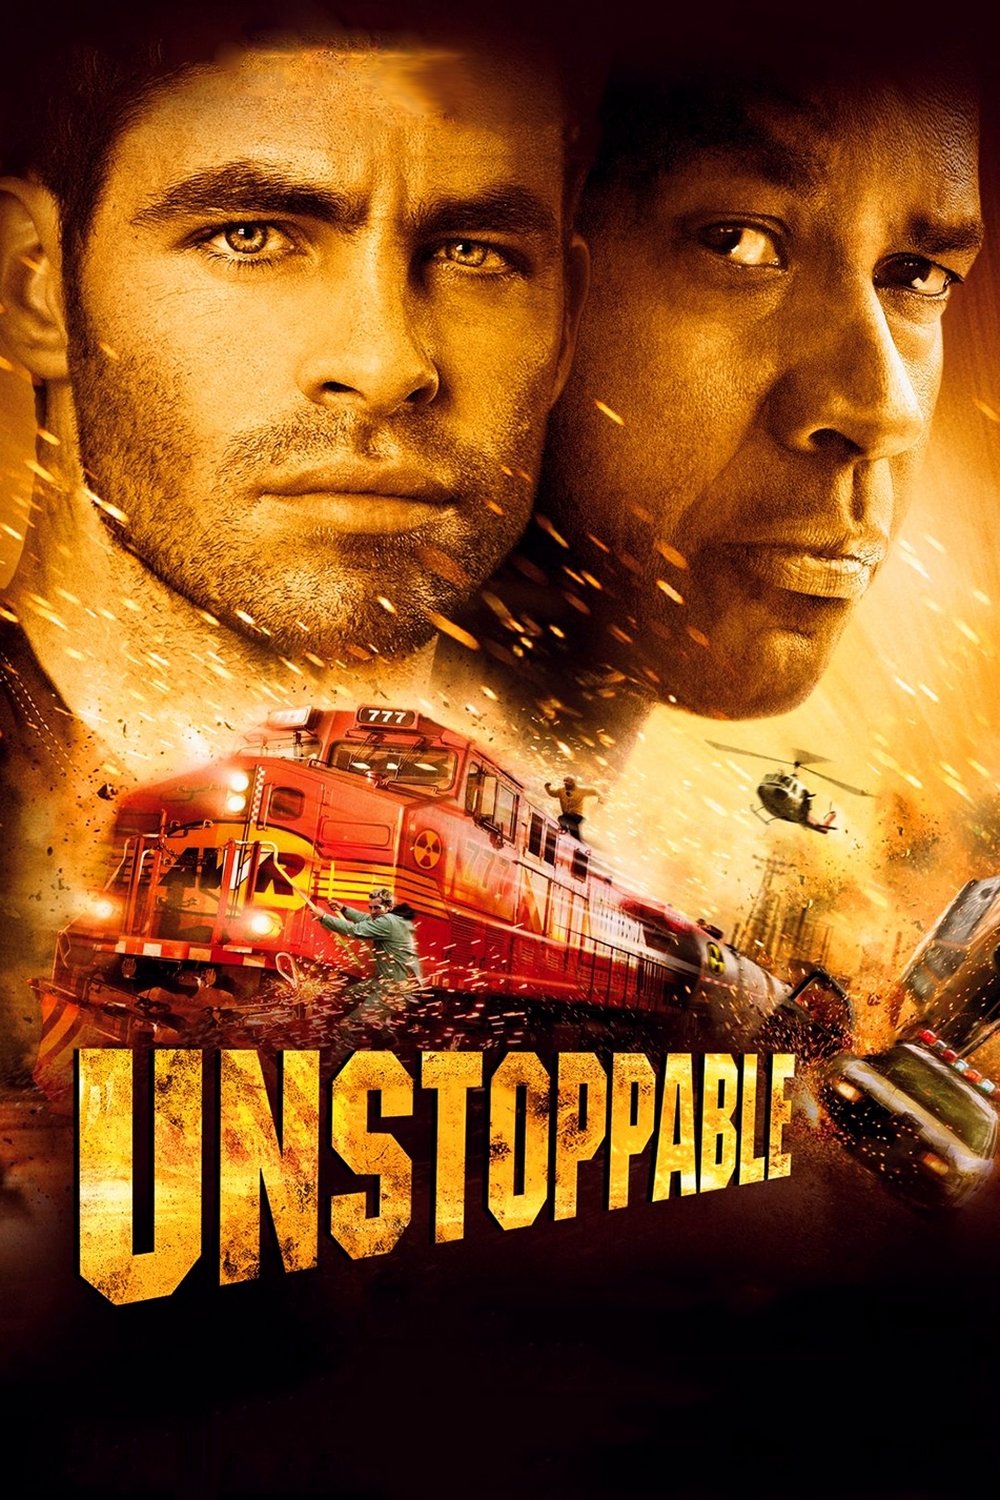
Plot Analysis Summary
A runaway freight train forces two railroad workers to overcome institutional resistance, physical danger, and failing equipment through cooperation and resolve.
Story Structure — 5 Plot Phases
The Runaway Begins
A switching error sends Triple 7 south at full throttle without a crew. Early attempts to redirect or board it fail, while the railroad discovers the train's hazardous cargo.
Key Events
-
Switching Operation Fails — A botched switching operation leaves locomotive 777 pulling 39 cars without a crew. Characters: Dewey, Gilleece
Location: AWVR yard in northern Pennsylvania
-
Triple Seven Runs Away — The crew realizes the train is at full power with its air brake unlatched. Characters: Dewey, Gilleece, Connie Hooper
Location: AWVR main line
-
First Boarding Attempt — Dewey and Gilleece attempt to board the runaway but fail. Characters: Dewey, Gilleece, Connie Hooper
Location: Railroad main line
-
Ned Misses The Switch — Ned reaches the switch after Triple 7 has already passed it. Characters: Ned Oldham, Connie Hooper
Location: Main-line switch
-
Toxic Cargo Discovered — Werner warns that eight cars contain highly toxic and flammable phenol. Characters: Connie Hooper, Inspector Scott Werner
Location: Railroad operations center
A Failed Rescue
The railroad tries several emergency responses as Triple 7 approaches populated areas. Judd's intervention ends in a fatal derailment and leaves the danger unresolved.
Key Events
-
Farmland Derailment Proposed — Connie suggests derailing the train in unpopulated farmland to limit the danger. Characters: Connie Hooper, Inspector Scott Werner
Location: Railroad operations center
-
Judd Attempts Intervention — Judd uses another locomotive to slow Triple 7 and create a boarding opportunity. Characters: Judd Stewart, Connie Hooper
Location: Railroad main line
-
Intervention Ends In Explosion — Judd's locomotive derails and explodes, killing him while Triple 7 continues. Characters: Judd Stewart, Connie Hooper
Location: Railroad main line
-
Stanton Curve Threatens — The runaway approaches a dangerous elevated curve above populated Stanton. Characters: Connie Hooper, Inspector Scott Werner
Location: Approach to Stanton
Frank's Defiant Plan
Frank identifies an open coupler and proposes using locomotive 1206 to slow the runaway. Despite management resistance, Frank and Will begin their pursuit.
Key Events
-
Frank And Will Divert — Frank and Will pull onto a siding just before Triple 7 smashes through their last boxcar. Characters: Frank Barnes, Will Colson
Location: RIP track siding
-
Open Coupler Spotted — Frank notices an open coupler on Triple 7's rear car and proposes coupling 1206 to it. Characters: Frank Barnes, Will Colson
Location: RIP track siding
-
Derailer Plan Rejected — Frank predicts the derailers will fail, but management rejects his pursuit plan. Characters: Frank Barnes, Will Colson, Connie Hooper
Location: Railroad operations center
-
Pursuit Begins — Frank and Will ignore the order and pursue Triple 7 with locomotive 1206. Characters: Frank Barnes, Will Colson, Connie Hooper
Location: Railroad main line
-
Portable Derailers Fail — Triple 7 passes through the portable derailers without slowing or derailing. Characters: Frank Barnes, Will Colson, Connie Hooper, Inspector Scott Werner
Location: Arklow approach
Braking Against Time
Will completes the coupling despite a severe foot injury, while Frank manually applies handbrakes across the freight cars. Their first braking effort fails when locomotive 1206's brakes burn out.
Key Events
-
Portable Derailers Fail — Triple 7 passes through the portable derailers without slowing or derailing. Characters: Frank Barnes, Will Colson, Connie Hooper, Inspector Scott Werner
Location: Arklow approach
-
Coupling Attempt — Will leaves the cab to complete the coupling, but the locking pin initially fails to engage. Characters: Frank Barnes, Will Colson
Location: Rear of Triple 7
-
Will Secures The Coupler — Will kicks the locking pin into place, crushes his foot, and returns to control the brakes. Characters: Frank Barnes, Will Colson
Location: Rear coupling point
-
Handbrakes Slow The Train — Frank engages handbrakes car by car while Will operates the dynamic brakes. Characters: Frank Barnes, Will Colson
Location: Freight cars
-
Brakes Burn Out — Locomotive 1206's brakes burn out, allowing Triple 7 to accelerate again. Characters: Frank Barnes, Will Colson
Location: Railroad main line
The Final Stop
Frank and Will coordinate independent braking to survive the Stanton curve. Ned enables Will's final leap onto Triple 7, where Will takes control and stops the train.
Key Events
-
Stanton Curve Survived — Frank and Will coordinate brake timing by radio and reduce speed enough to navigate the curve. Characters: Frank Barnes, Will Colson
Location: Elevated bridge above Stanton
-
Ned Enables Final Boarding — Ned drives alongside the train, allowing Will to jump from the truck onto Triple 7's engine. Characters: Frank Barnes, Will Colson, Ned Oldham
Location: Trackside near Stanton
-
Runaway Train Stopped — Will reaches the engine controls and brings the runaway train to a stop. Characters: Frank Barnes, Will Colson, Ned Oldham
Location: Triple 7 locomotive
-
Heroes Receive Commendation — Frank, Will, and Ned are commended for stopping the runaway train. Characters: Frank Barnes, Will Colson, Ned Oldham, Connie Hooper
Location: Press conference
-
Professional Futures Change — Frank is promoted before retiring, Will continues working, Connie advances, and Dewey is fired. Characters: Frank Barnes, Will Colson, Connie Hooper, Dewey
Location: AWVR workplace