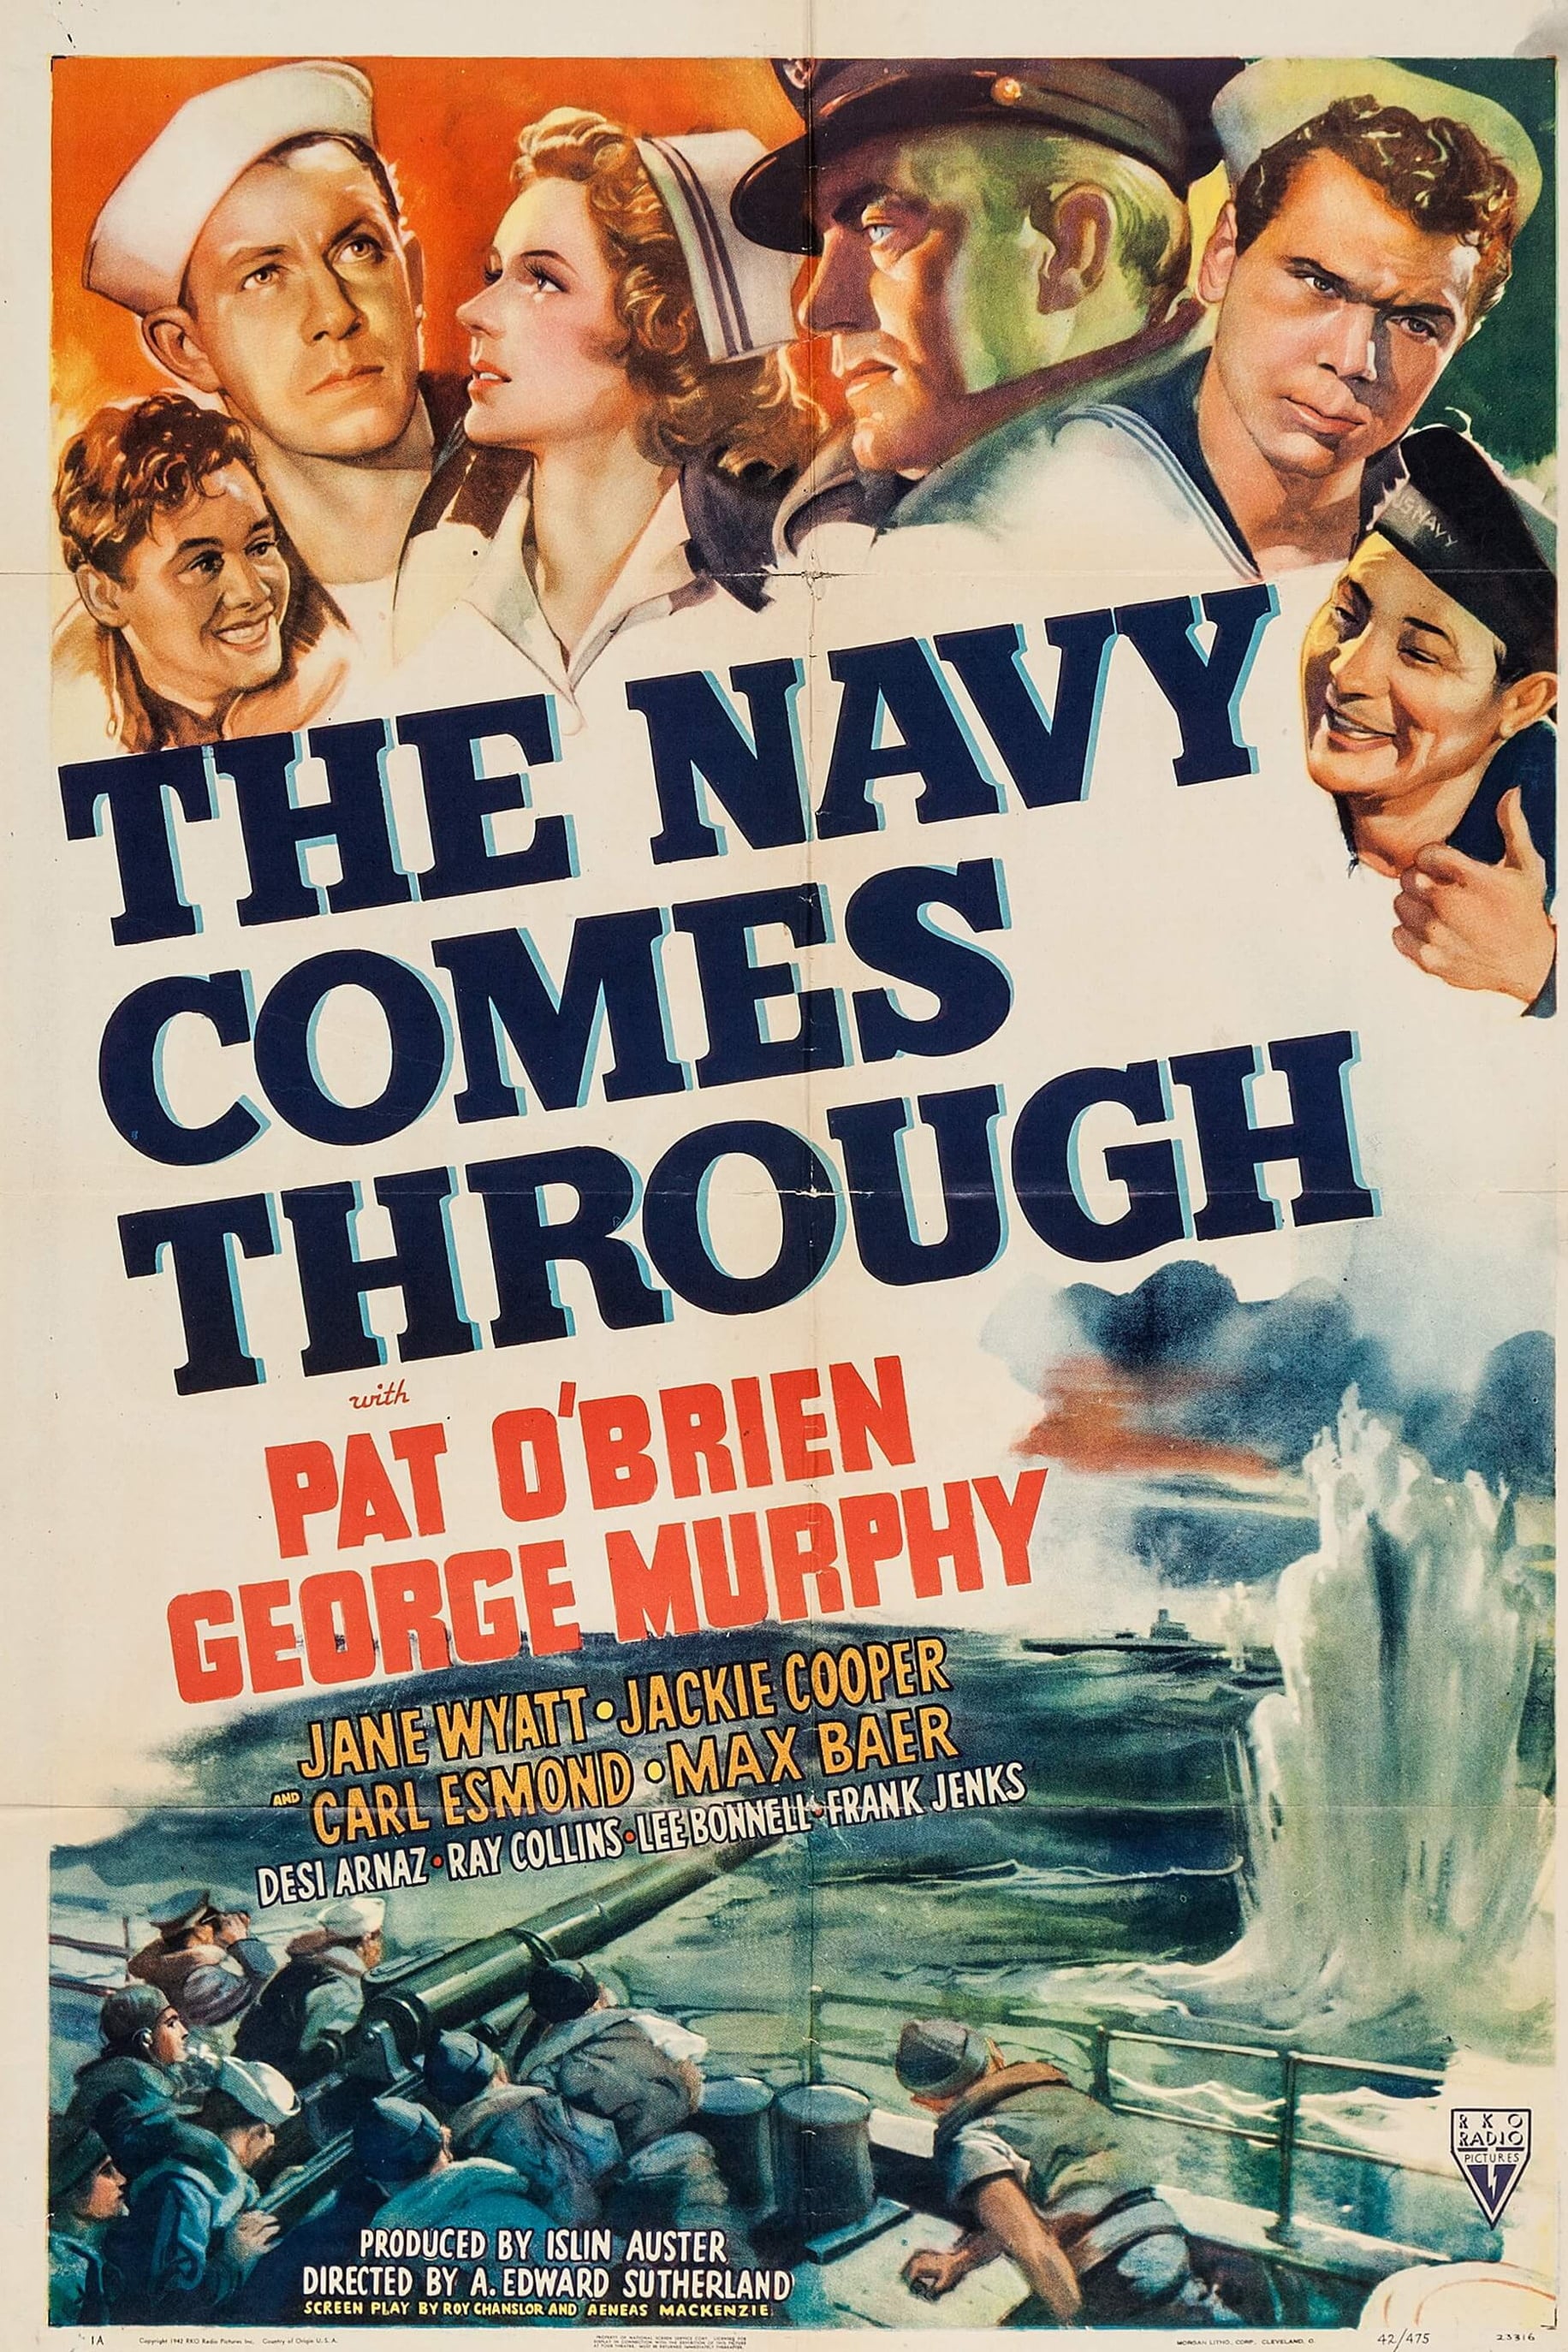
Plot Analysis Summary
A disgraced officer returns to sea, where combat, difficult choices, and a rescue give him a chance to prove his judgment and regain his commission.
Story Structure — 5 Plot Phases
A Career Broken by Testimony
Mallory's testimony at the inquiry helps end Sands's career. Sands resigns and separates from Myra, but later reenlists when the United States enters the war.
Key Events
-
Turret Accident Inquiry — Mallory's testimony about a fatal turret accident helps end Sands's naval career. Characters: Chief Michael 'Mike' Mallory, Lt. Thomas L. 'Tom' Sands
Location: United States Navy Board of Inquiry
-
Sands Leaves the Navy — Sands resigns his commission and tells Myra there is no future for them. Characters: Lt. Thomas L. 'Tom' Sands, Myra Mallory
Location: Not specified
-
Sands Reenlists — After the United States enters the war, Sands rejoins the Navy as an enlisted man. Characters: Lt. Thomas L. 'Tom' Sands
Location: United States Navy
-
Assigned to Mallory — Sands is assigned to Mallory aboard the freighter, to their mutual displeasure. Characters: Chief Michael 'Mike' Mallory, Lt. Thomas L. 'Tom' Sands
Location: Sybil Gray
Old Wounds at Sea
Sands is assigned to Mallory aboard the Sybil Gray and encounters Myra again. Attacks at sea and a dangerous encounter in fog revive both professional tensions and their old affection.
Key Events
-
Myra Sees Sands Again — Myra visits Mallory before departure and encounters Sands for the first time since the inquiry. Characters: Myra Mallory, Lt. Thomas L. 'Tom' Sands, Chief Michael 'Mike' Mallory
Location: Sybil Gray
-
Berringer Recognizes Sands — Berringer recognizes Sands, and Sands becomes a pariah among the sailors. Characters: Coxswain G. Berringer, Lt. Thomas L. 'Tom' Sands
Location: Sybil Gray
-
Surface U-Boat Attack — A surfaced German U-boat attacks the convoy ship; the Sybil Gray exchanges fire before escorts drive it off. Characters: Chief Michael 'Mike' Mallory, Lt. Thomas L. 'Tom' Sands, James Bayless (as John Maguire)
Location: At sea near the convoy
-
Bayless Is Wounded — Bayless is seriously injured, and Myra and Murray come aboard to operate on him. Characters: James Bayless (as John Maguire), Myra Mallory, Lt. Cmdr. Murray - navy doctor
Location: Sybil Gray
-
Fogbound Battleship Encounter — A near encounter with a German pocket battleship leads Sands to admit he still loves Myra. Characters: Lt. Thomas L. 'Tom' Sands, Myra Mallory
Location: At sea in fog
A Rescue Misunderstood
During an air attack, Sands carries the injured Myra to safety while Berringer is fatally wounded at his gun. The sailors mistake Sands's action for cowardice, isolating him further.
Key Events
-
Aircraft Attack — Two German aircraft strafe and bomb the ship; falling debris knocks Myra unconscious. Characters: Lt. Thomas L. 'Tom' Sands, Myra Mallory, Coxswain G. Berringer
Location: Sybil Gray
-
Sands Carries Myra to Safety — Sands leaves his gun to carry injured Myra to safety; Berringer is fatally wounded while Sands is away. Characters: Lt. Thomas L. 'Tom' Sands, Myra Mallory, Coxswain G. Berringer
Location: Sybil Gray
-
Crew Suspects Sands — The aircraft are shot down, but the sailors believe Sands is a coward after Berringer's fatal wounding. Characters: Lt. Thomas L. 'Tom' Sands, Coxswain G. Berringer
Location: Sybil Gray
The Supply Ship Gambit
Duttson intercepts a message and Kroner interprets it, allowing Mallory to locate a German supply ship. Sands prevents a delayed torpedo attack and persuades Mallory to use the captured vessel in a trap.
Key Events
-
German Message Intercepted — Duttson intercepts a German message, and Kroner interprets it as news of a nearby U-boat supply ship. Characters: Joe 'Babe' Duttson, Richard 'Dutch' Kroner, Chief Michael 'Mike' Mallory
Location: Sybil Gray
-
Course Changed for Supply Ship — Mallory persuades the freighter's captain to change course and capture the German supply vessel. Characters: Chief Michael 'Mike' Mallory
Location: Sybil Gray
-
Delayed Torpedo Plot Foiled — Sands detects and foils the German captain's plan to make a torpedo explode after a delay. Characters: Lt. Thomas L. 'Tom' Sands
Location: German supply ship
-
Sands Proposes Torpedo Trap — Sands disobeys the order to sail to Belfast and proposes booby-trapping torpedoes for unsuspecting U-boats; Mallory agrees. Characters: Lt. Thomas L. 'Tom' Sands, Chief Michael 'Mike' Mallory
Location: German supply ship
-
Three U-Boats Tricked — The plan works without incident for the first three submarines. Characters: Lt. Thomas L. 'Tom' Sands, Chief Michael 'Mike' Mallory, Richard 'Dutch' Kroner
Location: At sea near the German supply ship
Battle and Vindication
Kroner's recognition by a German officer triggers a battle involving two U-boats, and the supply ship's hold catches fire. Sands rescues Mallory, and the reconvened inquiry reinstates Sands as an officer.
Key Events
-
Kroner Recognized — A fourth submarine's officer recognizes Kroner as a famous anti-Nazi violinist, triggering an exchange of fire. Characters: Richard 'Dutch' Kroner, Lt. Thomas L. 'Tom' Sands, Chief Michael 'Mike' Mallory
Location: At sea near the German supply ship
-
Submarines Sunk and Hold Burns — A second U-boat joins the battle; both submarines are sunk, while the supply ship's hold catches fire. Characters: Chief Michael 'Mike' Mallory, Lt. Thomas L. 'Tom' Sands, Richard 'Dutch' Kroner
Location: German supply ship
-
Sands Rescues Mallory — Mallory is overcome by fumes while dealing with the fire, and Sands rescues him. Characters: Lt. Thomas L. 'Tom' Sands, Chief Michael 'Mike' Mallory
Location: German supply ship
-
Inquiry Reconvened — Back in the United States, the inquiry is reconvened and Sands is reinstated as an officer. Characters: Lt. Thomas L. 'Tom' Sands, Chief Michael 'Mike' Mallory
Location: United States Navy Board of Inquiry