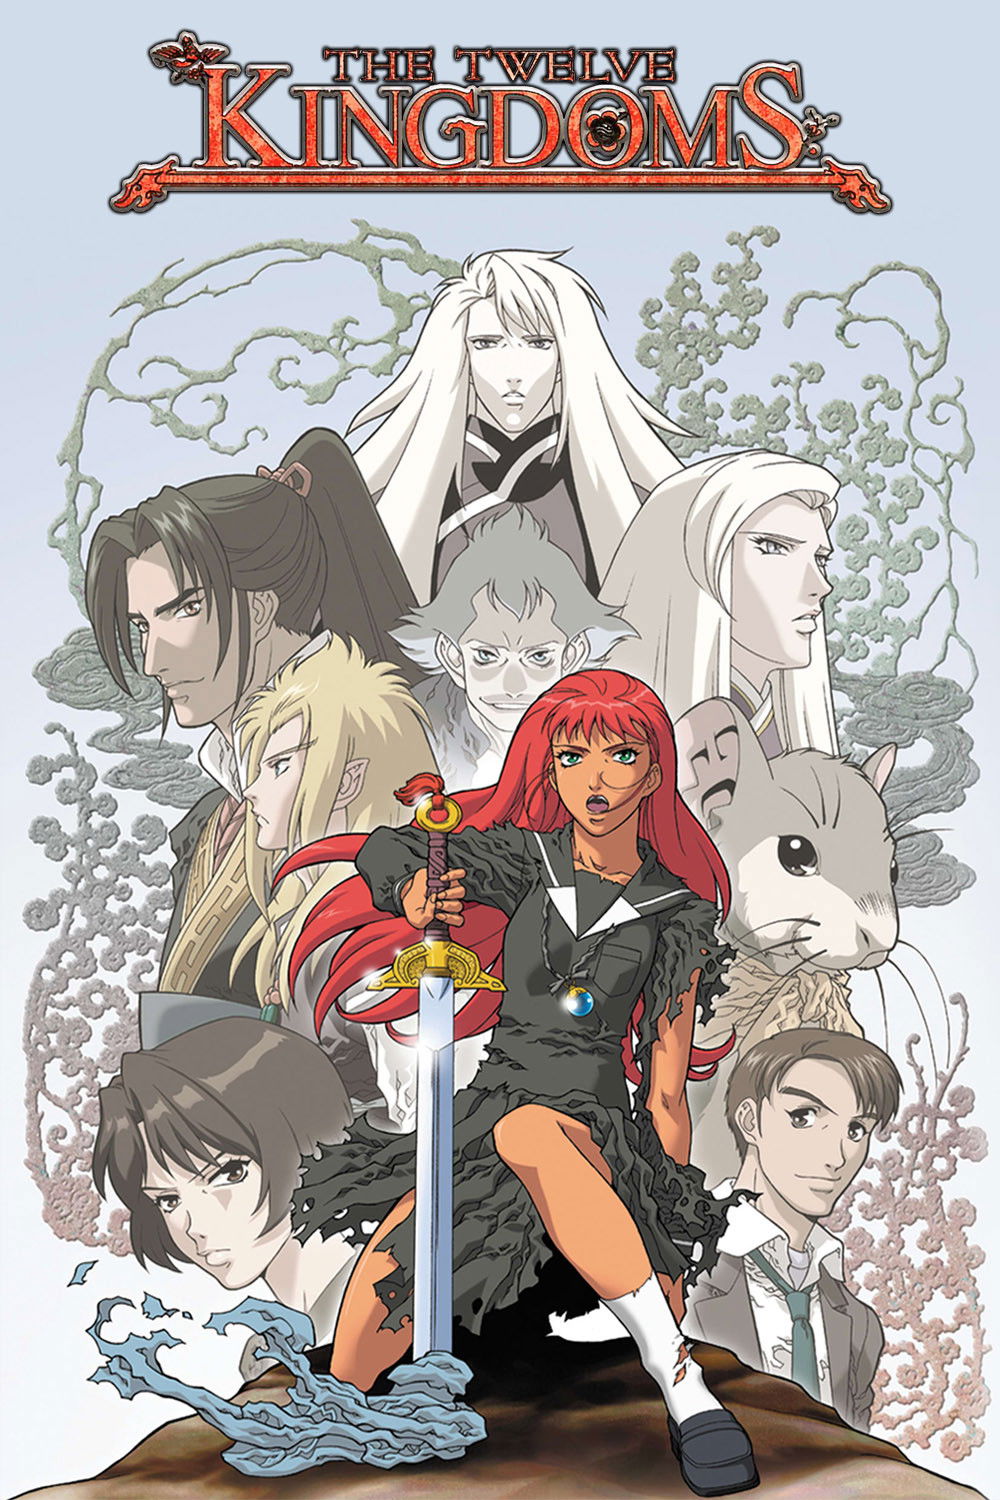
Plot Analysis Summary
The full narrative moves from displacement and survival to questions of legitimate rule, political responsibility, and rebellion across several kingdoms.
Story Structure — 5 Plot Phases
Season 1: Crossing and Recognition
A displaced student is pulled into the Twelve Kingdoms and survives through fear, distrust, and guidance from Rakushun. The season culminates in recognition of royal responsibility and the tragic collapse of corrupt authority.
Key Events
-
Nightmare of Monsters — A displaced student repeatedly dreams of a strange man and monstrous visions before entering the wider conflict.
Location: Japan
-
Crossing the Sea — Keiki's attempt to guide the displaced travelers is interrupted by a youma attack, sending them into the unknown world. Characters: Keiki
Location: The Sea of the Shadow
-
Separated Travelers — The travelers are separated after the attack, leaving them exposed to unfamiliar laws, language, and creatures.
Location: Unknown shore
-
Flight from Servitude — The displaced student escapes an attempted sale into servitude and defeats a huge youma in the streets.
Location: A provincial town
-
The Talking Rat — Rakushun shelters the displaced student and explains the geography and social structure of the Twelve Kingdoms. Characters: Rakushun
Location: A rural cottage
-
Breaking the Scabbard — The displaced student rejects the scabbard's control and defeats the manifestation that has been manipulating her fears.
Location: A forest
-
Return to Trust — The displaced student apologizes to Rakushun and begins to accept his help after a period of suspicion. Characters: Rakushun
Location: A port town
-
Royal Recognition — A ruler recognizes the significance of the sword and treats the displaced student as a possible future sovereign. Characters: Rakushun
Location: An inn and royal court
-
The Cost of Rule — The displaced student confronts visions of failed rule and accepts the responsibility of seeking a missing kirin. Characters: Keiki
Location: The royal palace
-
A Kirin's Death — A court conflict ends with a kirin dying while intervening between two rulers, exposing the destructive consequences of corrupt authority. Characters: Keiki
Location: The royal court
Season 2: The Lost Kirin
Taiki's childhood and training reveal the difficulty of choosing a ruler and understanding kirin duty. Keiki's support and later departure leave Taiki's future unresolved.
Key Events
-
Taiki's Return — A boy with disturbing memories is introduced after returning to an environment where others recognize unusual events around him. Characters: Taiki
Location: A palace in Japan
-
Kirin Instruction — Taiki learns that he is a kirin while Keiki participates in the court's effort to prepare him for his future duty. Characters: Keiki, Taiki
Location: A kirin palace
-
The Failed Selection — Taiki cannot sense the revelation from any candidate during the ceremony to choose a ruler. Characters: Taiki
Location: A royal ceremony
-
Training with the King — Taiki travels with a king and a military companion, where danger and uncertainty test his trust in the new ruler. Characters: Taiki
Location: A wilderness camp
-
A Promise at Departure — Keiki leaves after acknowledging Taiki's difficulties and promises to congratulate him if he eventually chooses a ruler. Characters: Keiki, Taiki
Location: The palace
-
The Kingdoms Explained — Rokuta explains the Twelve Kingdoms and places the mystery of Tai and Taiki within the history of the world. Characters: Rokuta, Taiki
Location: A narrative classroom setting
-
Letters Across Distance — Letters exchanged across the kingdoms show that earlier bonds continue despite political and geographical separation. Characters: Rakushun
Location: The kingdoms
Season 3A: Displaced Lives
Suzu's arrival exposes the cruelty faced by outsiders who cannot communicate or claim protection. Her movement toward political resistance parallels the wider struggle against abusive local power.
Key Events
-
Letters Across Distance — Letters exchanged across the kingdoms show that earlier bonds continue despite political and geographical separation. Characters: Rakushun
Location: The kingdoms
-
A Girl in Slavery — Suzu is transported into the Twelve Kingdoms, loses access to the local language, and is forced into servitude. Characters: Suzu
Location: A provincial estate
-
A Queen's Protection — A queen claims responsibility for Suzu and refuses to let her former mistress continue mistreating her. Characters: Suzu
Location: A royal court
-
The Ruler's Doubt — The ruler of Kei struggles with distrust, political opposition, and discomfort with authority while Keiki and Rakushun remain part of her support network. Characters: Keiki, Rakushun
Location: The Kei court
-
Converging Outsiders — Rakushun and Suzu become involved in separate journeys shaped by displaced identity, political injustice, and the search for a better ruler. Characters: Rakushun, Suzu
Location: The kingdom of Ryuu
-
A Dangerous Offer — Suzu encounters a group connected to local resistance and learns that powerful officials use violence and fear to control the area. Characters: Suzu
Location: A roadside settlement
Season 3B: Restoring Authority
Political suspicion, rebellion, and corruption force the ruler of Kei to act beyond the palace. The conflict ends when her identity is revealed and lawful authority is restored.
Key Events
-
A Dangerous Offer — Suzu encounters a group connected to local resistance and learns that powerful officials use violence and fear to control the area. Characters: Suzu
Location: A roadside settlement
-
Shared Mission — Rakushun and Suzu are assigned to the same inn during an exchange between resistance groups, creating a direct operational connection. Characters: Rakushun, Suzu
Location: A contested inn
-
Infiltrating the Castle — The ruler of Kei joins rebels in infiltrating the inner castle of a corrupt regional official.
Location: A corrupt official's castle
-
The Rebel Counterattack — Raiders attack the official's estates and mark the walls after failing to find him.
Location: A provincial estate
-
Army at the Gates — The royal army arrives expecting surrender, while the rebels fear that nearby villages will be taken hostage.
Location: The rebel stronghold
-
Identity Revealed — The ruler of Kei publicly reveals her true identity, ending the immediate war and undermining the corrupt officials' claim to authority.
Location: The battlefield
-
The First Royal Order — After the corruption is exposed, the restored ruler returns to the throne and issues her first official order. Characters: Rakushun
Location: The Kei palace
Season 4: Rebellion in Gen
A regional rebellion tests the limits of loyalty, popular support, and royal legitimacy. The conflict narrows toward a final choice between surrender and a personal challenge for the throne.
Key Events
-
Rebellion in Gen — Rokuta is held captive during an uprising led by a regional officer, while construction of a river embankment intensifies fears of deliberate flooding. Characters: Rokuta
Location: Gen State
-
Challenge for the Throne — The rebellion loses popular support after an attempt to destroy the dam, and the rebel leader is offered a choice between surrender and a one-to-one battle for the throne. Characters: Rokuta
Location: Gen State