Plot Analysis Summary
The single-season narrative follows a stolen body, a developing partnership, and the collapse of a political order built on sacrifice.
Story Structure — 5 Plot Phases
Season 1: The Demonic Bargain
The opening establishes the bargain that strips Hyakkimaru of his body and the abandonment that separates him from Nuinokata. Jukai's intervention creates the prosthetic body that allows Hyakkimaru to survive.
Key Events
-
The Demonic Bargain — A pact is made for prosperity, and Nuinokata's newborn son is born without the body parts demanded as payment. Characters: Nuinokata, Hyakkimaru
Location: Hall of Hell
-
A Child Abandoned — The deformed infant is set adrift and later found by Jukai, who brings him home. Characters: Hyakkimaru, Jukai
Location: Riverbank
-
Prosthetic Rebirth — Jukai constructs prostheses and raises Hyakkimaru, giving him the means to move and fight. Characters: Jukai, Hyakkimaru
Location: Jukai's home
-
The First Partnership — Dororo accompanies Hyakkimaru while they investigate the monster connected to the village and meet a blind monk who can perceive souls. Characters: Dororo, Hyakkimaru
Location: Bandai's village
Season 1: Companions on the Road
Dororo joins Hyakkimaru, and their partnership develops through encounters with demons, cursed objects, and endangered communities. Temporary shelter and human connection offer brief relief before violence returns.
Key Events
-
The Cursed Sword — Hyakkimaru confronts a sword possessed by a demon, while Dororo helps retrieve the prosthetic leg involved in the fight. Characters: Dororo, Hyakkimaru
Location: A rural settlement
-
Mio's Temporary Shelter — Mio shelters the travelers and orphaned children, while Hyakkimaru begins to adjust to hearing and speech. Characters: Dororo, Hyakkimaru
Location: Abandoned temple
-
Loss at the Temple — Hyakkimaru returns to fight the demon after his emotional connection with Mio deepens, but the violence surrounding the temple ends in devastating loss. Characters: Dororo, Hyakkimaru
Location: Abandoned temple
-
The Sacrificial Bride — Dororo and Hyakkimaru reject a village's sacrifice to a cloud-like demon and confront the creature together. Characters: Dororo, Hyakkimaru
Location: Mountain village
Season 1: Buried Histories
Dororo's memories reveal the suffering behind the map and the family's past. At the same time, Hyakkimaru's approach to the capital exposes the political and personal consequences of the original bargain.
Key Events
-
The Sacrificial Bride — Dororo and Hyakkimaru reject a village's sacrifice to a cloud-like demon and confront the creature together. Characters: Dororo, Hyakkimaru
Location: Mountain village
-
Dororo's Buried Past — A fever triggers Dororo's memories of family loss, bandit resistance, and the suffering that shaped childhood. Characters: Dororo
Location: Temple
-
The Family Secret — The political ruler learns that Hyakkimaru is alive, while Hyakkimaru approaches the capital and begins to encounter the family history hidden from him. Characters: Nuinokata, Hyakkimaru
Location: The capital
-
Recognition at Banmon — Hyakkimaru is identified as the missing child, Nuinokata recognizes him, and the ruling family reacts with fear and violence. Characters: Dororo, Nuinokata, Hyakkimaru
Location: Fort Banmon
Season 1: The Cost of Restoration
Jukai questions whether restoring Hyakkimaru's body also perpetuates violence. The journey through the treasure conflict and the restored leg increases Hyakkimaru's physical power while intensifying the moral stakes.
Key Events
-
Jukai's Moral Fear — Jukai learns the truth about Hyakkimaru's origin and fears that repairing him will send him back into endless violence. Characters: Jukai, Hyakkimaru
Location: Jukai's cave
-
The Restored Leg — Hyakkimaru defeats the land-moving shark demon and regains his left leg while Dororo survives the conflict over the hidden treasure. Characters: Dororo, Hyakkimaru
Location: Cape Hakkotsu
Season 1: The Burning Inheritance
Dororo's capture and the territorial collapse force the family conflict into open war. The burning castle becomes the final arena where Hyakkimaru reclaims his eyes, confronts the demonic legacy, and becomes physically whole.
Key Events
-
Dororo Is Taken — Dororo is taken into the ruling compound because of the map, and Nuinokata later frees Dororo after recognizing the companionship Dororo has given Hyakkimaru. Characters: Dororo, Nuinokata
Location: Daigo territory
-
The Demonic Collapse — War, disease, demonic retaliation, and the struggle over Hyakkimaru's body converge as the territory begins to collapse. Characters: Dororo, Nuinokata, Hyakkimaru
Location: Border battlefield
-
Battle in the Burning Castle — Nuinokata reaches Jukai while Hyakkimaru fights inside the burning castle and recovers the eyes taken from his body. Characters: Nuinokata, Jukai, Hyakkimaru
Location: Burning castle
-
A Whole Body — Hyakkimaru becomes physically whole after defeating the demon possessing his eyes, while the surviving characters face the consequences of the family's bargain. Characters: Dororo, Nuinokata, Hyakkimaru, Jukai
Location: Ruined castle
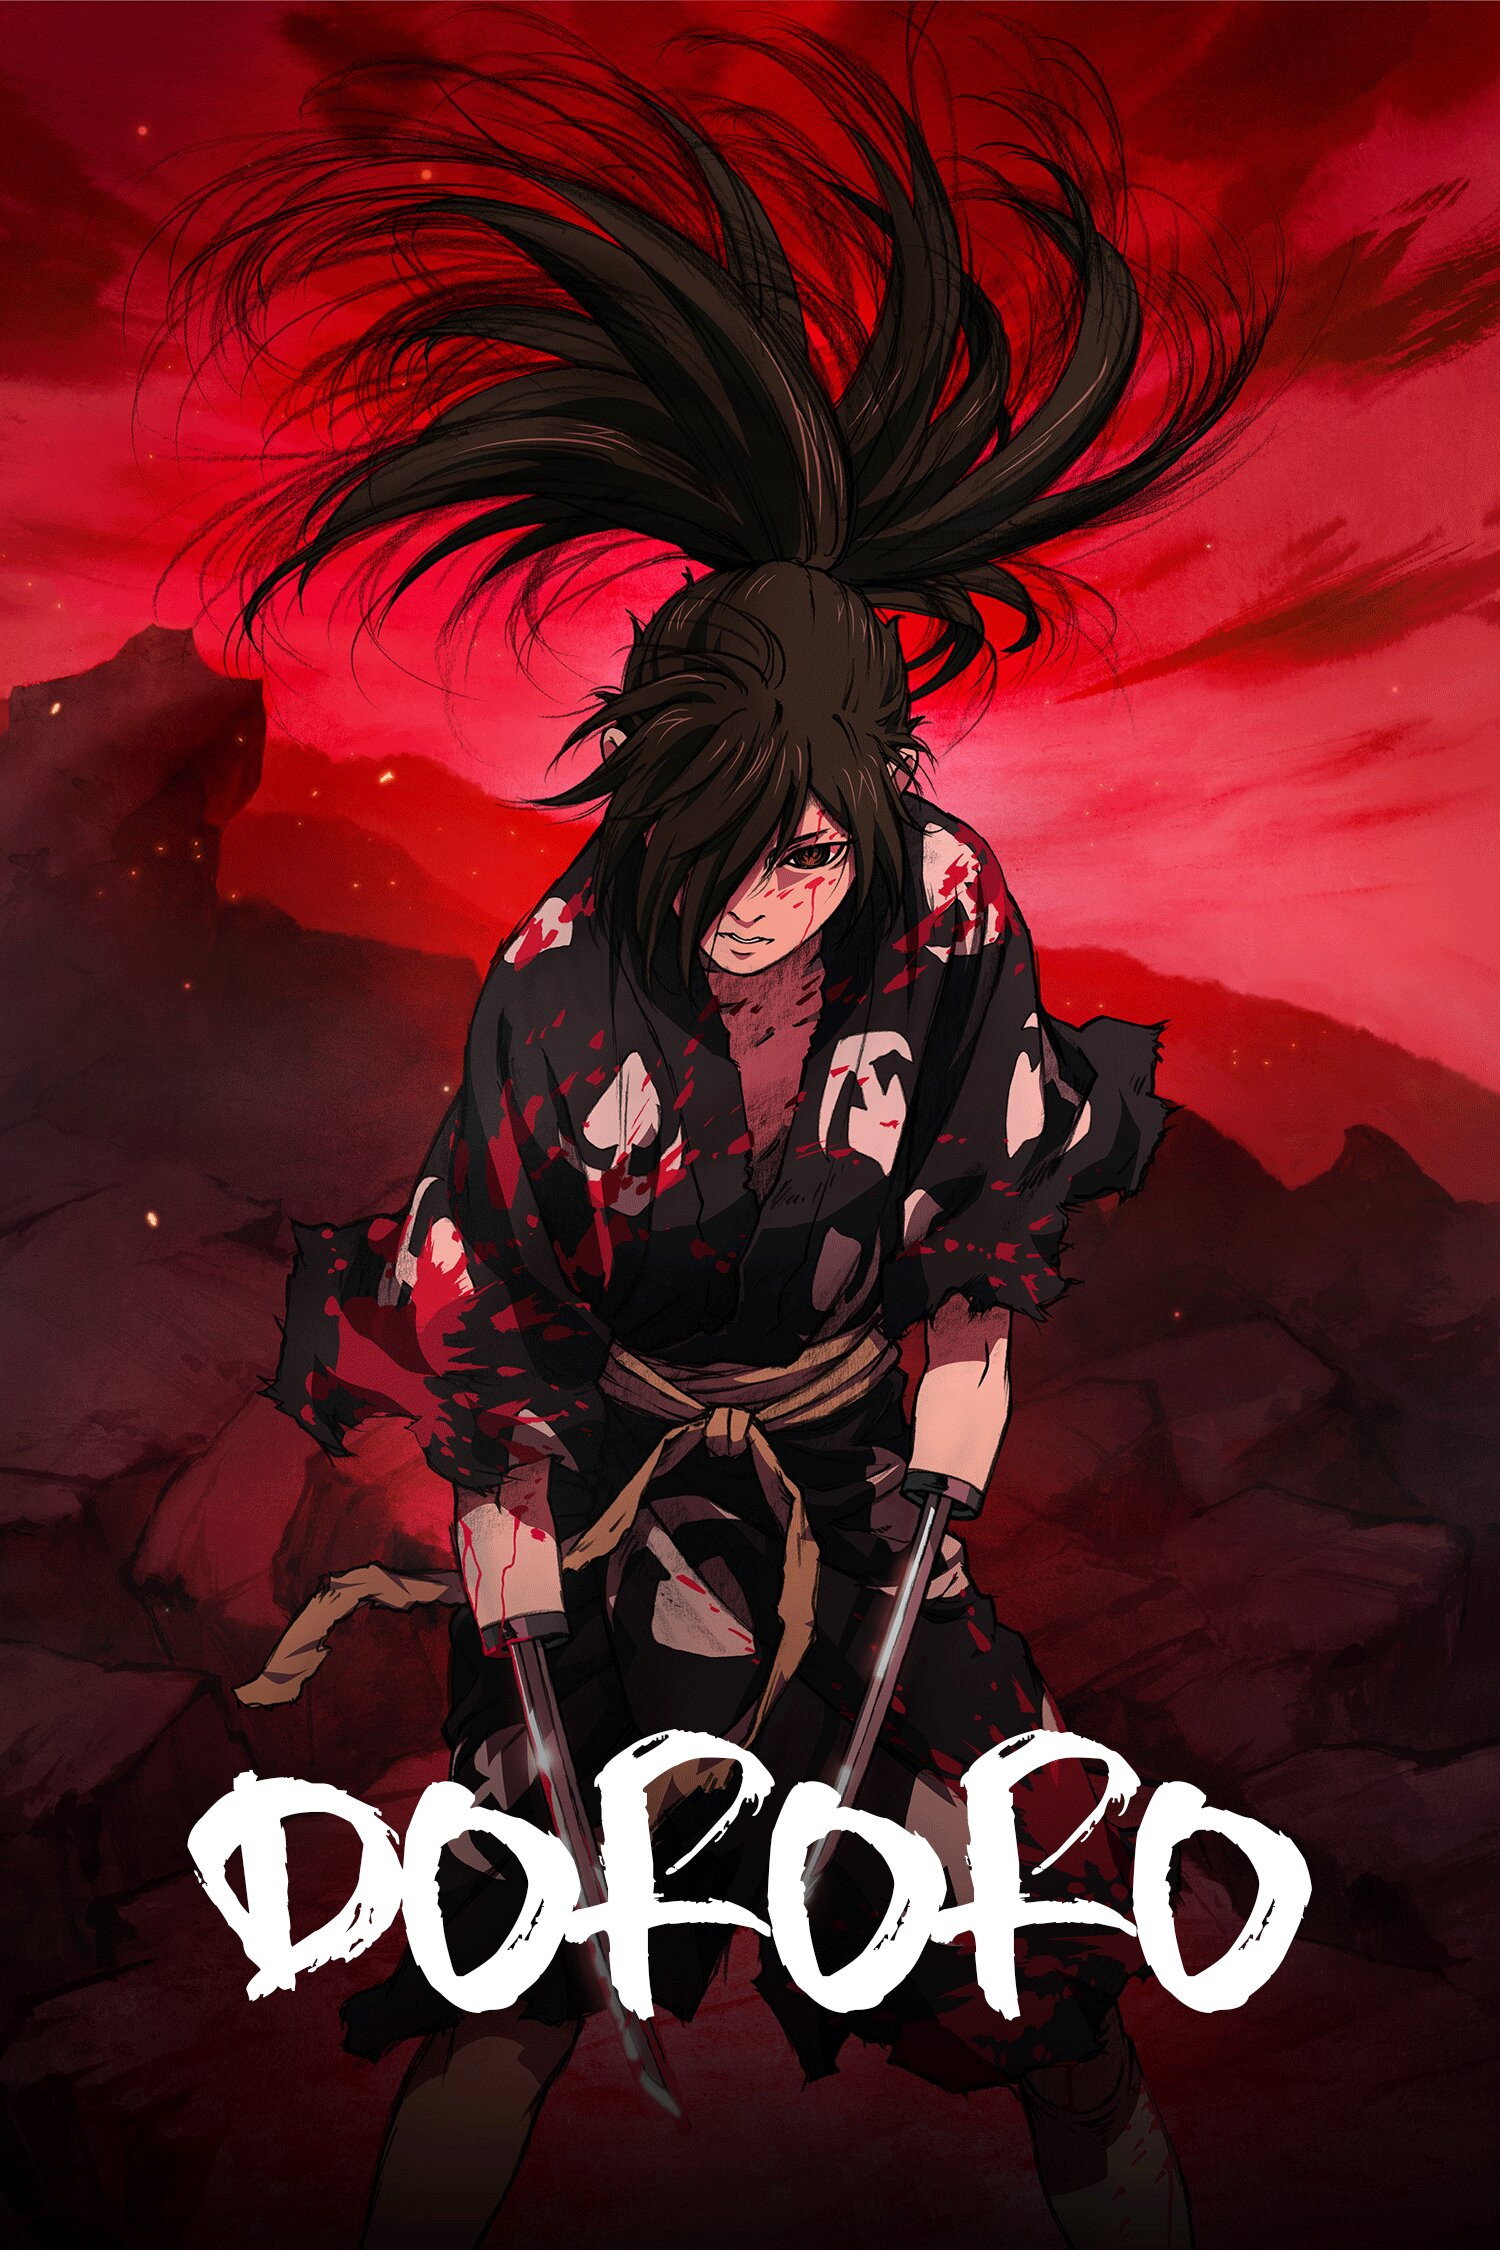
During the Warring States period, the young thief Dororo encounters Hyakkimaru, a strange, sightless boy who wields fearsome prosthetics in place of his missing limbs. Parts of Hyakkimaru’s body were traded to a group of 12 demons by his father in exchange for power, but thanks to a kindly medicine man, Hyakkimaru survived his horrifying ordeal. Now he roams the land in search of his missing body, and together he and Dororo will fight to survive in an unforgiving, demon-plagued world.