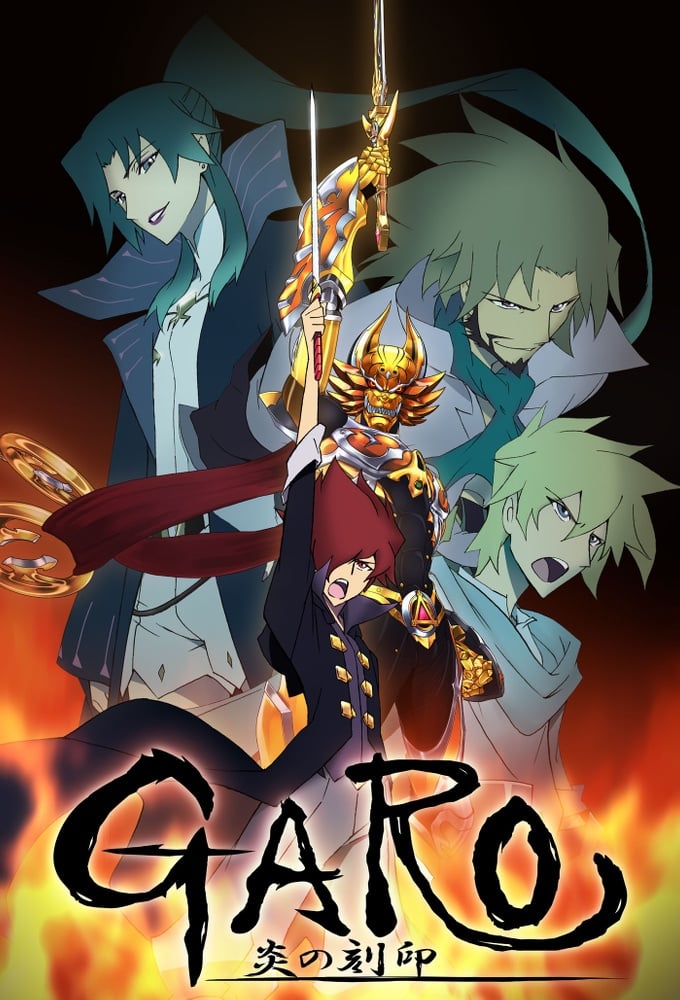
Plot Analysis Summary
The single-season narrative follows the collapse of Valiante under Mendoza's supernatural conspiracy, the divided Makai legacy, and the final containment of Anima.
Story Structure — 5 Plot Phases
Witch Hunt and Exile
Mendoza's witch hunt destabilizes Valiante and places the royal family under suspicion. The young warrior's return to the kingdom leads to the first uncontrolled awakening of the Golden Armor.
Key Events
-
Witch Hunt Begins — A witch hunt sanctioned by Mendoza's political authority spreads through the kingdom. Characters: Mendoza
Location: Valiante
-
Royal Accusations — Mendoza accuses the queen of poisoning the king and questions the legitimacy of her son. Characters: Mendoza, Esmeralda
Location: Valiante Palace
-
Queen Imprisoned — Mendoza imprisons the queen while the young heir escapes from the capital. Characters: Mendoza, Esmeralda
Location: Valiante Palace
-
Horror Revelation — A priest transforms into a Horror during an encounter involving tortured Makai practitioners.
Location: A roadside settlement
-
Golden Armor Awakens — The young warrior sees the place connected to his mother's death, transforms into the Golden Makai Knight, and loses control.
Location: A burned execution site
-
Ring Contract — After an apprentice becomes a Horror, the young warrior defeats him and forms a contract with the repaired ring.
Location: Gael's workshop
Road of Knights
The travelers encounter Horrors, Makai institutions, and the consequences of corrupted knighthood. The heir begins learning the duties and costs of the Knight of Light.
Key Events
-
Ring Contract — After an apprentice becomes a Horror, the young warrior defeats him and forms a contract with the repaired ring.
Location: Gael's workshop
-
Village Revenge — A wooden figure containing a Horror is used to punish villagers connected to a past murder.
Location: A remote village
-
Knightly Heritage — The heir learns about the Makai Knights and his family's connection to the Knight of Light. Garm is also identified as a powerful supernatural figure connected to the wider conflict. Characters: Garm
Location: A noble estate
-
Black Knight Threat — A possessed sword reveals the violence surrounding the black knighthood and its lethal initiation test.
Location: Santa Bard
-
Knightly Assault — The black knights raid an inn after mistaking the young warrior for the royal heir, and several are revealed to be Horrors.
Location: Santa Bard
Bloodline and Siege
The royal bloodline and Mendoza's anti-Makai conspiracy are revealed. The heroes attack the stronghold while the Silver and Black Knights settle their personal history.
Key Events
-
Gaia's Sacrifice — A dying Makai Knight sacrifices himself while attacking the Chimera of Orvien, enabling the heir to continue the trial.
Location: The Chimera's mausoleum
-
Bloodline Revealed — The heir's relationship to the Golden Knight's family is revealed, while Mendoza's history and use of a Horror-controlling tool are exposed. Characters: Esmeralda, Mendoza
Location: Valiante
-
Castle Assault — The main heroes begin an underground assault on Castle Santa Bard and fight through its defenses. Characters: Mendoza
Location: Castle Santa Bard
-
Black Knight Duel — The Silver and Black Makai Knights fight after the Black Knight explains that Mendoza offered him power and rule over humans.
Location: Santa Bard
Ashes and Renewal
After the city crisis, the kingdom enters a fragile recovery and the young warrior attempts an ordinary life. A failed protective barrier and a devastating loss return him to the path of vengeance.
Key Events
-
Golden Knight Rampage — Mendoza forces the young warrior to relive his mother's death, causing the Golden Armor to erupt into a destructive rampage. Characters: Mendoza
Location: Valiante
-
Kingdom Recovery — Valiante begins to recover under the heir's rule, while the young warrior is rescued and starts a quiet life on a farm. Characters: Esmeralda
Location: Valiante
-
Farm Tragedy — A damaged barrier fails to protect the region from a burrowing Horror, and the young warrior loses the girl who rescued him.
Location: A rural farm
Anima's Last Gate
The palace conspiracy is exposed as the heroes converge on Mendoza's hidden lair. Mendoza awakens Anima, becomes nearly immortal, and is finally trapped in the Demon World.
Key Events
-
Armor Reclaimed — Consumed by grief and remorse, the young warrior challenges the heir and regains the right to wear the Golden Armor.
Location: A rural region
-
Palace Conspiracy — An investigation exposes Octavia's role in the palace conspiracy. She creates a Horror and redirects suspicion while continuing to protect Mendoza. Characters: Octavia, Mendoza
Location: Palace temple complex
-
Father Son Conflict — A deadly fight between the Silver Knight and his son threatens the city. Garm intervenes because the battle is endangering Valiante and her larger objective. Characters: Garm
Location: Valiante
-
Anima Awakens — Mendoza uses sacrificed human souls and the soul of a dead Makai Knight to awaken Anima. At the same time, Octavia battles the remaining heroes across the city. Characters: Mendoza, Octavia
Location: Mendoza's lair
-
Mendoza Transformed — Mendoza absorbs Anima and becomes a godlike immortal being. Two Makai blades are combined to trap him and force him toward the Demon World. Characters: Mendoza
Location: Demon World gateway
-
Final Containment — A mother's returning flame engulfs Mendoza, trapping him while the Golden Knight escapes back through the gateway. Characters: Mendoza, Esmeralda
Location: Demon World