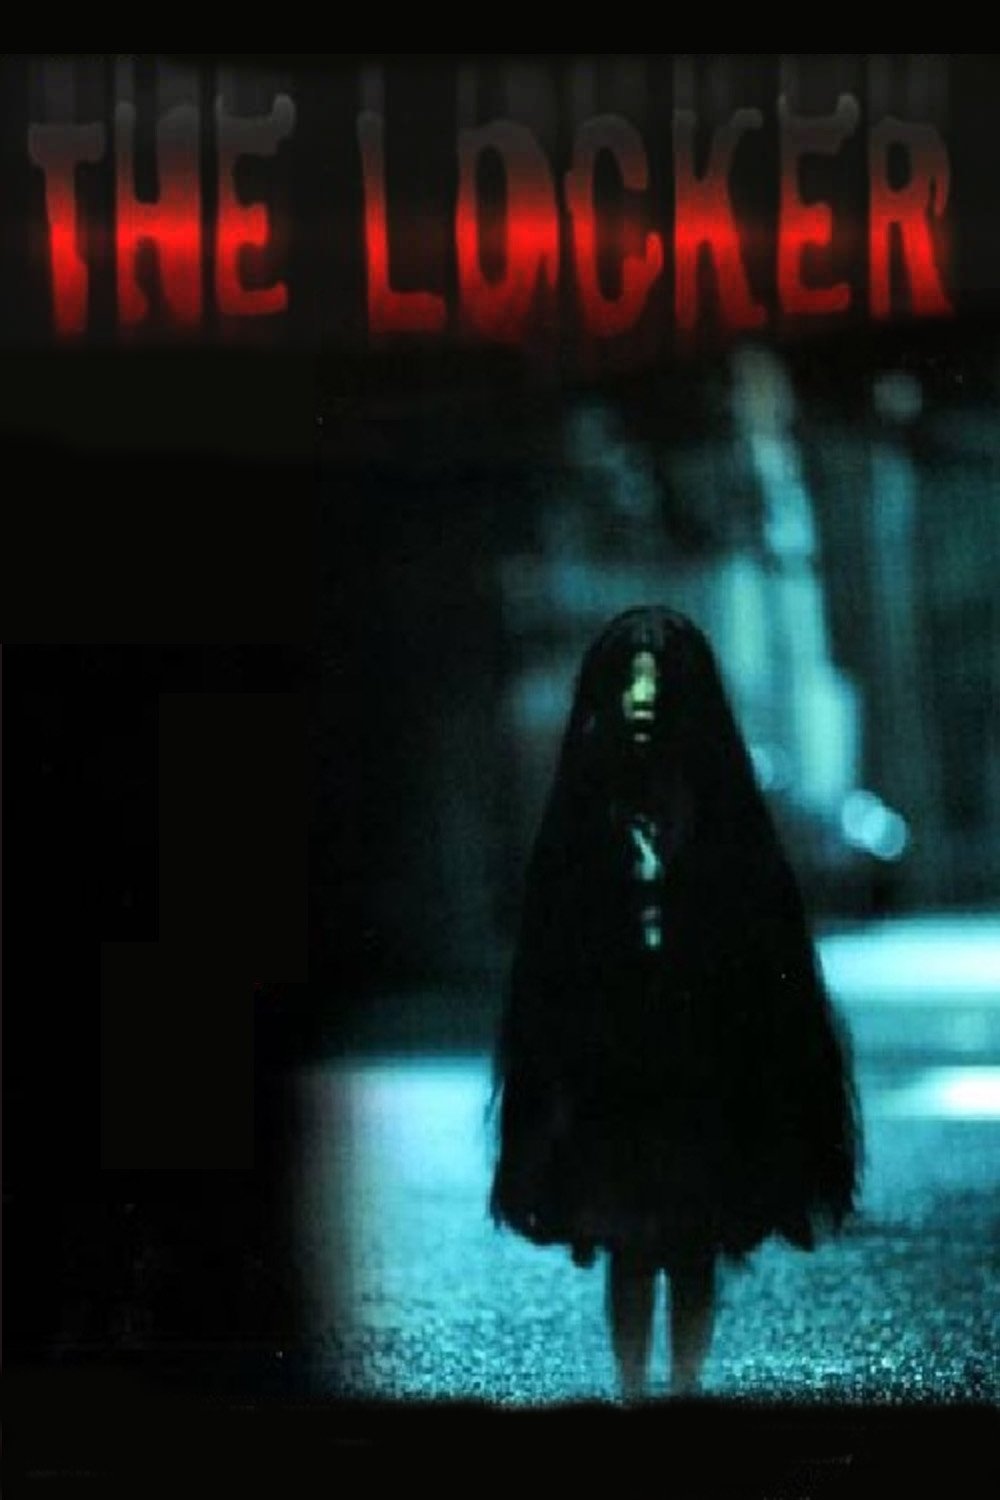
Plot Analysis Summary
A friend group's explanations for a strange cry give way to fear as disappearances, illness, and deaths remain unexplained.
Story Structure — 5 Plot Phases
A Cry Beneath the Gathering
Friends trade ghost stories before a baby-like cry by the river unsettles them. A broken guardian statue offers a prank explanation, but Rieka insists that she truly heard the sound.
Key Events
-
Friends Trade Ghost Stories — Friends trade ghost stories and tease one another during a gathering. Characters: Rieka Yajima, Yuna Matsukawa, Ai Fukami, Akihiko, Keitaro
Location: Gathering place
-
A Cry by the River — A strange cry near the river sounds like a baby to Rieka. Characters: Rieka Yajima
Location: River
-
The Guardian Statue Prank — The cry is linked to a prank involving a statue associated with aborted fetuses. Characters: Rieka Yajima, Yuna Matsukawa
Location: Gathering place
-
The Statue Head Is Broken — The group learns that one of them broke the statue's head to enliven the gathering. Characters: Rieka Yajima, Yuna Matsukawa, Keitaro
Location: Gathering place
-
Rieka Insists She Heard It — Rieka says the baby-like cry was real, despite the prank explanation. Characters: Rieka Yajima
Location: Unspecified
The Cry Returns
The friends discuss their relationships, but the strange cry returns and becomes harder to dismiss. Ai and Akihiko's disappearance shifts the group's fear into a concrete crisis.
Key Events
-
Rieka Insists She Heard It — Rieka says the baby-like cry was real, despite the prank explanation. Characters: Rieka Yajima
Location: Unspecified
-
The Cry Returns — Rieka and others hear the baby-like cry again, making the prank harder to accept. Characters: Rieka Yajima, Yuna Matsukawa
Location: Unspecified
-
Friends Joke About Romance — The friends discuss Yuna's connection with Keitaro and Ai's closeness with Akihiko. Characters: Yuna Matsukawa, Keitaro, Ai Fukami, Akihiko
Location: Gathering place
-
Ai and Akihiko Go Missing — Ai and Akihiko disappear, alarming their friends. Characters: Ai Fukami, Akihiko
Location: Unspecified
-
Police Consider Drugs — Police question people around the pair and consider whether drugs are involved. Characters: Ai Fukami, Akihiko
Location: Police questioning location
-
Friends Reject Drug Theory — Friends say Ai does not drink or smoke and that they know of no drug use. Characters: Ai Fukami, Rieka Yajima, Yuna Matsukawa
Location: Unspecified
A Superstition Takes Shape
Police consider drugs as an explanation, while friends reject that theory. A teacher discusses the Shibuya locker legend and mirror spells as Rieka begins experiencing memory gaps and a disturbing image.
Key Events
-
Friends Reject Drug Theory — Friends say Ai does not drink or smoke and that they know of no drug use. Characters: Ai Fukami, Rieka Yajima, Yuna Matsukawa
Location: Unspecified
-
Superstitions and the Locker — A teacher discusses a supposed lucky Shibuya locker and spells involving mirrors with a student. Characters: Kubo Ayano
Location: School
-
Rieka Reports Memory Gaps — Rieka reports missing memories and receives an image she says she did not send. Characters: Rieka Yajima
Location: Unspecified
-
The Group Fears a Curse — Rieka and Yuna admit hearing the cry and fear the camping group may be cursed. Characters: Rieka Yajima, Yuna Matsukawa
Location: Unspecified
Deaths Without Answers
Rieka and Yuna fear that the camping group is cursed. The teacher reports Keitaro's death and Ai's unexplained illness, while doctors cannot determine its cause.
Key Events
-
The Group Fears a Curse — Rieka and Yuna admit hearing the cry and fear the camping group may be cursed. Characters: Rieka Yajima, Yuna Matsukawa
Location: Unspecified
-
Deaths and Unexplained Illness — The teacher reports Keitaro's death and says Ai is hospitalized with an unexplained illness. Characters: Keitaro, Ai Fukami, Yuna Matsukawa, Rieka Yajima
Location: Hospital and unspecified locations
-
Doctors Cannot Explain the Illness — Doctors cannot identify the cause, and one says a similar patient has died. Characters: Ai Fukami
Location: Hospital
-
Ayano Hears the Teacher's Grief — The teacher tells Ayano that his mother died soon after his birth and that he feels resented by his father. Characters: Kubo Ayano
Location: Unspecified
A Fragile Hope Collapses
The teacher shares his personal grief with Ayano and offers words of comfort. Ai briefly appears to improve, then collapses again, leaving her fate and the cause of the crisis unresolved.
Key Events
-
Ayano Hears the Teacher's Grief — The teacher tells Ayano that his mother died soon after his birth and that he feels resented by his father. Characters: Kubo Ayano
Location: Unspecified
-
No Baby Is Unwanted — The teacher comforts Ayano by saying that no baby is born unwanted. Characters: Kubo Ayano
Location: Unspecified
-
Ai Appears to Improve — Ai briefly seems well enough to leave her bed. Characters: Ai Fukami
Location: Hospital
-
Ai Collapses Again — Ai suddenly collapses, and adults call for emergency help; her fate remains unresolved. Characters: Ai Fukami
Location: Hospital