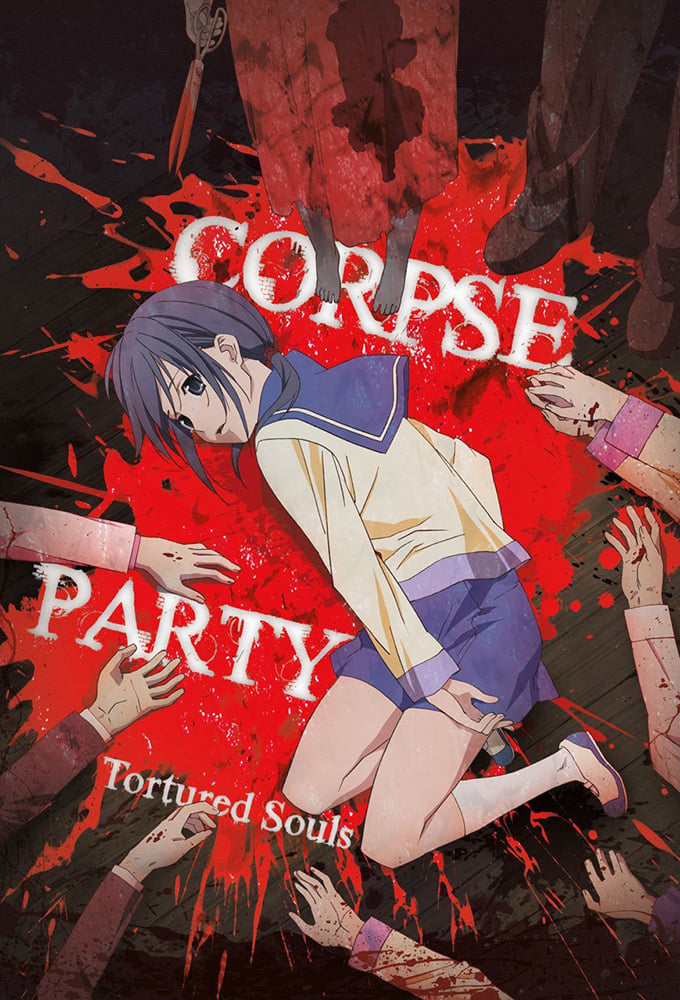
Plot Analysis Summary
A psychological horror journey exploring friendship, guilt, and supernatural retribution within a cursed school.
Story Structure — 5 Plot Phases
The Cursed Ritual
Students perform a friendship charm that backfires, transporting them to a sealed, cursed elementary school.
Key Events
-
Friendship Charm Ritual — Students perform Sachiko Ever After for Mayu, triggering supernatural displacement. Characters: Ayumi SHINOZAKI, Mayu SUZUMOTO, Naomi NAKASHIMA, Yoshiki Kishinuma
Location: Kisaragi Academy
-
Heavenly Host Transport — Earthquake engulfs the group, transporting them to the cursed school. Characters: Ayumi SHINOZAKI, Naomi NAKASHIMA, Yoshiki Kishinuma, Mayu SUZUMOTO, Seiko SHINOHARA
Location: Heavenly Host Elementary
-
Naomi and Seiko Reunion — Friends reunite and discover all exits are sealed. Characters: Naomi NAKASHIMA, Seiko SHINOHARA
Location: Heavenly Host Hallway
Ghostly Encounters
Survivors face supernatural attacks and discover items needed to appease restless spirits.
Key Events
-
Ghost Attack on Ayumi and Yoshiki — Attacked by a victim's ghost, requiring external intervention. Characters: Ayumi SHINOZAKI, Yoshiki Kishinuma
Location: Heavenly Host Classroom
-
Naho's Intervention — Blogger Naho saves them and hints at appeasing spirits. Characters: Naho SAENOKI, Ayumi SHINOZAKI, Yoshiki Kishinuma
Location: Heavenly Host
-
Discovery of Severed Tongues — Bag of tongues found to appease the children's spirits. Characters: Ayumi SHINOZAKI, Yoshiki Kishinuma
Location: Heavenly Host Storage
Kisaragi Interlude
Temporary return to reality reveals the true culprit and fractures the group's strategy.
Key Events
-
Return to Kisaragi Academy — Restored tongues trigger a temporary return to the normal school. Characters: Ayumi SHINOZAKI, Yoshiki Kishinuma
Location: Kisaragi Academy
-
Vision of the Murder — Spirit Yuki shows Ayumi a vision revealing Sachiko Shinozaki as the true culprit. Characters: Ayumi SHINOZAKI, Yoshiki Kishinuma, Yuki
Location: Kisaragi Academy
Deception and Confrontation
False guidance is exposed, leading to a direct supernatural clash and isolated survival efforts.
Key Events
-
Ayumi and Yoshiki Argument — Disagreement over rescue strategy leads to physical separation. Characters: Ayumi SHINOZAKI, Yoshiki Kishinuma
Location: Kisaragi Academy
-
Ayumi's Solo Return — Ayumi returns alone to save remaining friends after the argument. Characters: Ayumi SHINOZAKI
Location: Heavenly Host
-
Naho's Deception Revealed — Ayumi realizes Naho's blog contained false ritual instructions. Characters: Ayumi SHINOZAKI, Naho SAENOKI
Location: Heavenly Host
-
Ayumi Confronts Naho — Ayumi vanquishes Naho for her malicious lies and manipulation. Characters: Ayumi SHINOZAKI, Naho SAENOKI
Location: Heavenly Host Basement
Trauma and Resolution
Past sins manifest as psychological horror, culminating in spiritual relief and ritual preparation.
Key Events
-
Ayumi Confronts Naho — Ayumi vanquishes Naho for her malicious lies and manipulation. Characters: Ayumi SHINOZAKI, Naho SAENOKI
Location: Heavenly Host Basement
-
Ayumi Navigates Collapsing Debris — Ayumi survives falling debris that claims other trapped students. Characters: Ayumi SHINOZAKI
Location: Heavenly Host
-
Naomi's Traumatic Vision — Naomi watches a video of herself hanging Seiko while possessed. Characters: Naomi NAKASHIMA
Location: Heavenly Host Basement
-
Seiko's Spiritual Relief — Seiko's spirit comforts Naomi, easing her overwhelming guilt. Characters: Naomi NAKASHIMA, Seiko SHINOHARA
Location: Heavenly Host Basement
-
Ritual Revelation — Ayumi explains the need to appease Sachiko and redo the charm. Characters: Ayumi SHINOZAKI, Naomi NAKASHIMA
Location: Heavenly Host
-
Group Reassembly — Survivors regroup to prepare for the final ritual and escape. Characters: Ayumi SHINOZAKI, Naomi NAKASHIMA, Yoshiki Kishinuma
Location: Heavenly Host