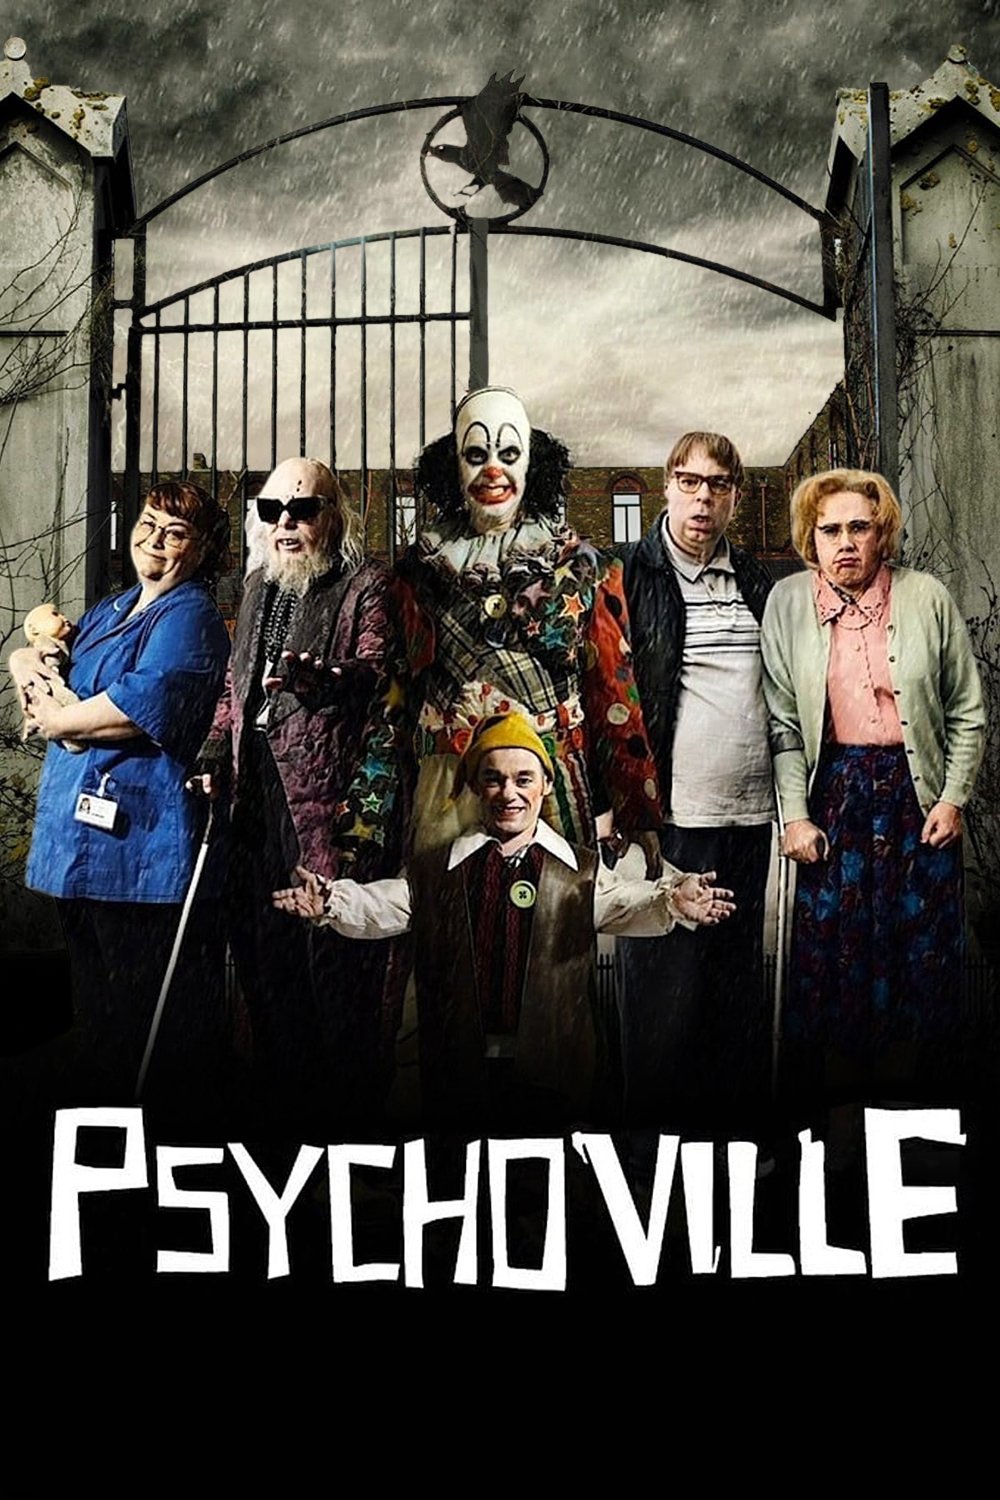
Plot Analysis Summary
Overall narrative architecture across all 2 seasons, tracking blackmail, murder, investigation, and survival.
Story Structure — 6 Plot Phases
Season 1: Blackmail Onset
Five unconnected characters receive ominous messages, setting off a chain of murders, personal conflicts, and hidden pasts.
Key Events
-
Blackmail Message Received — Five seemingly unconnected characters receive the message 'I know what you did', setting the series in motion. Characters: Robert, David Sowerbutts / Various Characters, Maureen Sowerbutts / Various Characters, Joy Aston
Location: Various Locations
-
David and Maureen Cover Up — David and his mother cover up incompetence at a murder mystery evening, escalating their criminal activities. Characters: David Sowerbutts / Various Characters, Maureen Sowerbutts / Various Characters
Location: Murder Mystery Evening
-
Robert and Debbie Date — Robert goes on a dinner date with Debbie, marking a shift in his personal interactions. Characters: Robert, Debbie
Location: Dinner Venue
-
Joy's Water Birth Lecture — Joy enlightens the morning group with the perils of choosing a water birth, highlighting her professional life. Characters: Joy Aston
Location: Morning Group
-
Mr Jelly's Hand Loss — The episode reveals the backstory of how Mr Jelly lost his hand, explaining his current state. Characters: Mr Jelly
Location: Past Timeline
-
Lomax's Crocodile Auction — Mr Lomax travels to a private auction to acquire Snappy the Crocodile, continuing his unusual collection. Characters: Mr Lomax
Location: Private Auction
Season 1: Descent and Revelations
David and Maureen's killing spree escalates, Robert's revenge unfolds, and Joy's miracle occurs, building tension toward Ravenhill.
Key Events
-
Robert's Revenge on Debbie — Robert wreaks his revenge on Debbie during a midweek matinee, escalating their conflict. Characters: Robert, Debbie
Location: Snow White Matinee
-
Panic Over Mystery Caller — An unexpected visitor and mystery caller throw David and his mother into panic during a murder. Characters: David Sowerbutts / Various Characters, Maureen Sowerbutts / Various Characters
Location: Murder Scene
-
Body in Trunk Crisis — David and his mother scramble to manage the body in the trunk amid rising panic. Characters: David Sowerbutts / Various Characters, Maureen Sowerbutts / Various Characters
Location: Car Trunk
-
Joy's Pinocchio Miracle — Joy is left alone with her demonstration doll Freddy when a Pinocchio-like miracle happens. Characters: Joy Aston
Location: Midwife Studio
-
Waxwork Museum Lure — David and his mum lure their next victim to a waxwork museum, continuing their killing spree. Characters: David Sowerbutts / Various Characters, Maureen Sowerbutts / Various Characters
Location: Waxwork Museum
-
Mr Jolly Explains Blackmail — Mr Jolly explains to Mr Jelly the reason for the blackmail letters, revealing external manipulation. Characters: Mr Jolly, Mr Jelly
Location: Entertainment Venue
-
Robert Exploits Amnesia — Robert uses Debbie's amnesia for his own ends, manipulating her memory. Characters: Robert, Debbie
Location: Theatre
-
Battle of Wills — A battle of wills ensues with more than cross words flying through the air between Robert and Debbie. Characters: Robert, Debbie
Location: Theatre Backstage
Season 1: Ravenhill Convergence
All characters are summoned to the psychiatric hospital for judgment, culminating in a catastrophic explosion that changes everything.
Key Events
-
Battle of Wills — A battle of wills ensues with more than cross words flying through the air between Robert and Debbie. Characters: Robert, Debbie
Location: Theatre Backstage
-
Maureen Learns Truth — Maureen learns the truth about her killing spree, confronting her own actions. Characters: Maureen Sowerbutts / Various Characters
Location: Private Space
-
Summoned to Ravenhill — All of the characters are drawn back to the scene of their crime at Ravenhill Psychiatric Hospital. Characters: Robert, David Sowerbutts / Various Characters, Maureen Sowerbutts / Various Characters, Joy Aston
Location: Ravenhill Psychiatric Hospital
-
Kerry Takes Robert to Woods — Kerry takes Robert from the theatre to the heart of the deep, dark woods, isolating him. Characters: Robert, Kerry
Location: Deep Dark Woods
-
Great Day of Judgment — The characters face the great day of judgement as their pasts catch up with them. Characters: Robert, David Sowerbutts / Various Characters, Maureen Sowerbutts / Various Characters, Joy Aston
Location: Ravenhill Psychiatric Hospital
-
Ravenhill Explosion — A catastrophic explosion engulfs Ravenhill Psychiatric Hospital, claiming lives and altering the survivors' fates. Characters: Robert, David Sowerbutts / Various Characters, Maureen Sowerbutts / Various Characters, Joy Aston
Location: Ravenhill Psychiatric Hospital
-
Survivors Reunite — The survivors of the explosion reunite to bury one of their number killed in the blast. Characters: Robert, David Sowerbutts / Various Characters, Maureen Sowerbutts / Various Characters, Joy Aston
Location: Burial Site
Season 2: Survivor Reunion
The explosion survivors reunite for a burial, but the locket mystery resurfaces, pulling them back into danger.
Key Events
-
Survivors Reunite — The survivors of the explosion reunite to bury one of their number killed in the blast. Characters: Robert, David Sowerbutts / Various Characters, Maureen Sowerbutts / Various Characters, Joy Aston
Location: Burial Site
-
Burial of the Fallen — The group performs burial rites, but there is to be no rest for the wicked. Characters: Survivors
Location: Graveyard
-
Locket Search Begins — The search for the missing locket continues, turning the investigation toward new suspects. Characters: Tealeaf / Michael Fry, Peter Bishop
Location: Investigation Hub
-
Robert and Kerry in Cottage — We return to the mysterious cottage in the woods to find out what happened to Robert and Kerry. Characters: Robert, Kerry
Location: Mysterious Cottage
-
Lomax's Past Revealed — Mr Lomax reveals more about his past and his hatred for Tony Hancock becomes clear. Characters: Mr Lomax
Location: Private Space
-
Jelly's Booking Mix-up — Mr Jelly arrives at a booking meant to be for Mr Jolly and hopes no one will tell the difference. Characters: Mr Jelly, Mr Jolly
Location: Booking Venue
-
Jeremy's Book Search — Jeremy Goode searches desperately for the missing library book, triggering unexpected consequences. Characters: Jeremy Goode
Location: Library
Season 2: Locket Investigation
Tealeaf and Bishop close in on the locket's secret while characters face new perils and unexpected mix-ups.
Key Events
-
Jeremy's Book Search — Jeremy Goode searches desperately for the missing library book, triggering unexpected consequences. Characters: Jeremy Goode
Location: Library
-
Mrs Wren's Peril — Mrs Wren is in peril from several parties, and only one man can save her. Characters: Mrs Wren
Location: Danger Zone
-
Tealeaf and Bishop Investigate — Tealeaf, with the help of Peter Bishop, tries to solve the mystery of the locket as danger mounts. Characters: Tealeaf / Michael Fry, Peter Bishop
Location: Investigation Site
-
Jelly Becomes Jolly — Once again Jelly becomes Jolly with unexpected results, causing chaos at the booking. Characters: Mr Jelly, Mr Jolly
Location: Performance Venue
-
Locket Secret Exposed — The secret of the missing locket is finally exposed and the enormity of what is at stake is revealed. Characters: Tealeaf / Michael Fry, Survivors
Location: Revelation Site
-
Stakes Revealed — The full scope of the locket's importance is laid bare, threatening all remaining characters. Characters: Tealeaf / Michael Fry, Survivors
Location: Gathering
-
Final Confrontation Setup — Characters prepare for the final reckoning as few witnesses are left and danger peaks. Characters: Tealeaf / Michael Fry, Survivors
Location: Convergence Point
Season 2: Final Reckoning
The locket secret is exposed, stakes are revealed, and the remaining characters face their ultimate fate.
Key Events
-
Survivors' Fate — The remaining characters face the consequences of their actions and the locket's exposure. Characters: Survivors
Location: Aftermath Zone
-
Blackmail Resolved — The blackmail mystery concludes, leaving the survivors to navigate the new reality. Characters: Tealeaf / Michael Fry, Survivors
Location: Resolution Site
-
Series Aftermath — The series concludes with the survivors adjusting to the aftermath of the locket secret and past crimes. Characters: Survivors
Location: New Normal