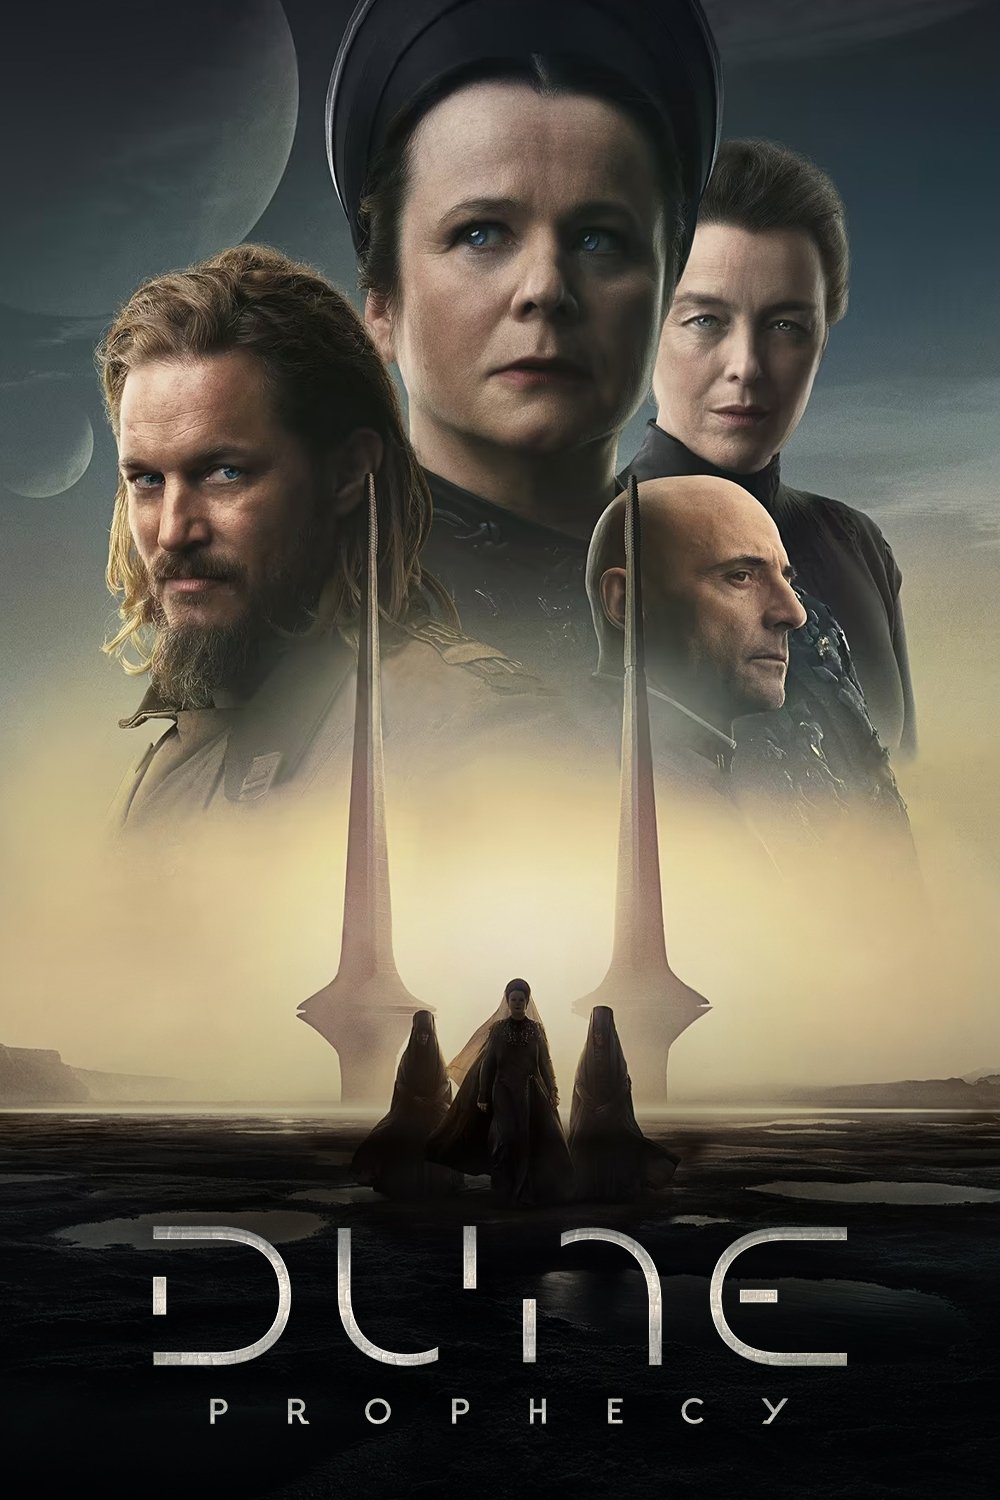
Plot Analysis Summary
Structural breakdown of Season 1 focusing on Sisterhood politics, imperial intrigue, and character conflicts.
Story Structure — 5 Plot Phases
Segment 1: The Vow and the Threat
Valya's decades-long promise to protect the Sisterhood faces immediate danger. She brings Theodosia to the Imperial House to manage a crisis on Salusa Secundus, establishing early political maneuvering.
Key Events
-
Wallach IX Vow — Young Valya pledges to protect the Sisterhood by placing one of their own on the Imperial Throne. Characters: Mother Superior Valya Harkonnen
Location: Wallach IX
-
Thirty Year Gap — A temporal shift reveals Valya's decades-long wait for her plan to mature. Characters: Mother Superior Valya Harkonnen
Location: Wallach IX
-
Threat Emerges — Valya confronts a sudden threat jeopardizing her long-awaited political scheme. Characters: Mother Superior Valya Harkonnen
Location: Imperial House
-
Salusa Secundus Crisis — News of unrest forces Valya to bring Theodosia into the Imperial House for damage control. Characters: Mother Superior Valya Harkonnen, Sister Theodosia
Location: Salusa Secundus
-
Sisterhood Loyalty Test — Valya assesses the loyalty of senior Sisters amid growing external pressure. Characters: Mother Superior Valya Harkonnen
Location: Sisterhood Compound
-
Imperial Dispatch Arrival — Theodosia receives urgent orders regarding the planetary unrest. Characters: Sister Theodosia
Location: Salusa Secundus
Segment 2: Missions and Reluctance
Tula enlists Lila for a vital operation despite initial hesitation. The pair prepares for their assignment while navigating the practical demands of Sisterhood duty.
Key Events
-
Imperial Integration — Theodosia navigates court politics under Valya's strategic guidance. Characters: Sister Theodosia
Location: Imperial House
-
Reluctant Enlistment — Tula recruits Lila for a vital operation despite initial hesitation. Characters: Reverend Mother Tula Harkonnen, Sister Lila
Location: Sisterhood Compound
-
Mission Preparation — The pair prepares for their assignment, establishing operational trust. Characters: Reverend Mother Tula Harkonnen, Sister Lila
Location: Training Grounds
-
Imperial Dispatch Arrival — Theodosia receives urgent orders regarding the planetary unrest. Characters: Sister Theodosia
Location: Salusa Secundus
-
Court Navigation — Theodosia learns to manipulate court factions to serve Sisterhood interests. Characters: Sister Theodosia
Location: Imperial Palace
-
Reluctant Pact — Tula and Lila formalize their agreement despite personal reservations. Characters: Reverend Mother Tula Harkonnen, Sister Lila
Location: Training Grounds
-
Gear Preparation — The pair equips themselves for the dangerous assignment ahead. Characters: Reverend Mother Tula Harkonnen, Sister Lila
Location: Armory
Segment 3: Trials of Lineage and Vow
Flashbacks reveal Tula's struggle with her Harkonnen name and Valya's internal conflict over taking the Sisterhood vow. The sisters confront the weight of their shared heritage.
Key Events
-
Young Tula's Doubt — Flashback reveals Tula's anxiety about acceptance despite her Harkonnen lineage. Characters: Reverend Mother Tula Harkonnen
Location: Sisterhood Academy
-
Valya's Vow Struggle — Valya wrestles with the moral weight of taking the Sisterhood vow. Characters: Mother Superior Valya Harkonnen
Location: Sisterhood Sanctum
-
Harkonnen Burden — The sisters confront the weight of their shared name and diverging paths. Characters: Reverend Mother Tula Harkonnen, Mother Superior Valya Harkonnen
Location: Sisterhood Academy
-
Confirming Suspicions — Valya receives intelligence that validates her fears about internal betrayal. Characters: Mother Superior Valya Harkonnen
Location: Imperial House
-
Academy Tension — Tula faces prejudice from peers due to her Harkonnen heritage. Characters: Reverend Mother Tula Harkonnen
Location: Sisterhood Academy
-
Vow Reflection — Valya contemplates the irreversible consequences of her Sisterhood commitment. Characters: Mother Superior Valya Harkonnen
Location: Sisterhood Sanctum
-
Name Confrontation — The sisters discuss the burden of their shared surname and its political implications. Characters: Reverend Mother Tula Harkonnen, Mother Superior Valya Harkonnen
Location: Sisterhood Academy
Segment 4: Dreams and Deception
Tula investigates a shared prophetic dream among acolytes while concealing her secret project. Valya receives intelligence confirming internal betrayals, raising stakes.
Key Events
-
Confirming Suspicions — Valya receives intelligence that validates her fears about internal betrayal. Characters: Mother Superior Valya Harkonnen
Location: Imperial House
-
Shared Acolyte Dream — Tula investigates a recurring prophetic dream among the acolytes. Characters: Reverend Mother Tula Harkonnen
Location: Acolyte Quarters
-
Dream Investigation — Tula cross-references dream patterns with historical Sisterhood records. Characters: Reverend Mother Tula Harkonnen
Location: Sisterhood Archives
-
Harkonnen Redemption Plan — Valya initiates her strategy to restore House Harkonnen's standing before the Landsraad. Characters: Mother Superior Valya Harkonnen
Location: Landsraad Chamber
-
Message Decryption — Valya decodes intercepted communications revealing internal Sisterhood dissent. Characters: Mother Superior Valya Harkonnen
Location: Imperial House
-
Dream Pattern Analysis — Tula maps the acolytes' visions against historical prophetic records. Characters: Reverend Mother Tula Harkonnen
Location: Sisterhood Archives
-
Archive Search — Tula locates forbidden texts that corroborate the dream patterns. Characters: Reverend Mother Tula Harkonnen
Location: Sisterhood Archives
-
Landsraad Proposal — Valya presents her redemption strategy to skeptical noble delegates. Characters: Mother Superior Valya Harkonnen
Location: Landsraad Chamber
Segment 5: Redemption and Confrontation
Valya launches her Landsraad redemption plan while Desmond wages war against insurgents. Tula uncovers Desmond's true identity, culminating in an epic confrontation with Valya.
Key Events
-
Landsraad Maneuvering — Valya negotiates with noble houses to secure political backing for her scheme. Characters: Mother Superior Valya Harkonnen
Location: Landsraad Chamber
-
Secret Project Concealment — Tula works to hide her unauthorized research from Sisterhood oversight. Characters: Reverend Mother Tula Harkonnen
Location: Sisterhood Lab
-
Desmond's Warpath — Desmond launches an aggressive campaign to eliminate insurgent cells. Characters: Desmond Hart
Location: Imperial Territories
-
Insurgent Purge — Desmond's forces systematically dismantle opposition networks. Characters: Desmond Hart
Location: Rebel Stronghold
-
Identity Revelation — Tula uncovers Desmond's true background, complicating her mission. Characters: Reverend Mother Tula Harkonnen, Desmond Hart
Location: Command Center
-
Epic Confrontation — Valya's political maneuvering culminates in a direct clash with Desmond's militant authority. Characters: Mother Superior Valya Harkonnen, Desmond Hart
Location: Imperial Throne Room
-
Landsraad Proposal — Valya presents her redemption strategy to skeptical noble delegates. Characters: Mother Superior Valya Harkonnen
Location: Landsraad Chamber
-
Political Negotiation — Valya secures crucial votes through strategic concessions and threats. Characters: Mother Superior Valya Harkonnen
Location: Landsraad Chamber
-
Lab Secrecy — Tula implements counter-surveillance to protect her unauthorized research. Characters: Reverend Mother Tula Harkonnen
Location: Sisterhood Lab
-
Final Standoff — The season concludes with both leaders locked in a high-stakes power struggle. Characters: Mother Superior Valya Harkonnen, Desmond Hart
Location: Imperial Throne Room