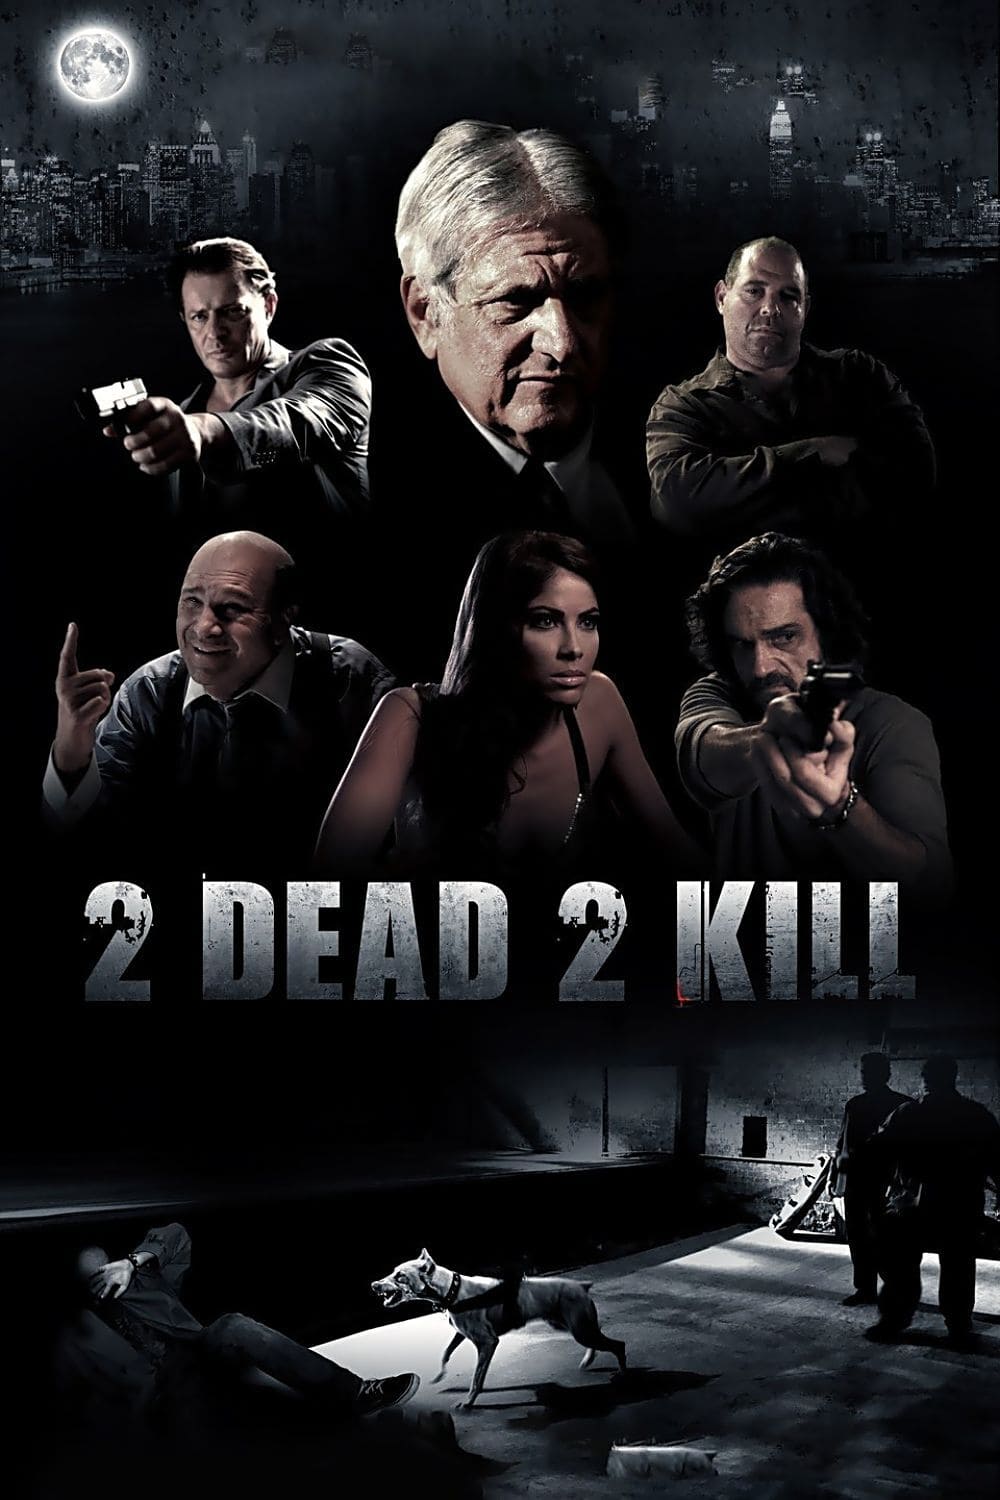
Story Structure — 4 Plot Phases
The Journal and the Threat
Ritchie is pressed for a journal and refuses the demand. The men threaten to target his daughter if he does not reveal where it is.
Key Events
-
Ritchie Is Pressed for the Journal — Two men demand Ritchie's journal; he says he threw it away. Characters: Ritchie Valenzuela
Location: Unspecified location
-
Threat Against Donna — The men threaten to find Ritchie's daughter and make her reveal the journal's location. Characters: Ritchie Valenzuela, Donna Valens
Location: Unspecified location
-
Mason Seeks Supplies — Mason, a former agent struggling with drug use, meets Salvatore to obtain supplies. Characters: Mason Jars, Salvatore Anigo Mander
Location: Unspecified meeting place
-
Concern About Salvatore — People around Mason distrust Salvatore and worry that Mason is endangering himself. Characters: Mason Jars, Salvatore Anigo Mander
Location: Unspecified location
-
Dente Awaits Merchandise — Dente waits for merchandise and grows increasingly impatient. Characters: Alphonse Dente
Location: Unspecified location
A Search Turns Dangerous
Ritchie dies, and the search shifts to Donna, who denies knowing about a journal. Mason is drawn into the search for the book and the valuable drugs while Dente orders a pursuit.
Key Events
-
Dente Awaits Merchandise — Dente waits for merchandise and grows increasingly impatient. Characters: Alphonse Dente
Location: Unspecified location
-
Ritchie Dies — Ritchie dies; the account does not specify how or where. Characters: Ritchie Valenzuela
Location: Unspecified location
-
Search Shifts to Donna — After Ritchie's death, the searchers turn their attention to Donna. Characters: Donna Valens
Location: Unspecified location
-
Donna Denies Knowing — Donna rejects the claim that her father left her a journal, but the search continues. Characters: Donna Valens
Location: Unspecified location
-
Mason Becomes Involved — Mason becomes entangled in the search for the missing book and valuable drugs. Characters: Mason Jars
Location: Unspecified location
-
Dente Orders a Pursuit — Dente orders his men to follow Mason and the others, recover the merchandise, and kill them. Characters: Alphonse Dente, Mason Jars
Location: Unspecified location
Clues in the Library
Donna recognizes a book she had given her father and suspects it offers a clue. The discovery of Ritchie's rare-book donation points toward a locked basement vault.
Key Events
-
Dente Orders a Pursuit — Dente orders his men to follow Mason and the others, recover the merchandise, and kill them. Characters: Alphonse Dente, Mason Jars
Location: Unspecified location
-
Donna and Mason Reach the Library — Their search leads Donna and Mason to a library. Characters: Donna Valens, Mason Jars
Location: Library
-
Donna Recognizes the Book — Donna recognizes a book she once gave her father and suspects it points toward the truth. Characters: Donna Valens, Mason Jars, Ritchie Valenzuela
Location: Library
-
The Book Suggests a Clue — Donna suspects the book's story of wrongdoing and redemption was Ritchie's way of guiding her. Characters: Donna Valens, Mason Jars, Ritchie Valenzuela
Location: Library
-
Rare Book Donation Revealed — They learn that Ritchie donated a collection of rare books to the library. Characters: Donna Valens, Mason Jars, Ritchie Valenzuela
Location: Library
-
Vault Becomes the Lead — The rare books are in a locked basement vault, which may hold the key to the drugs. Characters: Donna Valens, Mason Jars
Location: Library basement
Dente's Ultimatum
Donna confronts Dente and accuses him of killing her father and taking the merchandise. Dente threatens her, then forces Mason to choose between revealing the stash and Donna's life.
Key Events
-
Donna Confronts Dente — Donna accuses Dente of killing her father and trying to take the merchandise. Characters: Donna Valens, Alphonse Dente
Location: Unspecified location
-
Dente Threatens Donna — Dente threatens Donna as a gun is drawn and the others try to control the situation. Characters: Donna Valens, Alphonse Dente
Location: Unspecified location
-
Mason Faces Dente's Choice — Dente demands that Mason choose between the stash and Donna's life. Characters: Mason Jars, Donna Valens, Alphonse Dente
Location: Unspecified location
-
Mason Reveals the Hiding Place — Mason reveals that the drugs are hidden in the library basement. Characters: Mason Jars, Donna Valens, Alphonse Dente
Location: Unspecified location
-
Mason Is Sent Alone — Dente orders Mason to go to the basement alone and keeps Donna behind as leverage; the outcome is not shown. Characters: Mason Jars, Donna Valens, Alphonse Dente
Location: Unspecified location