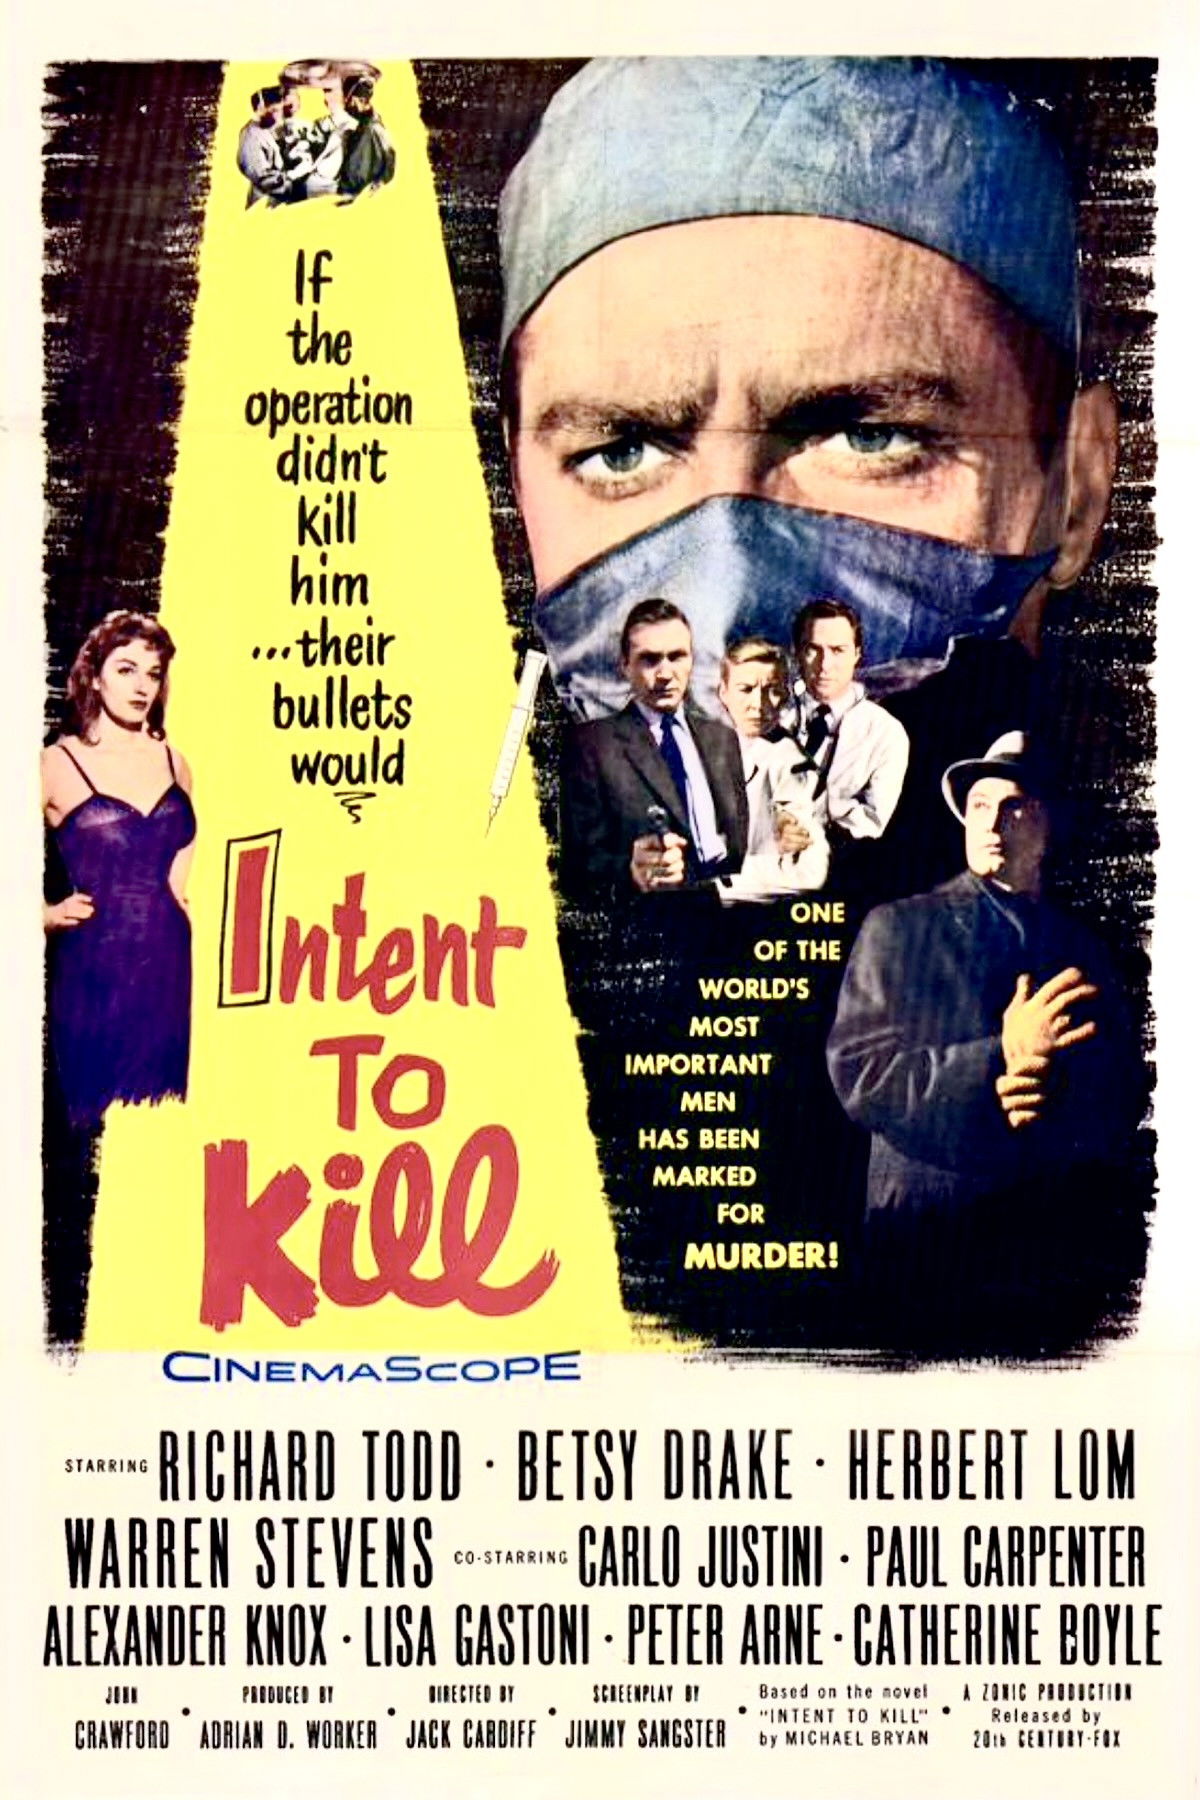
Story Structure — 5 Plot Phases
A President in Hiding
After surviving an assassination attempt, Juan Menda is brought to Montreal under a false name for treatment. His political opponents hire Canadian hitmen, while his aide Francisco secretly helps them.
Key Events
-
Menda Survives an Assassination Attempt — After surviving an assassination attempt, Menda needs treatment for a dangerous cranial blood clot. Characters: Juan Menda
Location: Unspecified South American country
-
Secret Transfer to Montreal — Menda is moved to Montreal under a false name for medical treatment. Characters: Juan Menda
Location: Montreal
-
Killers Hired to Find Menda — Menda's political opponents hire three Canadian hitmen to finish the assassination. Characters: Juan Menda
Location: Montreal
-
Francisco Passes Information — Menda's aide secretly supplies information to the would-be killers. Characters: Juan Menda, Francisco Flores (as Carlo Justini)
Location: Montreal
-
Bob Faces Pressure at Home — Pressure from his dissatisfied wife weighs on Bob as he faces Menda's operation. Characters: Dr. Bob McLaurin
Location: Montreal
The Dangerous Operation
Bob McLaurin operates on Menda while distracted by pressure from his dissatisfied wife. He nearly makes a fatal error, but the operation succeeds.
Key Events
-
Bob Nearly Makes a Fatal Error — Distracted during the procedure, Bob nearly makes a fatal mistake while operating on Menda. Characters: Dr. Bob McLaurin, Juan Menda
Location: Hospital operating room
-
Menda's Operation Succeeds — Despite the near mistake, Bob completes the operation successfully. Characters: Dr. Bob McLaurin, Juan Menda
Location: Hospital operating room
Suspicion in the Hospital
Menda grows uneasy when Carla does not visit and begins to suspect her and Francisco. Fearing a threat, he asks to be moved to another room.
Key Events
-
Carla Does Not Visit — Carla makes no effort to visit Menda during his recovery, troubling him. Characters: Juan Menda, Carla Menda
Location: Montreal hospital
-
Menda Suspects Francisco — Menda suspects Francisco and Carla may be acting against him, though he does not know the truth. Characters: Juan Menda, Francisco Flores (as Carlo Justini), Carla Menda
Location: Montreal hospital
-
Menda Requests Another Room — Fearing for his safety, Menda demands to be moved to a different hospital room. Characters: Juan Menda
Location: Montreal hospital
The Wrong Room
The hitmen attack the room they believe is Menda's and kill an innocent patient. Police assign Menda a guard, but the killers' carelessness soon brings violence into the hospital corridors.
Key Events
-
Hitmen Kill the Wrong Patient — The hitmen attack the room they believe holds Menda and kill an innocent patient instead.
Location: Montreal hospital
-
Police Guard Menda — Bob, Nancy, and the police believe the dead patient was mistaken for Menda; police assign Menda a 24-hour guard. Characters: Juan Menda, Dr. Bob McLaurin, Dr. Nancy Ferguson
Location: Montreal hospital
-
Corridor Gunfight Erupts — The hitmen's careless moves lead to a confrontation with police, and Bob is caught in the middle. Characters: Dr. Bob McLaurin
Location: Hospital corridors
A Final Hospital Threat
Bob is caught in the corridor gunfight and tackles a hitman, falling through a window with him; the unconscious assassin is arrested. Amid the chaos, another killer reaches Menda's unguarded room, where Menda is more prepared than expected.
Key Events
-
Bob Tackles a Wounded Assassin — As the hitmen turn on each other, Bob struggles with one and they fall through a window; the unconscious assassin is arrested. Characters: Dr. Bob McLaurin
Location: Hospital window and ground below
-
A Killer Enters Menda's Room — During the hospital chaos, a hitman slips into Menda's temporarily unguarded room to kill him. Characters: Juan Menda
Location: Menda's hospital room
-
Menda Is Ready for the Attack — The intruding hitman finds Menda far more prepared than expected; the account ends at this confrontation. Characters: Juan Menda
Location: Menda's hospital room