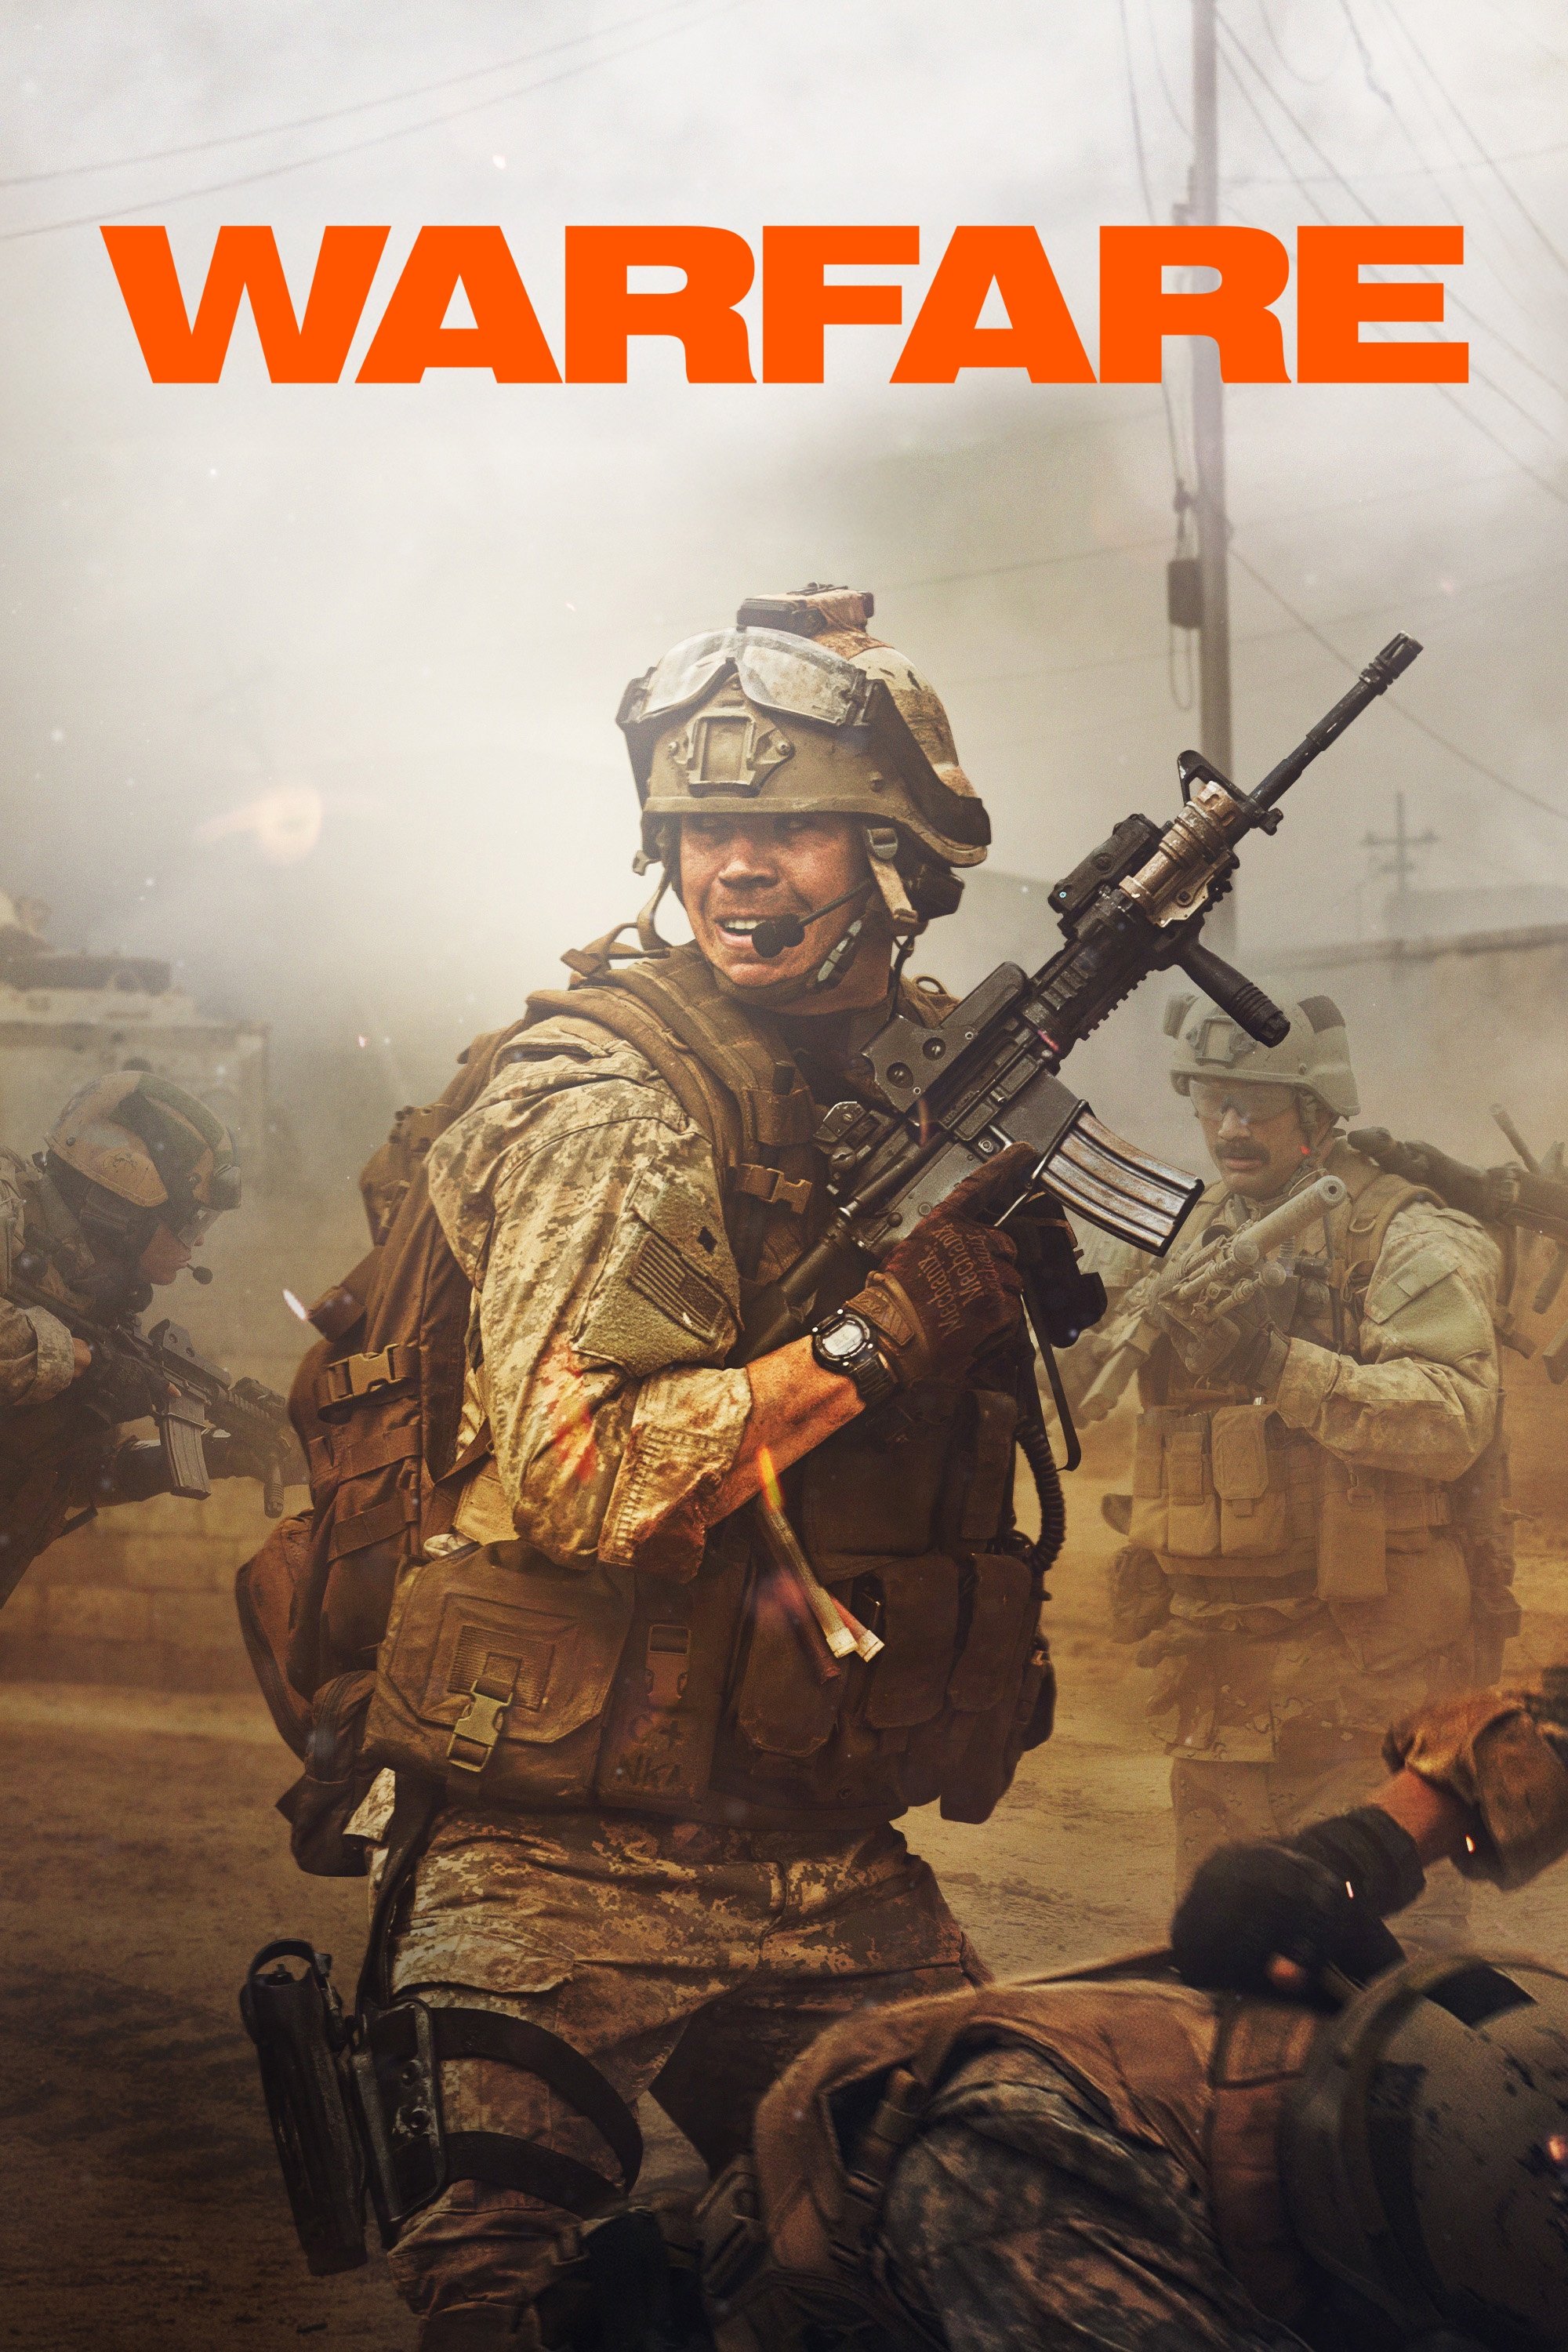
Plot Analysis Summary
A platoon trapped in a hostile urban position struggles to evacuate its wounded while command, communications, and battlefield trust are tested.
Story Structure — 5 Plot Phases
Darkness Over Ramadi
Alpha One occupies a two-story house after the Battle of Ramadi. Ray coordinates air support while Elliott and Frank provide overwatch, and the interpreters gather the resident families.
Key Events
-
Alpha One Occupies House — Alpha One takes control of a two-story house after the Battle of Ramadi. Characters: Ray, Erik, Elliott, Frank, Tommy, Sam
Location: Two-story house in Ramadi
-
Air Support Coordinates Overwatch — Ray coordinates air support while Elliott and Frank monitor the market. Characters: Ray, Elliott, Frank
Location: House and nearby market
-
Families Gathered Inside — Farid and Sidar gather both resident families into one bedroom. Characters: Farid, Sidar
Location: Bedroom inside the house
-
Enemy Activity Increases — The SEALs observe increasing enemy activity as air support leaves the area. Characters: Ray, Erik, Elliott, Frank, Farid, Sidar
Location: House and market perimeter
-
Call To Arms Broadcast — The interpreters warn that the enemy has broadcast a call to arms. Characters: Ray, Erik, Farid, Sidar
Location: Lower level of the house
The House Comes Under Threat
Enemy activity increases after air support leaves the area. A warning about a call to arms leads Erik and Sam to place Farid and Sidar on the lower level.
Key Events
-
Call To Arms Broadcast — The interpreters warn that the enemy has broadcast a call to arms. Characters: Ray, Erik, Farid, Sidar
Location: Lower level of the house
-
Lower Level Guarded — Erik and Sam order the interpreters to guard the lower level. Characters: Erik, Sam, Farid, Sidar
Location: Two-story house
-
Grenade Hits Sniper Room — A grenade enters the sniper room and injures Elliott without warning. Characters: Elliott, Frank
Location: Sniper room
-
First CASEVAC Requested — The team calls a CASEVAC for Elliott while exchanging fire with insurgents. Characters: Ray, Elliott, Erik, Sam
Location: Two-story house
-
Perimeter Cleared — Alpha One gathers gear and detonates Claymore mines to clear the perimeter. Characters: Erik, Sam, Ray, Elliott, Frank, Tommy
Location: House perimeter
The Failed Withdrawal
A grenade injures Elliott, forcing the team to prepare an emergency withdrawal. An IED at the Bradley kills Farid, wounds Elliott and Sam, and concusses Ray, Erik, and Tommy.
Key Events
-
Perimeter Cleared — Alpha One gathers gear and detonates Claymore mines to clear the perimeter. Characters: Erik, Sam, Ray, Elliott, Frank, Tommy
Location: House perimeter
-
Withdrawal Through Smoke — Farid and Sidar move first as Alpha One withdraws toward a waiting Bradley. Characters: Ray, Erik, Elliott, Frank, Tommy, Sam, Farid
Location: Street outside the house
-
IED Strikes Bradley — An IED explodes as the Bradley ramp drops; Farid dies and Sidar flees. Characters: Ray, Erik, Elliott, Tommy, Sam, Farid, Sidar
Location: Bradley loading area
-
Squad Suffers Blast Injuries — Elliott and Sam are severely wounded while Ray, Erik, and Tommy suffer concussions. Characters: Ray, Erik, Elliott, Tommy, Sam
Location: Street near the Bradley
-
Bradley Crew Withdraws — The injured Bradley crew drives away, leaving Alpha One to regroup. Characters: Elliott, Sam, Ray, Erik, Tommy
Location: Street outside the house
Disorientation And Command
Alpha One regroups inside the house while Alpha Two is delayed by street firefights. Ray and Erik become disoriented, and Jake assumes command with Erik's approval.
Key Events
-
Bradley Crew Withdraws — The injured Bradley crew drives away, leaving Alpha One to regroup. Characters: Elliott, Sam, Ray, Erik, Tommy
Location: Street outside the house
-
Alpha One Regroups — Alpha One returns to the house and tends to Sam and Elliott's severe injuries. Characters: Ray, Erik, Elliott, Tommy, Sam
Location: Two-story house
-
Alpha Two Blocked — Firefights in the street prevent Alpha Two from immediately helping Alpha One. Characters: Jake, John
Location: Streets around the house
-
Air Support Returns — Air support returns, but proximity to enemy fighters permits only a show of force. Characters: Ray, Erik, Sam
Location: House perimeter
-
Commanders Become Disoriented — Ray and Erik dissociate and become badly disoriented because of their traumatic brain injuries. Characters: Ray, Erik
Location: Inside the house
-
Jake Takes Command — At Erik's request, Jake assumes command and orders John to secure evacuation approval. Characters: Jake, Erik, John
Location: Two-story house
Extraction Under Fire
John bypasses the chain of command to authorize a CASEVAC for Sam and Elliott. The survivors then defend the house long enough for Bradley vehicles to extract both Alpha units.
Key Events
-
Jake Takes Command — At Erik's request, Jake assumes command and orders John to secure evacuation approval. Characters: Jake, Erik, John
Location: Two-story house
-
Evacuation Authorization Bypassed — John impersonates the brigade commander to bypass delays and approve another CASEVAC. Characters: Jake, John, Ray, Erik
Location: Inside the house
-
Wounded Soldiers Evacuated — Under covering fire, Elliott and Sam are successfully evacuated by Bradley. Characters: Elliott, Sam, Jake, John, Ray, Erik
Location: Street outside the house
-
House Defense Prepared — Survivors prepare to defend the house and order Bradleys to rake the second floor. Characters: Jake, John, Ray, Erik, Tommy
Location: Two-story house
-
Final Bradley Extraction — Another show of force covers Alpha One and Alpha Two as Bradleys extract them under heavy fire. Characters: Jake, John, Ray, Erik, Tommy
Location: House perimeter and streets
-
Civilians Emerge — After the soldiers leave, civilians emerge relieved while insurgents enter the street. Characters: Farid, Sidar
Location: Street outside the house