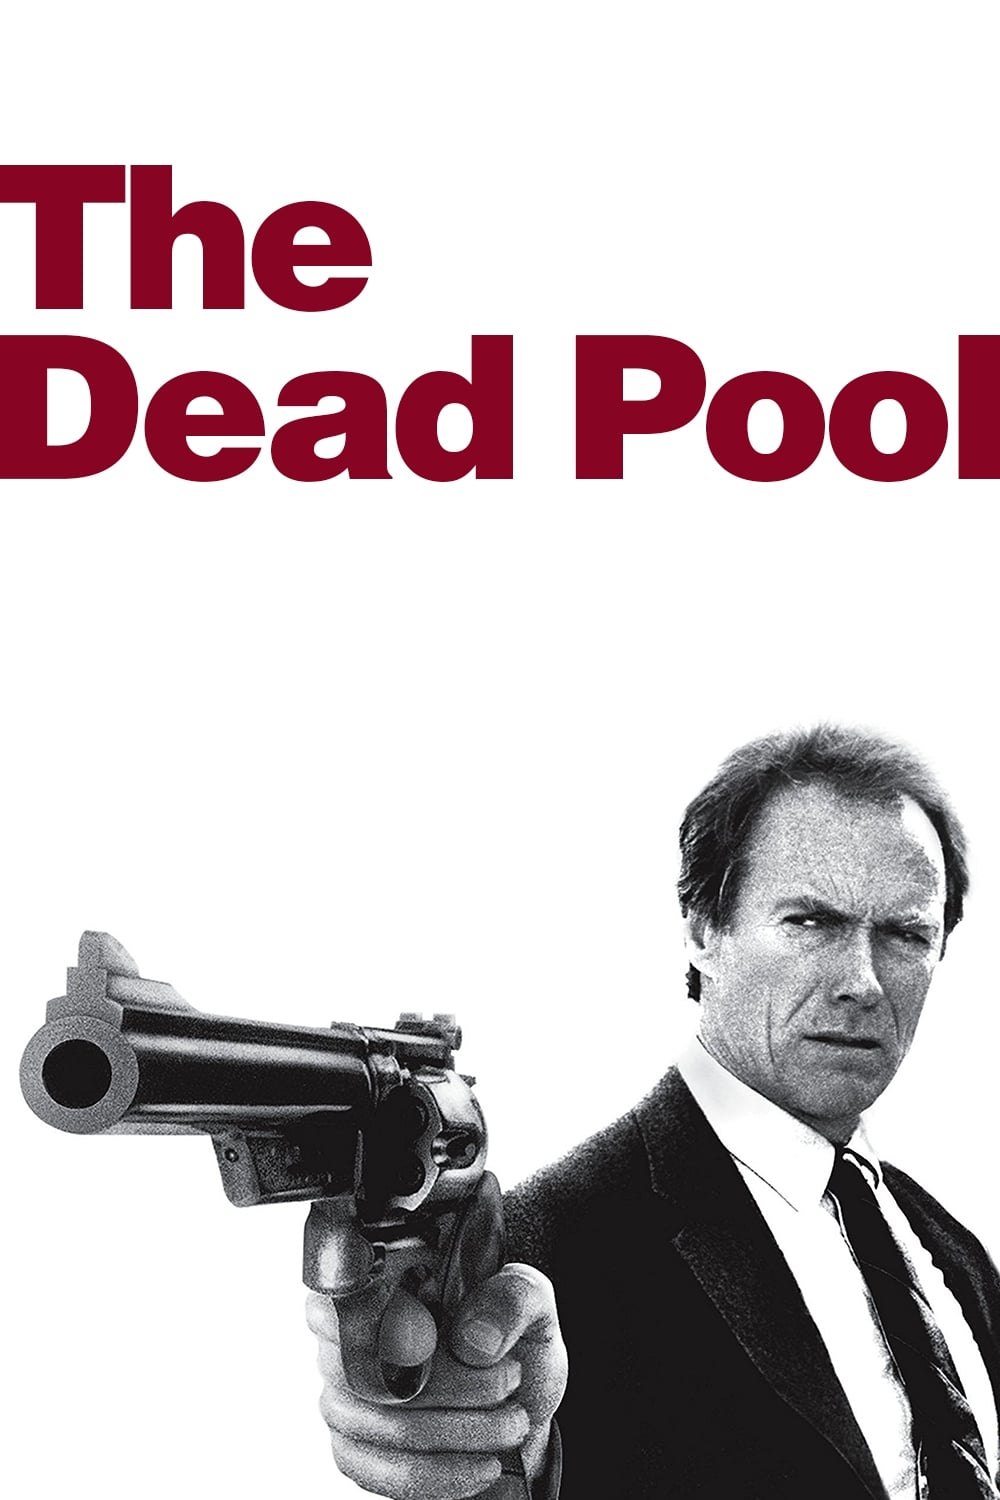
Story Structure — 5 Plot Phases
A Celebrity Target Emerges
A crime lord's imprisonment makes the detective famous and vulnerable. The investigation into Johnny Squares's apparent overdose reveals a deliberate murder.
Key Events
-
Janero Convicted — Testimony sends crime lord Lou Janero to prison and makes the detective a public figure. Characters: Lou Janero
Location: Courtroom
-
Ambush By Hitmen — Janero's men ambush the detective, who kills four attackers. Characters: Lou Janero
Location: San Francisco street
-
Squares Found Dead — Johnny Squares is found dead during filming at the Port of San Francisco. Characters: Johnny Squares, Peter Swan
Location: Music video trailer
-
Overdose Becomes Murder — The investigation determines that Squares's death was not a typical overdose. Characters: Johnny Squares
Location: Port of San Francisco
Names On The List
A robbery exposes a dead pool list involving celebrities and the detective. Molly Fisher's murder turns the game into a public panic and places Peter Swan under suspicion.
Key Events
-
Chinatown Robbery — Dean Madison is killed during a robbery, and the detective confronts the robbers.
Location: Chinatown
-
Dead Pool List — A list naming the detective and Squares reveals the celebrity death prediction game. Characters: Johnny Squares, Peter Swan, Molly Fisher
Location: Chinatown crime scene
-
Fisher Murdered — Molly Fisher is murdered by an intruder claiming to be Peter Swan. Characters: Molly Fisher, Peter Swan
Location: Molly Fisher's residence
-
Swan Becomes Suspect — The impersonated attack causes public panic and makes Swan a prime suspect. Characters: Peter Swan, Molly Fisher
Location: Police investigation
Danger Meets The Press
A lawsuit forces cooperation between the detective and Samantha Walker. Criminal retaliation and Gus Wheeler's publicity stunt deepen their debate over danger and media exploitation.
Key Events
-
Camera Destroyed — The detective destroys a television camera and must cooperate with Samantha Walker. Characters: Samantha Walker
Location: Television station
-
Media Deal — Walker offers to drop a lawsuit if the detective agrees to a career profile. Characters: Samantha Walker
Location: Television station
-
Janero's Retaliation — Janero's men attack the detective and Walker, but both survive. Characters: Lou Janero, Samantha Walker
Location: San Francisco street
-
Janero Threatened In Prison — The detective uses Butcher Hicks to threaten Janero, ending the attacks. Characters: Lou Janero
Location: San Quentin State Prison
-
Wheeler's Fire Stunt — Wheeler falsely claims the murders and threatens suicide for publicity. Characters: Gus Wheeler, Samantha Walker
Location: Crowded public area
-
Walker Refuses Coverage — Walker refuses to film Wheeler, who accidentally sets himself on fire. Characters: Gus Wheeler, Samantha Walker
Location: Crowded public area
-
Wheeler Rescued — The detective saves Wheeler, while Walker's restraint changes the detective's view of her. Characters: Gus Wheeler, Samantha Walker
Location: Crowded public area
The Killer Revealed
Peter Swan identifies Harlan Rook as a delusional enemy with a restraining order. Rook's explosive toy-car attack confirms that the dead pool murders are escalating.
Key Events
-
Rook Identified — Swan describes Rook's delusion that Swan stole his ideas and work. Characters: Harlan Rook, Peter Swan
Location: Film production office
-
Kennard Car Bomb — Rook kills a television personality with an explosive toy car. Characters: Harlan Rook
Location: San Francisco street
-
Toy Car Pursuit — Rook remotely guides a bomb-filled toy car during a pursuit through the city. Characters: Harlan Rook
Location: San Francisco alleyways
-
Alley Explosion — The bomb explodes in an alley; the detective survives and his partner suffers broken ribs. Characters: Harlan Rook
Location: San Francisco alleyway
Hostage At The Pier
Rook replaces the detective's name with Walker's, kidnaps her, and prepares a final trap. The detective pursues him to the pier and kills him with a harpoon cannon.
Key Events
-
Alley Explosion — The bomb explodes in an alley; the detective survives and his partner suffers broken ribs. Characters: Harlan Rook
Location: San Francisco alleyway
-
Walker Lured Away — Rook impersonates Swan, kills the cameraman, and kidnaps Walker at the studio. Characters: Harlan Rook, Samantha Walker, Peter Swan
Location: Television station and film studio
-
Rook's Explosive Hideout — Police find explosives, torn Swan posters, and Walker's name replacing the detective's on the list. Characters: Harlan Rook, Samantha Walker
Location: Harlan Rook's apartment
-
Hostage Confrontation — The detective confronts Rook, who holds Walker hostage and demands the detective's revolver. Characters: Harlan Rook, Samantha Walker
Location: Film studio
-
Pier Chase — The detective lures Rook onto a pier while Rook fires the detective's gun. Characters: Harlan Rook, Samantha Walker
Location: Pier
-
Rook Killed By Harpoon — After Rook runs out of bullets, the detective kills him with a harpoon cannon. Characters: Harlan Rook, Samantha Walker
Location: Pier
-
Walker And Detective Leave — The detective retrieves his gun and leaves with Walker as police and media arrive. Characters: Samantha Walker
Location: Pier