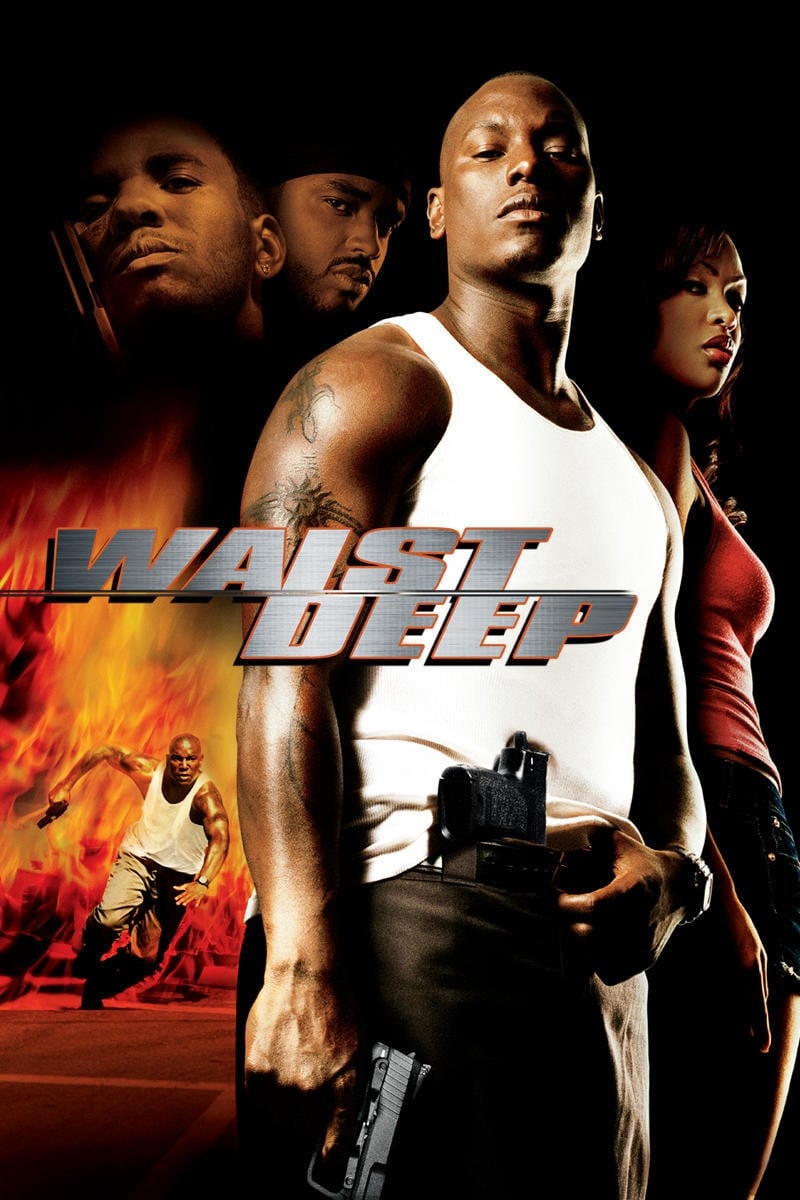
Plot Analysis Summary
A desperate rescue mission transforms criminal alliances into sacrifice, escape, and family reunion.
Story Structure — 6 Plot Phases
A Promise Under Fire
A father promises to return for Junior, but a violent carjacking turns the pickup into a kidnapping. The search quickly identifies Coco as connected to the attack.
Key Events
-
Late School Pickup — The father arrives late and promises Junior that he will always return for him. Characters: Junior
Location: Junior's school
-
Carjacking and Kidnapping — Gunmen steal the convertible with Junior inside, turning a carjacking into a kidnapping. Characters: Junior
Location: Southland intersection
-
Failed Pursuit — The father chases the stolen car and exchanges gunfire with the carjackers but cannot recover Junior. Characters: Junior
Location: Southland streets
-
Coco Is Identified — The father catches up with Coco and identifies her as the person who marked him for the carjacking. Characters: Coco
Location: Southland streets
An Unwilling Partnership
The father forces Coco into the rescue effort after confronting her. They escape Man and seek help from Lucky, who reveals that Meat is holding Junior.
Key Events
-
Forced Rescue Partnership — The father forces Coco to help retrieve Junior, and they steal a sedan for the rescue. Characters: Coco
Location: Southland streets
-
Man Attacks Coco — Man savagely beats Coco, prompting the father to strike him with the gun before they retreat. Characters: Coco, Man
Location: Southland neighborhood
-
Refuge at Lucky's Home — Coco and the father retreat to Lucky's home and ask him for help. Characters: Coco, Lucky
Location: Lucky's home
-
Meat's Ransom Demand — Lucky reports that Meat holds Junior and demands $100,000 by the next midnight. Characters: Lucky, Meat, Junior
Location: Lucky's home
Robbing the Criminal Empire
Coco and the father attempt to provoke a gang war by robbing rival operations. Safe deposit keys lead to bank robberies and valuable jewelry.
Key Events
-
Gang War Strategy — The father and Coco plan to rob rival operations and make each gang blame the other. Characters: Coco, Meat
Location: Southland streets
-
Robbery at Meat's Location — The pair successfully rob one of Meat's locations as part of their plan. Characters: Coco, Meat
Location: Meat's operation
-
Safe Deposit Keys Found — The robbery produces keys belonging to safe deposit boxes at numerous banks. Characters: Coco
Location: Meat's operation
-
Bank Robberies Begin — The father and Coco stage multiple bank robberies and recover expensive jewelry. Characters: Coco
Location: Multiple banks
-
Lucky Offers the Jewelry — Lucky offers to dispose of the jewelry to demonstrate his value to the rescue effort. Characters: Lucky, Coco
Location: Southland streets
-
Jewelry Returns to Meat — Lucky unknowingly takes jewelry belonging to Meat back to Meat's organization. Characters: Lucky, Meat
Location: Meat's operation
The Ransom Trap
Lucky unknowingly returns Meat's jewelry to him, allowing Meat to force a meeting. The promised exchange becomes an execution trap.
Key Events
-
Jewelry Returns to Meat — Lucky unknowingly takes jewelry belonging to Meat back to Meat's organization. Characters: Lucky, Meat
Location: Meat's operation
-
Forced Meeting Arranged — Meat forces Lucky to arrange a meeting with Coco and the father, intending to eliminate the resistance. Characters: Coco, Lucky, Meat
Location: Southland streets
-
Ransom Exchange — The group meets in an alley, and the ransom money is delivered for Junior. Characters: Coco, Lucky, Meat, Junior
Location: An alley
-
Meat's False Promise — Meat reveals he never intended to spare Junior and signals Man to kill him. Characters: Lucky, Meat, Man, Junior
Location: An alley
Sacrifice and Escape
Lucky protects Junior and dies from his wound after Meat and his men are defeated. Coco and Junior flee toward Mexico while the father draws the police away.
Key Events
-
Lucky's Sacrificial Tackle — Lucky tackles Man as he fires, taking a chest wound while the father kills Meat and his men. Characters: Lucky, Meat, Man, Junior
Location: An alley
-
Lucky Dies at the Gas Station — The group stops to treat Lucky's wound, but Lucky dies before reaching a hospital. Characters: Lucky, Coco, Junior
Location: A gas station
-
Police Pursuit Begins — After losing control of the car, the father draws police attention and hides in a parking lot. Characters: Coco, Junior
Location: Southland roads
-
Escape Toward Mexico — The father sends Coco and Junior toward the Mexican border while he draws the pursuing police away. Characters: Coco, Junior
Location: Parking lot and border route
-
Drive Into the Lake — The police chase the father to a dead end, forcing him to drive into the water.
Location: A lakeside dead end
Reunion Beyond the Border
The father drives into the lake during the pursuit, but later appears in Mexico. Coco and Junior reunite with him on the beach.
Key Events
-
Reunion on the Mexican Beach — Coco and Junior live in Mexico, then see the father approaching and reunite with him. Characters: Coco, Junior
Location: A beach in Mexico