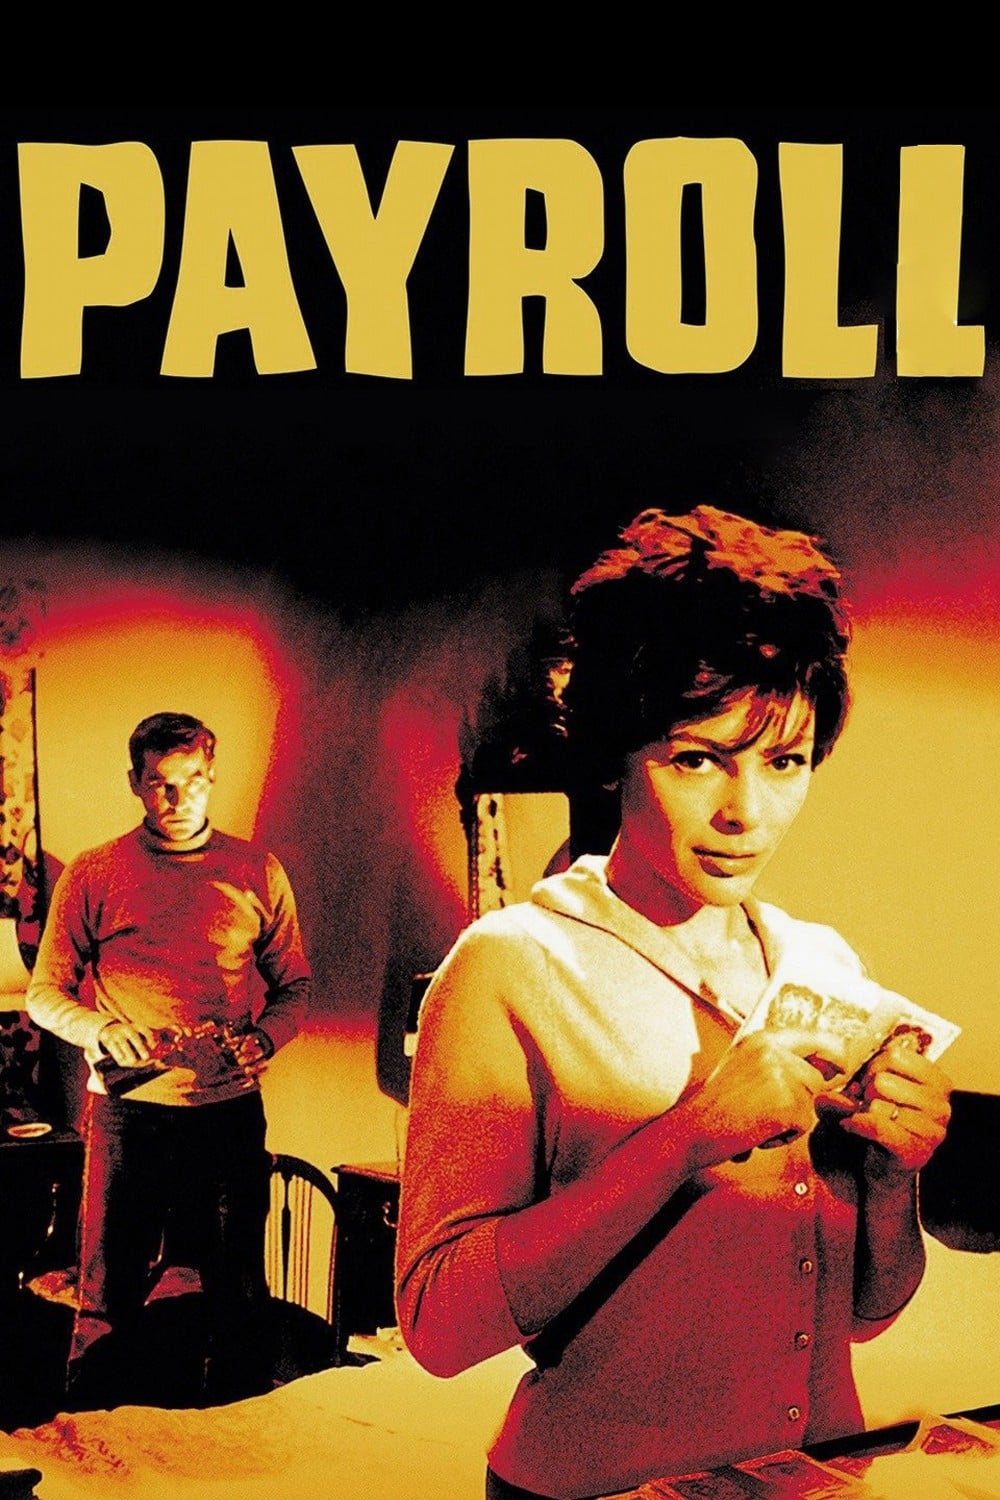
Plot Analysis Summary
A payroll robbery turns deadly, fractures the gang, and leaves its members under police scrutiny and mounting pressure.
Story Structure — 5 Plot Phases
A System Made Vulnerable
A security company demonstrates a payroll transport system presented as highly secure. The gang studies the route and suspects an insider may help them understand the operation.
Key Events
-
Security System Demonstration — A security company demonstrates a system intended to make the locked payroll van and its guarded passenger inaccessible.
Location: Security company demonstration
-
Gang Studies the Route — The gang studies the route and waits for the guards to become complacent. Characters: Johnny Mellors, Monty, Bert Langridge
Location: Payroll van route
-
Suspected Inside Contact — The gang suspects someone inside the payroll operation could provide information about its procedures. Characters: Johnny Mellors, Dennis Pearson
Location: Payroll operation
Violence at the Van
The gang attacks the payroll van, and the robbery turns violent. Harry is killed and Bert suffers a fatal injury, leaving the gang facing an urgent moral and practical crisis.
Key Events
-
Payroll Van Ambush — The gang attacks the payroll van and the robbery becomes violent. Characters: Johnny Mellors, Monty, Bert Langridge, Harry Parker, Frank Moore
Location: Payroll van route
-
Harry Is Killed — Harry is killed during the robbery. Characters: Harry Parker, Frank Moore, Johnny Mellors, Monty, Bert Langridge
Location: Payroll van route
-
Bert Is Fatally Injured — Frank inflicts the injury that proves fatal to Bert during the violent robbery. Characters: Bert Langridge, Frank Moore, Johnny Mellors, Monty
Location: Payroll van route
-
Johnny Orders Escape — Johnny insists that the gang take the money and leave rather than seek help for Bert. Characters: Johnny Mellors, Monty, Bert Langridge
Location: Robbery scene
-
Monty Demands Medical Help — Monty argues that Bert must be taken to a doctor, but Johnny warns that seeking help would expose them. Characters: Monty, Johnny Mellors, Bert Langridge
Location: Robbery scene
-
Monty Threatens Surrender — Horrified by the decision, Monty threatens to give himself up, but the others pressure him to leave. Characters: Monty, Johnny Mellors
Location: Robbery scene
-
Bert Is Abandoned — The gang leaves Bert behind and divides his share among themselves. Characters: Johnny Mellors, Monty, Bert Langridge
Location: Robbery scene
The Gang's Rupture
Monty argues that Bert needs a doctor, while Johnny insists that seeking help would expose them. The gang abandons Bert, divides his share, and leaves its internal conflict unresolved.
Suspicion and Investigation
Police consider the possibility of an inside contact and keep Pearson under observation without proof. Jackie is distressed by her circumstances and angry at the prospect of lenient punishment for those responsible.
Key Events
-
Police Consider Inside Help — Police investigate the robbery and consider whether an employee provided inside assistance. Characters: Detective Inspector Carberry, Dennis Pearson, Harry Parker, Frank Moore
Location: Police investigation
-
Pearson Placed Under Observation — Carberry focuses on Pearson, who was unwell on the robbery morning, and investigators keep him under observation without proof. Characters: Detective Inspector Carberry, Dennis Pearson
Location: Wages department
-
Jackie Seeks Justice — Jackie is overwhelmed by home life and furious at the thought that those responsible may serve only a few years. Characters: Jackie Parker, Harry Parker
Location: Jackie's home life
The Loot Tightens Its Grip
The gang cannot freely use or hide the stolen money, and reports of police recoveries increase suspicion. Johnny searches for Monty, checks the garage and lockup, and makes a call about a boat as pressure mounts.
Key Events
-
Loot Becomes a Burden — The gang finds it difficult to hide the money and cannot spend the loot freely. Characters: Johnny Mellors, Monty
Location: Gang hideout
-
Police Recover Some Money — Reports that police have recovered some of the money deepen suspicion within the gang. Characters: Johnny Mellors, Monty
Location: Gang hideout
-
Johnny Searches for Monty — After Monty has been out for a night, Johnny orders a search for him because he fears Monty may talk. Characters: Johnny Mellors, Monty
Location: Gang hideout
-
Johnny Checks Hideouts — Johnny checks the garage and lockup as pressure on the gang increases. Characters: Johnny Mellors
Location: Garage and lockup
-
Boat Departure Plans — Johnny calls about a boat he has ordered, suggesting he is preparing to leave. Characters: Johnny Mellors
Location: Telephone
-
Pressure Closes In — The available events end with further trouble confronting Johnny and others while police investigations continue. Characters: Johnny Mellors, Monty, Detective Inspector Carberry, Jackie Parker
Location: Unspecified