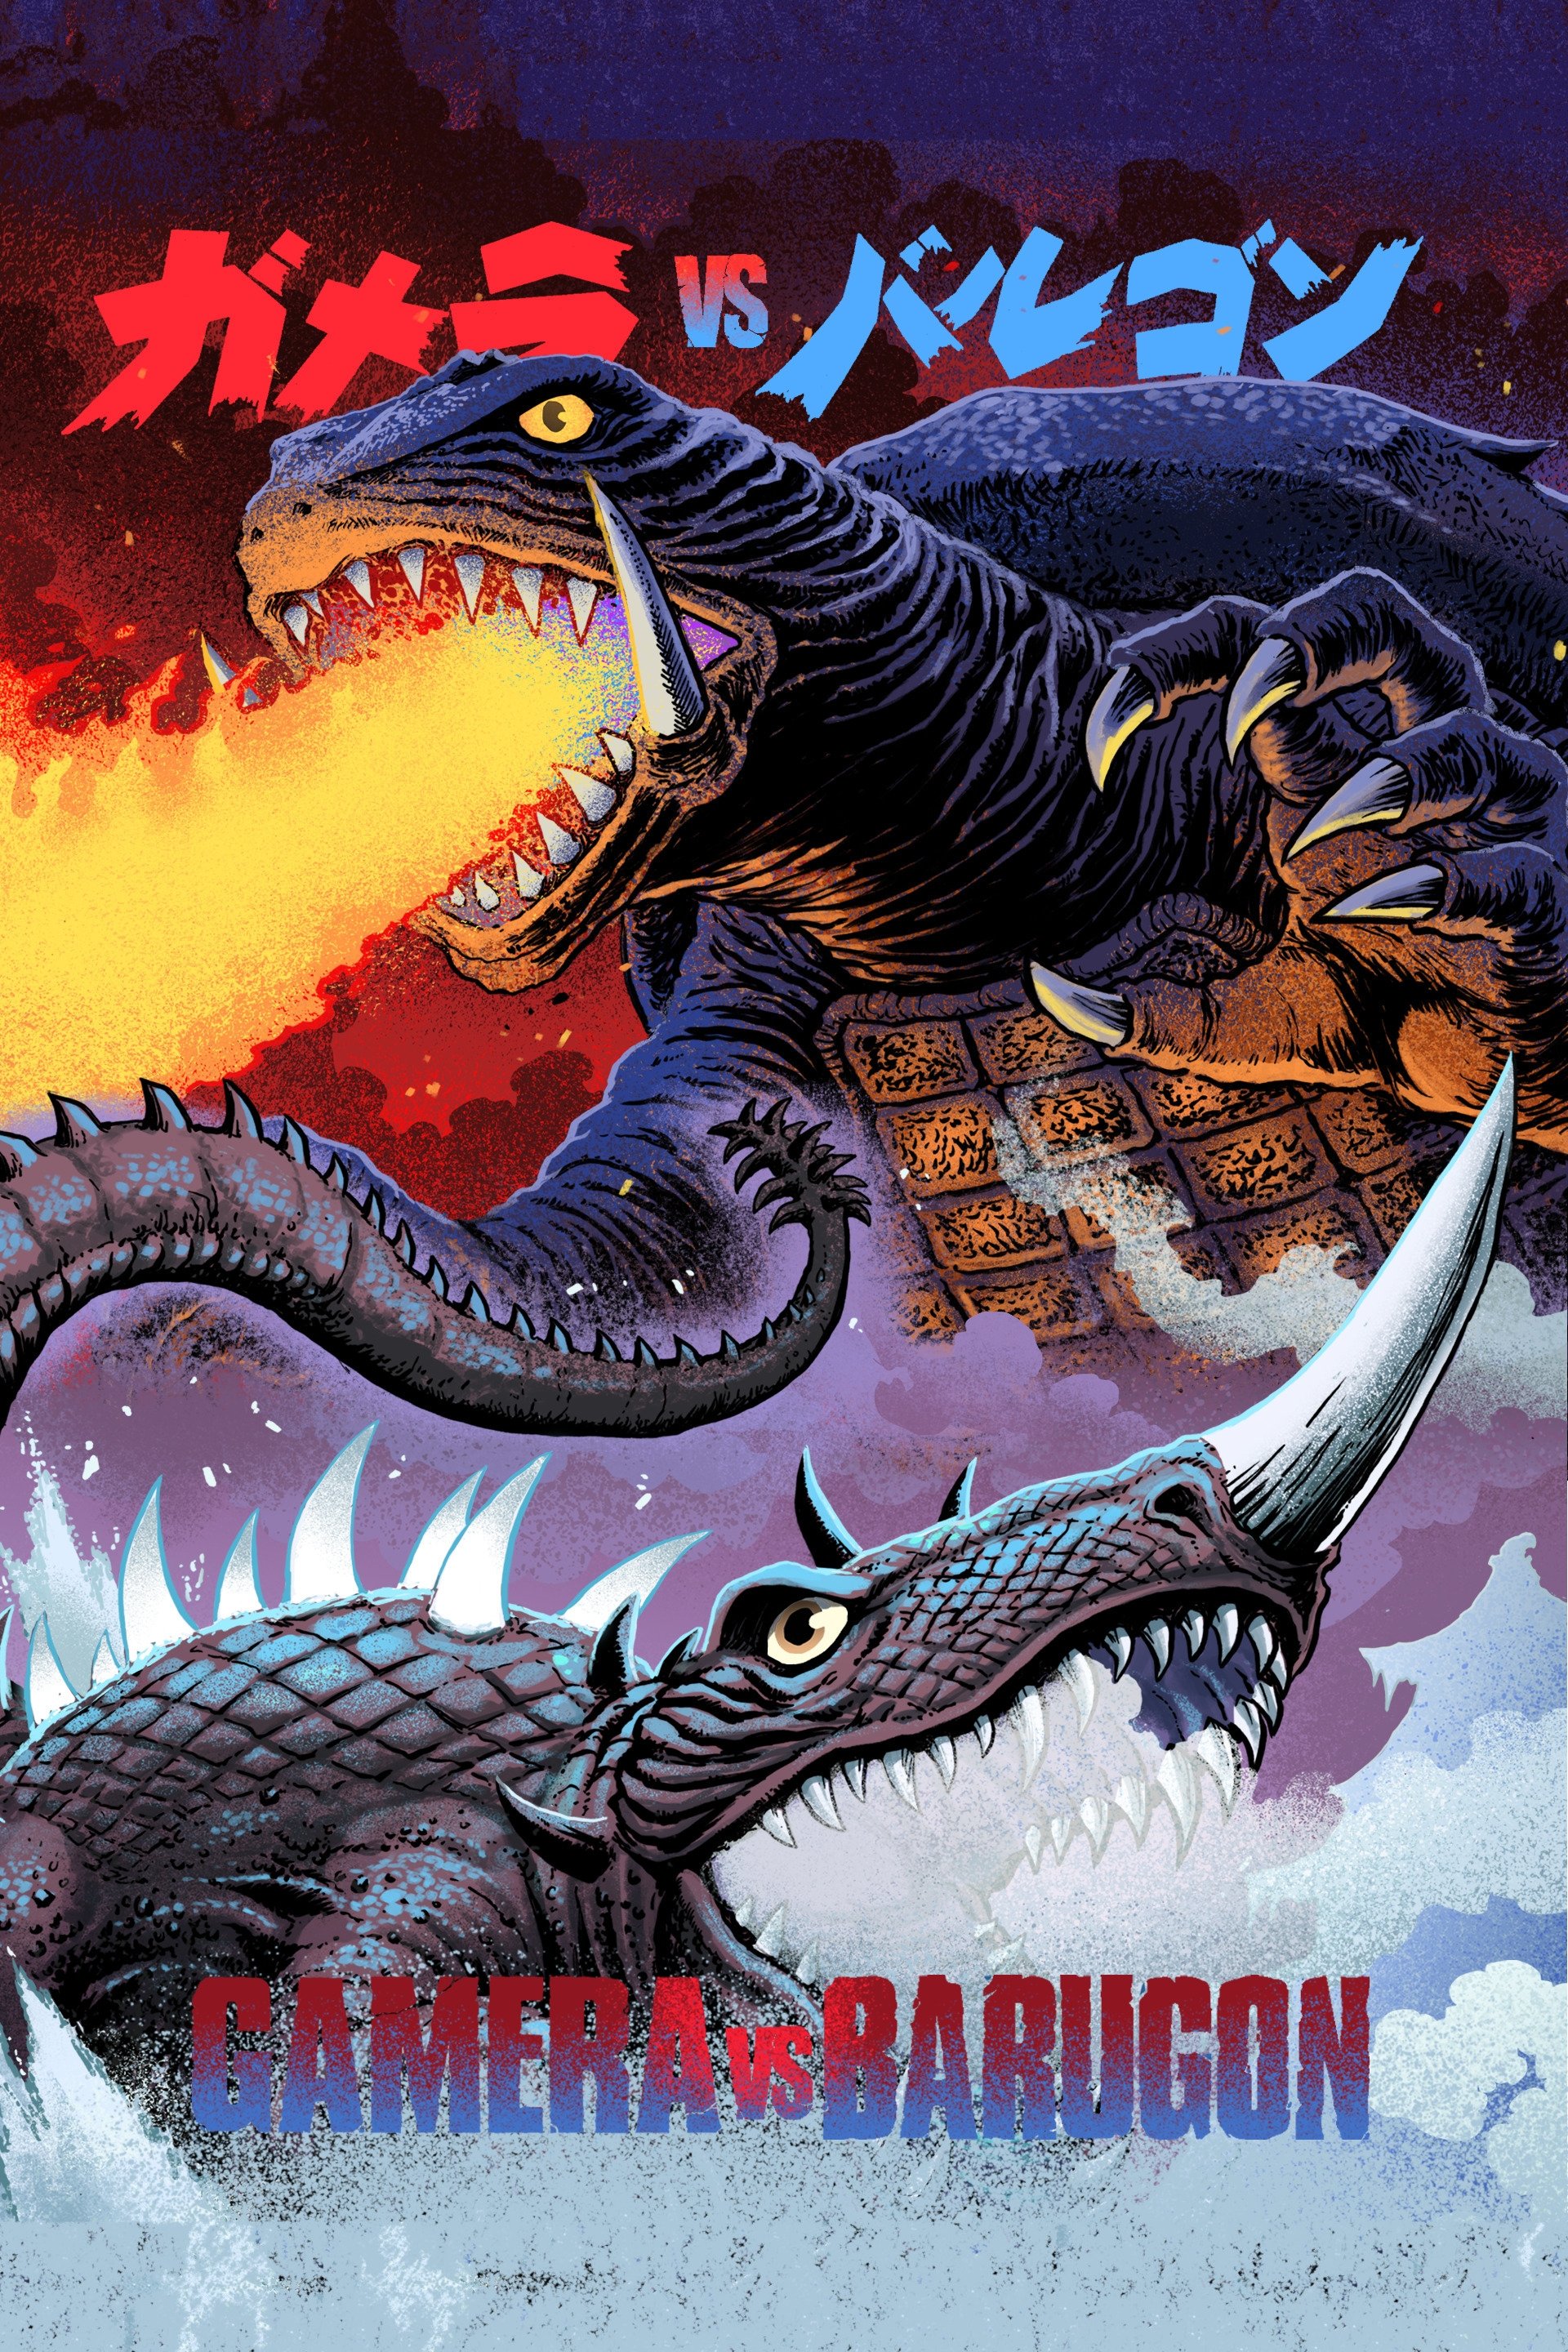
Plot Analysis Summary
Human greed releases a destructive creature, forcing survivors and authorities to turn discovery, cooperation, and sacrifice into a defense strategy.
Story Structure — 5 Plot Phases
The Egg Beneath the Jungle
A meteor releases the returning giant turtle, while Ichiro organizes an expedition to recover a hidden opal in New Guinea. The search ends in death, betrayal, and Keisuke's rescue by Karen.
Key Events
-
Meteor Frees the Giant Turtle — A meteorite collides with the rocket and releases the returning giant turtle.
Location: Near the Z Plan rocket
-
Attack on Kurobe Dam — The freed giant turtle returns to Earth and attacks Kurobe Dam.
Location: Kurobe Dam
-
Ichiro Plans the Expedition — Ichiro sends Keisuke, Kawajiri, and Onodera to recover the hidden opal. Characters: Ichiro Hirata, Keisuke Hirata, Kawajiri, Onodera
Location: Japan
-
Journey to New Guinea — The three expedition members travel to New Guinea in search of the opal. Characters: Keisuke Hirata, Kawajiri, Onodera
Location: New Guinea
-
Villagers Warn the Searchers — Local villagers warn the expedition team before the search continues. Characters: Keisuke Hirata, Kawajiri, Onodera, Karen
Location: A New Guinea village
-
The Opal Is Found — The expedition members locate the object hidden inside the cave. Characters: Keisuke Hirata, Kawajiri, Onodera
Location: A cave in New Guinea
-
Kawajiri Dies — Kawajiri suffers a fatal scorpion sting during the expedition. Characters: Keisuke Hirata, Kawajiri, Onodera
Location: New Guinea jungle
-
Onodera Betrays Keisuke — Onodera betrays Keisuke and nearly kills him after Kawajiri's death. Characters: Keisuke Hirata, Onodera
Location: New Guinea jungle
-
Karen Rescues Keisuke — Local villagers rescue Keisuke, who then tells Karen about the recovered object. Characters: Keisuke Hirata, Karen
Location: New Guinea village
A Jewel Becomes a Monster
Karen identifies the supposed opal as a reptile egg and travels with Keisuke to Japan. Infrared heat causes the egg to hatch, and the resulting creature destroys the ship and reaches Kobe.
Key Events
-
Karen Rescues Keisuke — Local villagers rescue Keisuke, who then tells Karen about the recovered object. Characters: Keisuke Hirata, Karen
Location: New Guinea village
-
The Opal Is an Egg — Karen reveals that the supposed opal is actually a reptile egg. Characters: Keisuke Hirata, Karen
Location: New Guinea village
-
Karen Travels to Japan — Karen convinces Keisuke to take her to Japan to recover the egg. Characters: Keisuke Hirata, Karen
Location: A ship en route to Japan
-
Infrared Heat Incubates the Egg — Onodera accidentally exposes the egg to infrared light, causing it to hatch. Characters: Onodera
Location: Aboard the ship
-
The Ship Is Destroyed — The arriving ship is destroyed as the newly hatched creature grows enormous. Characters: Keisuke Hirata, Karen, Onodera
Location: Kobe Harbor
Crime Beneath the Emergency
Onodera lies about the expedition deaths and murders Ichiro to conceal his crimes. The giant reptile attacks Osaka, defeats the returning giant turtle temporarily, and intensifies the public crisis.
Key Events
-
The Ship Is Destroyed — The arriving ship is destroyed as the newly hatched creature grows enormous. Characters: Keisuke Hirata, Karen, Onodera
Location: Kobe Harbor
-
Onodera Kills Ichiro — Onodera kills Ichiro and his wife to conceal his crimes and the truth. Characters: Ichiro Hirata, Onodera
Location: Ichiro's home
-
The Monsters Clash in Osaka — The returning giant turtle confronts the giant reptile in Osaka.
Location: Osaka
-
The Giant Turtle Is Frozen — The giant reptile's rainbow ray freezes its opponent in place.
Location: Osaka
-
Onodera Is Captured — Keisuke and Karen subdue Onodera and leave him tied up in his home. Characters: Keisuke Hirata, Karen, Onodera
Location: Onodera's home
The Diamond Gambit
Keisuke and Karen help develop a diamond lure designed to draw the creature into a lake. The first attempt fails, and Onodera's interference turns the second attempt into his final confrontation with the monster.
Key Events
-
Onodera Is Captured — Keisuke and Karen subdue Onodera and leave him tied up in his home. Characters: Keisuke Hirata, Karen, Onodera
Location: Onodera's home
-
The Lake Lure Plan — Keisuke and Karen propose using a diamond to lure the creature into a lake. Characters: Keisuke Hirata, Karen
Location: Defense planning office
-
The First Diamond Plan Fails — The diamond fails to produce enough radiation to attract the giant reptile. Characters: Keisuke Hirata, Karen
Location: A lake
-
Onodera Steals the Diamond — Onodera interferes with the improved plan and steals the irradiated diamond. Characters: Keisuke Hirata, Karen, Onodera
Location: The diamond irradiation site
-
The Diamond Thief Is Devoured — The giant reptile devours Onodera along with the stolen diamond. Characters: Onodera
Location: Near the giant reptile
Reflection at Lake Biwa
Keisuke discovers that mirrors resist the rainbow ray, enabling a giant reflective countermeasure. The returning giant turtle defeats the reptile, and Karen gives Keisuke emotional support after the catastrophe.
Key Events
-
The Diamond Thief Is Devoured — The giant reptile devours Onodera along with the stolen diamond. Characters: Onodera
Location: Near the giant reptile
-
Mirrors Resist the Rainbow Ray — Keisuke discovers that mirrors are unaffected by the creature's rainbow ray. Characters: Keisuke Hirata, Karen
Location: The military planning area
-
The Giant Mirror Strikes Back — A giant mirror reflects the rainbow attack and wounds the giant reptile. Characters: Keisuke Hirata, Karen
Location: The final battle site
-
The Giant Reptile Drowns — The thawed giant turtle defeats the giant reptile and drowns it in Lake Biwa.
Location: Lake Biwa
-
Keisuke Finds Solace — Keisuke mourns the consequences of greed, while Karen assures him that he is not alone. Characters: Keisuke Hirata, Karen
Location: Lake Biwa