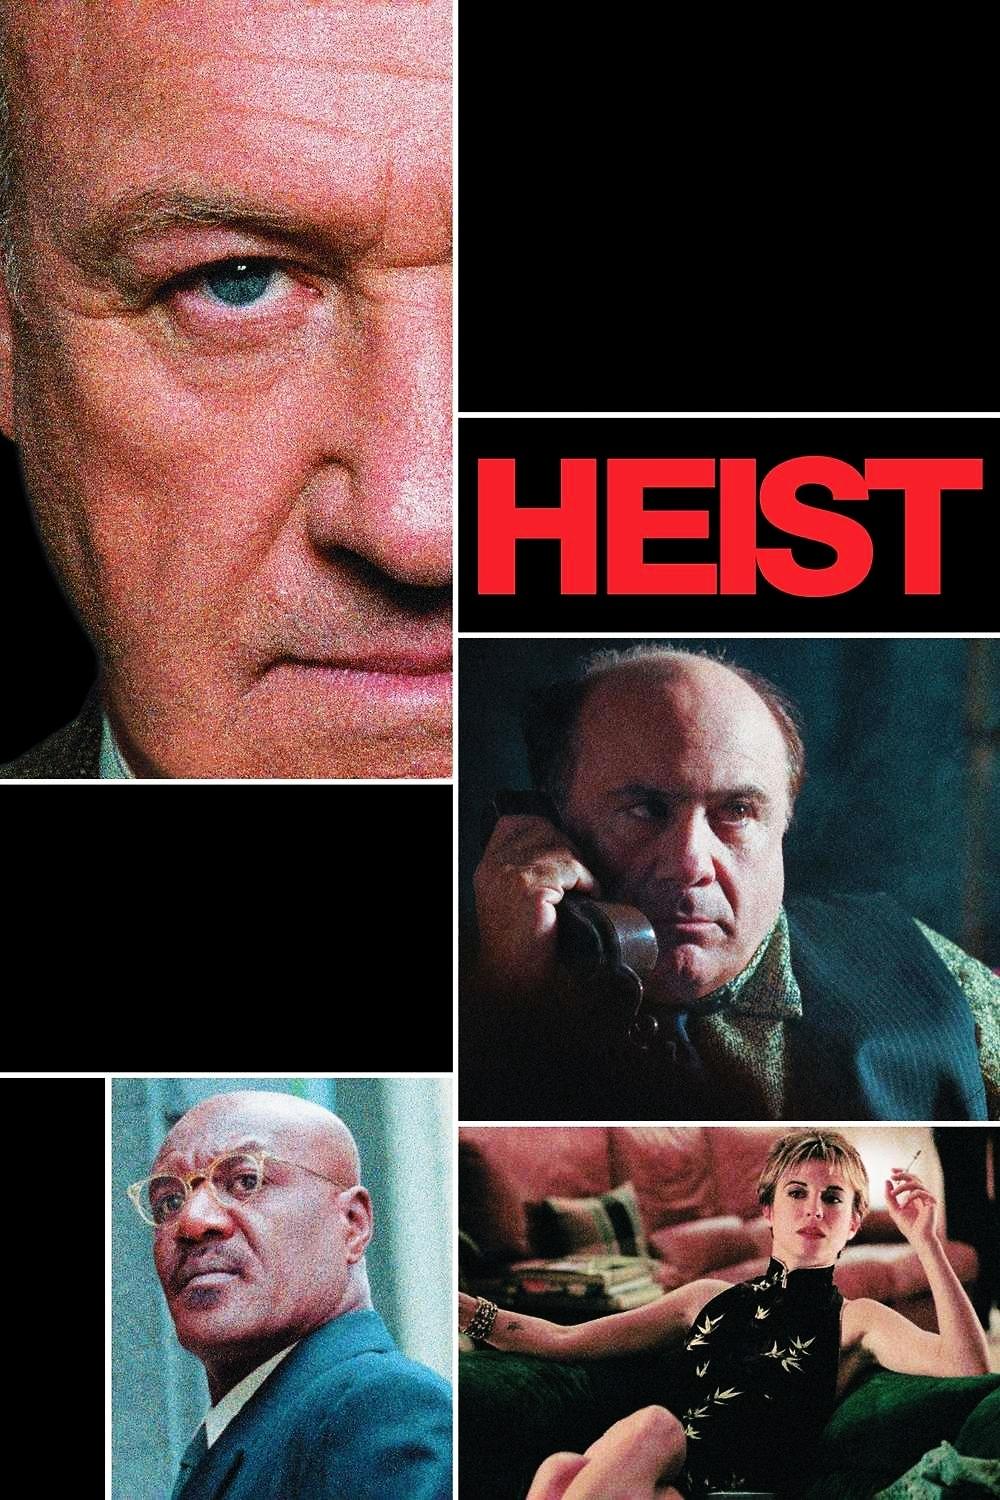
Plot Analysis Summary
A retiring thief must outmaneuver financial coercion, betrayal, and competing schemes to escape with the real gold.
Story Structure — 5 Plot Phases
The Camera Trap
Joe's jewelry robbery succeeds, but his exposed face is captured by a security camera. He decides to retire and escape by sailboat.
Key Events
-
Jewelry Store Robbery — Joe leads a successful jewelry robbery, but his uncovered face is recorded by a security camera. Characters: Joe Moore
Location: New York City jewelry store
-
Recorded Face Evidence — Joe cannot retrieve the recording before the crew escapes, creating a witness and photographic identification risk. Characters: Joe Moore
Location: Jewelry store
-
Planned Retirement — Joe decides to retire from crime and disappear by sailboat. Characters: Joe Moore
Location: Joe's sailboat
-
Withheld Jewelry Payment — Mickey withholds payment and pressures Joe's crew into another robbery. Characters: Joe Moore, Mickey Bergman
Location: Mickey's garment business
A Debt Enforced
Mickey withholds the crew's payment and forces Joe into an airplane gold robbery. Jimmy joins the team, bringing inexperience and competing loyalties.
Key Events
-
Withheld Jewelry Payment — Mickey withholds payment and pressures Joe's crew into another robbery. Characters: Joe Moore, Mickey Bergman
Location: Mickey's garment business
-
Forced Airplane Job — Mickey demands a robbery of an airplane carrying gold and requires Jimmy to join. Characters: Joe Moore, Mickey Bergman, Jimmy Silk
Location: Mickey's business
-
Jimmy's Interest — Jimmy's interest in Joe's wife and belief that Joe is declining increase internal tension. Characters: Joe Moore, Jimmy Silk
Location: Crew meeting place
-
Police Interruption — A passing police officer interrupts preparations, and Jimmy draws a gun before being stopped. Characters: Joe Moore, Jimmy Silk
Location: Roadside work area
-
Joe Misleads Jimmy — Joe convinces Jimmy that the fingerprint-covered getaway car has been destroyed. Characters: Joe Moore, Jimmy Silk
Location: Roadside work area
-
Deception Exposed — The deception is discovered, and Mickey forces the crew to finish the airplane robbery. Characters: Joe Moore, Mickey Bergman, Jimmy Silk
Location: Crew meeting place
The Van Deception
The crew survives a police interruption and executes a series of airport disguises and logistical misdirections. Jimmy's distrust grows as the robbery proceeds.
Key Events
-
Deception Exposed — The deception is discovered, and Mickey forces the crew to finish the airplane robbery. Characters: Joe Moore, Mickey Bergman, Jimmy Silk
Location: Crew meeting place
-
Airport Disguises — Joe and Jimmy pose as airport security personnel while another crew member poses as a guard. Characters: Joe Moore, Jimmy Silk
Location: Airport grounds
-
Jet Interception — The disguised crew stops the jet by pretending to respond to an emergency. Characters: Joe Moore, Jimmy Silk
Location: Airport runway
-
Van Relocation — The crew loads the shipment into a van and moves it to a rented airport garage. Characters: Joe Moore, Jimmy Silk
Location: Airport grounds
-
Fake Van Rebranding — The van is re-branded and arranged for removal by a tow truck. Characters: Joe Moore, Jimmy Silk
Location: Rented airport garage
-
Jimmy's Betrayal — Jimmy knocks Joe out and takes the van in an attempt to steal the gold. Characters: Joe Moore, Jimmy Silk
Location: Rented airport garage
False Gold
Jimmy betrays Joe, but the van contains washers rather than gold. Joe's hidden freight strategy succeeds, and the gold is transformed into rods.
Key Events
-
Jimmy's Betrayal — Jimmy knocks Joe out and takes the van in an attempt to steal the gold. Characters: Joe Moore, Jimmy Silk
Location: Rented airport garage
-
Washer Compartments — Jimmy discovers that the van's hidden compartments contain metal washers instead of gold. Characters: Jimmy Silk
Location: Van
-
Return To The Plane — Joe avoids arrest, returns to the plane in disguise, and removes goods booked on the delayed flight. Characters: Joe Moore
Location: Airport
-
Gold In Freight — Joe's booked shipment contains the stolen gold, allowing the real cargo to leave through an alternative plan. Characters: Joe Moore
Location: Freight handling area
-
Gold Rods Forged — Joe and a trusted crew member melt the gold into numerous seven-foot-long rods. Characters: Joe Moore
Location: Garage
-
Mickey Captures A Crewman — Mickey apprehends a crew member and learns enough of the plan to locate Joe. Characters: Mickey Bergman
Location: Street near a school
The Final Double Cross
Mickey tracks Joe to the sailboat and is killed during the final confrontation. Joe then discovers that the genuine gold is concealed beneath the apparent cargo.
Key Events
-
Mickey Captures A Crewman — Mickey apprehends a crew member and learns enough of the plan to locate Joe. Characters: Mickey Bergman
Location: Street near a school
-
Coded Warning — A captured crew member reveals the plan under pressure but uses a code word to warn Joe. Characters: Joe Moore, Mickey Bergman
Location: Telephone exchange
-
Siege At The Sailboat — Mickey's group holds Joe at gunpoint and assumes the sailboat's golden railings are the stolen gold. Characters: Joe Moore, Mickey Bergman, Jimmy Silk
Location: Joe's sailboat
-
Sailboat Shootout — A hidden ally opens fire, Mickey's men are killed, and Joe kills Mickey. Characters: Joe Moore, Mickey Bergman
Location: Joe's sailboat
-
Fran Switches Sides — Jimmy and Joe's wife hold Joe up, take the truck, and appear to seize the supposed gold. Characters: Joe Moore, Jimmy Silk
Location: Garage
-
Gold Beneath Paint — A scrape reveals gold beneath the black paint, and Joe uncovers the genuine gold rods in a second truck. Characters: Joe Moore
Location: Garage
-
Joe Drives Away — Joe covers the gold rods with a tarp and drives away with the recovered fortune. Characters: Joe Moore
Location: Road outside the garage