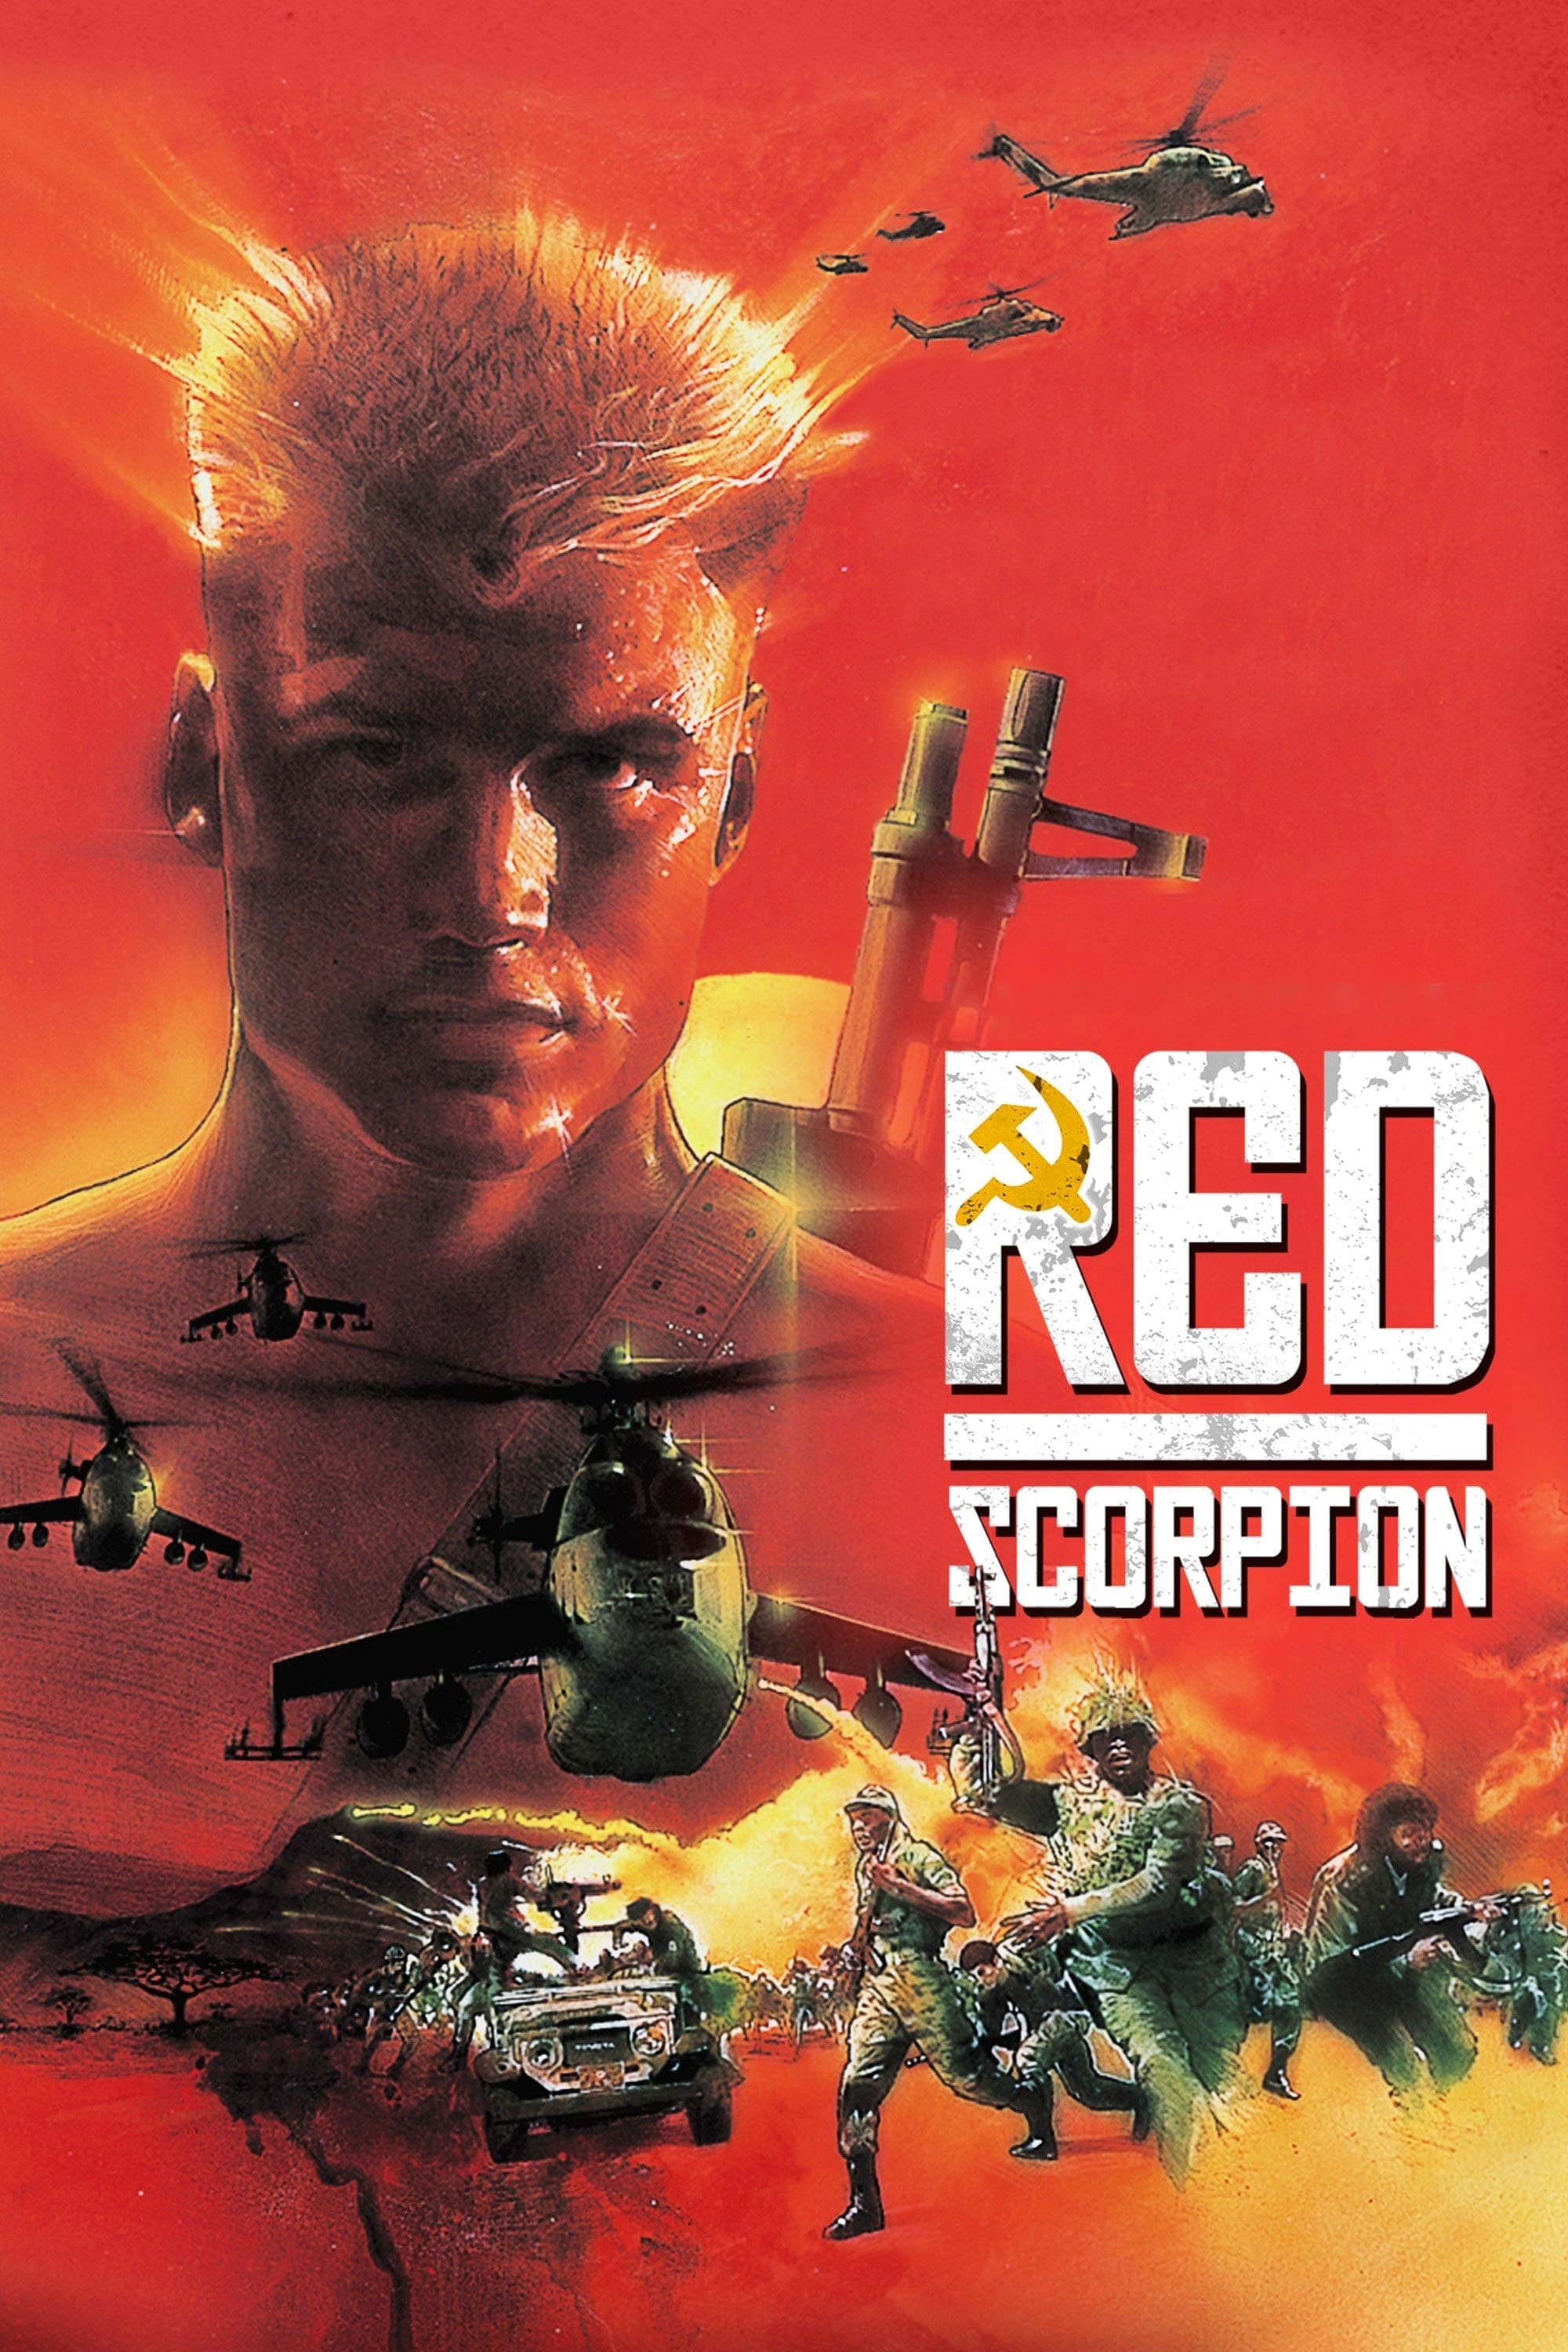
Story Structure — 4 Plot Phases
The Mission and Its Failure
Rachenko is sent to assassinate the rebel leader. After being arrested, he helps a captured resistance commander escape, but the rebels distrust him and anticipate his assassination attempt.
Key Events
-
Assassination Mission — Rachenko is sent to assassinate the anti-communist rebel leader. Characters: Lt. Nikolai Rachenko
Location: African country
-
Bar Trouble — Rachenko stirs up trouble and is arrested for disorderly conduct. Characters: Lt. Nikolai Rachenko
Location: Local bar
-
Shared Cell — Rachenko is placed in a cell with a captured resistance commander. Characters: Lt. Nikolai Rachenko
Location: Prison cell
-
Escape Assistance — Rachenko gains the commander's trust and helps facilitate an escape. Characters: Lt. Nikolai Rachenko
Location: Prison
-
Rebel Encampment — Rachenko reaches the rebels but is met with distrust. Characters: Lt. Nikolai Rachenko
Location: Rebel encampment
-
Failed Assassination — Rachenko attempts to kill his target at night, but the wary rebels anticipate him. Characters: Lt. Nikolai Rachenko
Location: Rebel encampment
A Soldier Cast Out
Rachenko is disgraced and tortured by his commanding officers after failing his mission. He escapes the interrogation chamber and flees into the desert.
Key Events
-
Mission Failure — Rachenko's failed mission leads to disgrace and punishment by his command. Characters: Lt. Nikolai Rachenko, General Vortek
Location: Soviet military compound
-
Interrogation Escape — After being tortured, Rachenko breaks out of the interrogation chamber. Characters: Lt. Nikolai Rachenko
Location: Interrogation chamber
-
Desert Flight — Rachenko escapes into the desert after breaking out. Characters: Lt. Nikolai Rachenko
Location: Desert
The Scorpion's Allegiance
Bushmen find Rachenko and share their culture with him. After receiving a ceremonial scorpion-shaped scar, he joins the rebels, whose cause is sharpened by an attack on the peaceful Bushmen.
Key Events
-
Bushmen Find Rachenko — Native Bushmen find Rachenko and introduce him to their culture. Characters: Lt. Nikolai Rachenko
Location: Desert
-
Scorpion Scar — Rachenko receives a ceremonial burn scar shaped like a scorpion. Characters: Lt. Nikolai Rachenko
Location: Bushmen community
-
Joins the Rebels — Rachenko joins the rebels after his experience with the Bushmen. Characters: Lt. Nikolai Rachenko
Location: Rebel encampment
-
Attack on Bushmen — An attack on the peaceful Bushmen precedes the rebels' assault. Characters: Lt. Nikolai Rachenko
Location: Bushmen community
The Fall of Vortek
Rachenko leads the rebels against the Soviet camp and obtains an experimental assault rifle. He confronts the Soviet command, pursues Vortek's attempted escape, and kills him after the helicopter is shot down; the rebels defeat the Soviet forces.
Key Events
-
Rebel Assault — Rachenko leads the rebels in an attack against the Soviet camp. Characters: Lt. Nikolai Rachenko
Location: Soviet camp
-
Experimental Rifle — Rachenko obtains an experimental assault rifle from the armory. Characters: Lt. Nikolai Rachenko
Location: Soviet armory
-
Confronts Command — Rachenko confronts the corrupt Soviet officers. Characters: Lt. Nikolai Rachenko, General Vortek
Location: Soviet camp
-
Vortek Flees — Vortek attempts to escape in a helicopter as Rachenko pursues him. Characters: Lt. Nikolai Rachenko, General Vortek
Location: Soviet camp
-
Helicopter Shot Down — Vortek's helicopter is shot down after takeoff. Characters: Lt. Nikolai Rachenko, General Vortek
Location: Near the Soviet camp
-
Rachenko Kills Vortek — Rachenko defeats and kills Vortek. Characters: Lt. Nikolai Rachenko, General Vortek
Location: Crash site
-
Rebel Victory — The rebels defeat the Soviet forces assisting the government. Characters: Lt. Nikolai Rachenko
Location: Soviet camp