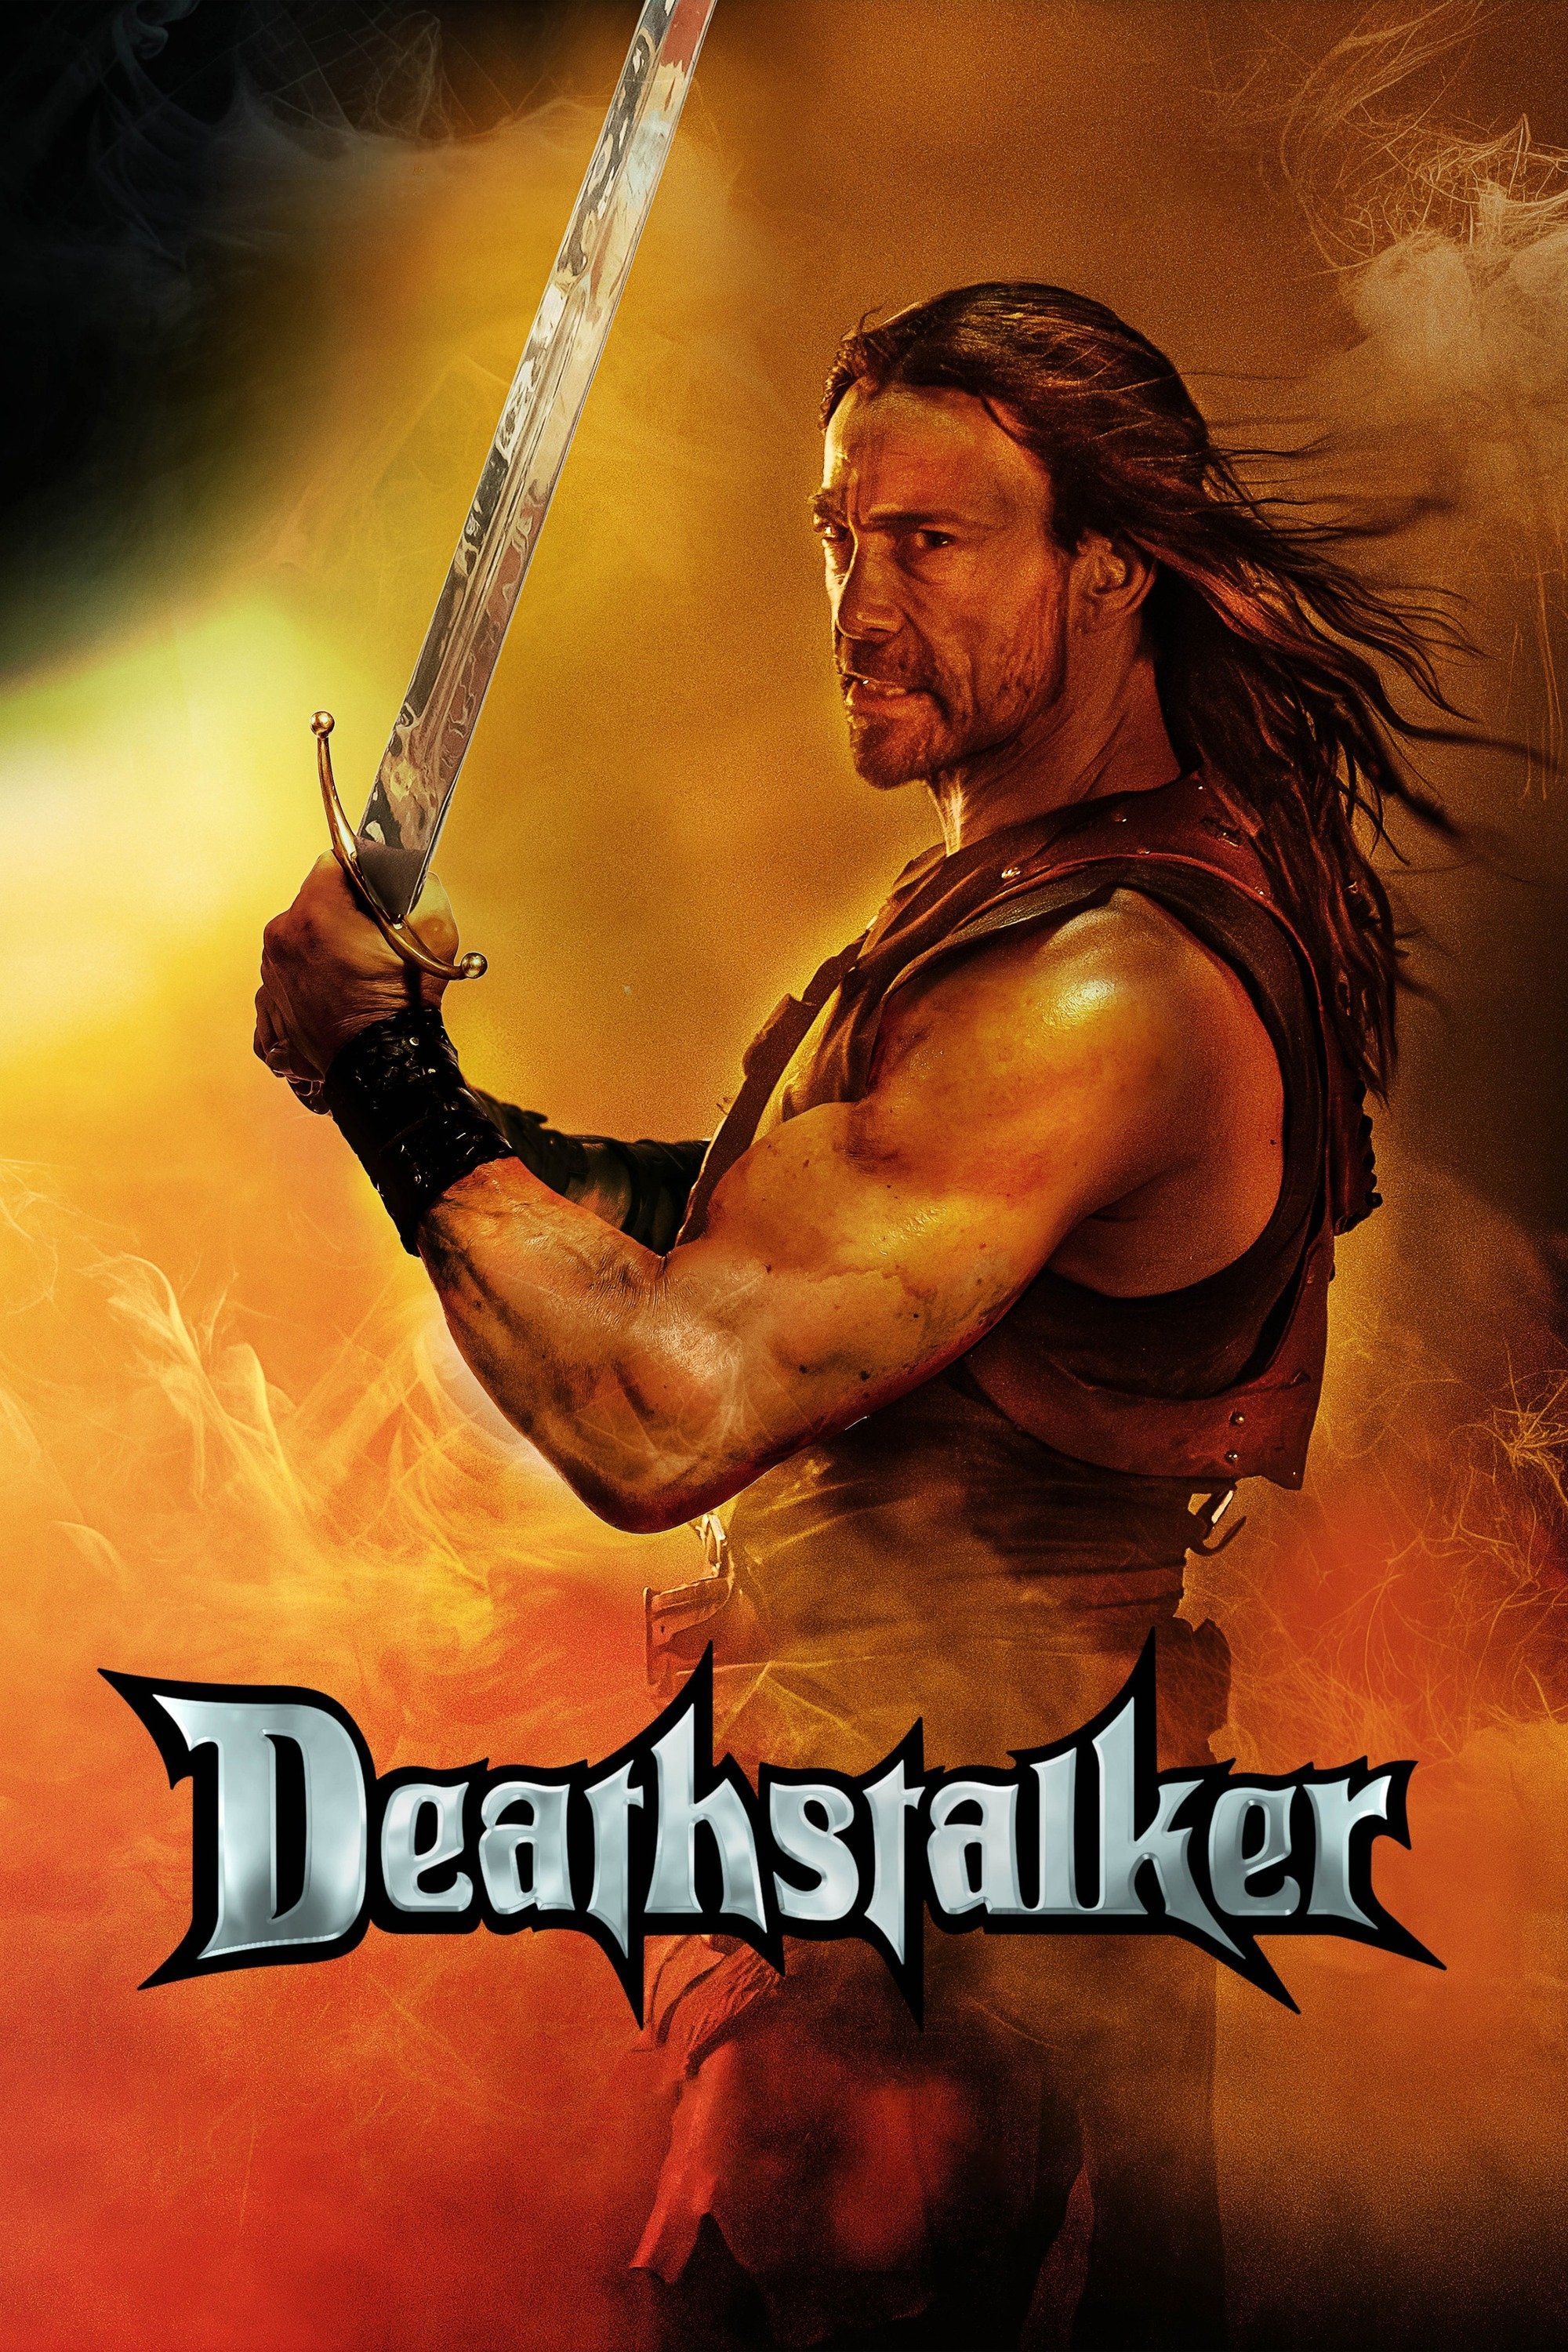
Plot Analysis Summary
A reluctant warrior follows a cursed amulet toward a prophesied weapon while facing betrayal, old friendship turned hostile, and supernatural evil.
Story Structure — 5 Plot Phases
The Amulet That Returns
Deathstalker steals a golden amulet from a battlefield and discovers that it cannot be discarded. Toralva directs him toward a wizard who may understand its writing.
Key Events
-
Battlefield Looting — Deathstalker searches the dead and steals jewellery and a golden amulet. Characters: Deathstalker
Location: Battlefield
-
Troll Tavern Attack — A two-headed troll attacks Deathstalker while seeking the amulet. Characters: Deathstalker
Location: Village tavern
-
Amulet Returns — The amulet repeatedly returns after Deathstalker tries to throw it away. Characters: Deathstalker
Location: Village river
-
Warning From Toralva — Toralva says the amulet is bound to Deathstalker until death and warns of rising evil. Characters: Deathstalker
Location: Toralva's dwelling
The Wizard In The Chest
Deathstalker survives the cave system and frees Doodad from a chest. Together they begin a crypt mission to translate the amulet.
Key Events
-
Cave System — Deathstalker enters the caves following Toralva's directions. Characters: Deathstalker
Location: Cave system
-
Serpent Escape — Man-eating serpents attack, but Deathstalker escapes with a chest containing Doodad. Characters: Deathstalker
Location: Cave system
-
Doodad Released — Deathstalker frees Doodad and recruits him to investigate the amulet. Characters: Deathstalker, Doodad
Location: Cave system
-
Crypt Mission Planned — Doodad agrees to raid a dead wizard's crypt for a translating scroll. Characters: Deathstalker, Doodad
Location: Road to the crypt
Friends Among The Dead
Jotak's return turns the journey personal as hostile forces pursue the amulet. Deathstalker, Doodad, and Brisbayne obtain the scroll but face escalating supernatural attacks.
Key Events
-
Jotak Revealed — Hostile dreadites attack, revealing Jotak as their commander. Characters: Deathstalker, Doodad, Jotak
Location: Road to the crypt
-
Arm Severed — Deathstalker cuts off Jotak's arm and flees from the dreadites. Characters: Deathstalker, Jotak
Location: Road to the crypt
-
Crypt Infiltration — Deathstalker and Doodad infiltrate the crypt disguised as dead bodies and meet Brisbayne. Characters: Deathstalker, Doodad, Brisbayne
Location: Dead wizard's crypt
-
Scroll Recovered — Brisbayne joins them, and the group escapes with the needed scroll. Characters: Deathstalker, Doodad, Brisbayne
Location: Dead wizard's crypt
-
Titan In The Woods — A stone titan attacks the group during their camp journey. Characters: Deathstalker, Doodad, Brisbayne
Location: Moaning Woods
Betrayal In The Swamp
Doodad translates the amulet's prophecy, but Brisbayne betrays the group. A musical encounter with swamp monsters gives Deathstalker a chance to escape captivity.
Key Events
-
Prophecy Translated — Doodad breaks the amulet's bond and reads a prophecy about a sword capable of defeating the great evil. Characters: Deathstalker, Doodad, Brisbayne
Location: Moaning Woods
-
Brisbayne's Betrayal — Brisbayne betrays the sleeping pair and delivers them to the thief queen. Characters: Deathstalker, Doodad, Brisbayne
Location: Moaning Woods camp
-
Swamp Monster Escape — Swamp monsters attack during the interrogation, while Doodad befriends them with music and Deathstalker escapes. Characters: Deathstalker, Doodad
Location: Swamp encampment
The Sword Against Darkness
A failed bargain with Prince Baldur ends in death and the amulet's capture. After being healed, Deathstalker storms the fortress, destroys the demon vessel, resurrects Brisbayne, and rejects the sword's power.
Key Events
-
Baldur's Double Cross — Deathstalker attempts to sell the amulet to Prince Baldur, who double-crosses him. Characters: Deathstalker, Prince Baldur
Location: Prince's meeting place
-
Jotak's Ambush — Jotak attacks with a monstrous replacement arm, kills Deathstalker and Baldur, and takes the amulet. Characters: Deathstalker, Brisbayne, Jotak, Prince Baldur
Location: Road from the meeting
-
Deathstalker Restored — Swamp monsters heal Deathstalker, who prepares to attack the fortress and rescue Doodad. Characters: Deathstalker, Doodad
Location: Swamp
-
Fortress Assault — Deathstalker attacks the fortress, frees Doodad, and confronts Jotak and the necromancer. Characters: Deathstalker, Doodad, Brisbayne, Jotak
Location: Necromancer's fortress
-
Demon Vessel Created — A rock fall injures the necromancer, but Brisbayne is transformed into a demon vessel. Characters: Deathstalker, Doodad, Brisbayne, Jotak
Location: Necromancer's fortress
-
Sword Of Prophecy — Deathstalker retrieves the prophesied sword and destroys the demon vessel. Characters: Deathstalker, Doodad, Brisbayne, Jotak
Location: Necromancer's fortress
-
Brisbayne Resurrected — Deathstalker resurrects Brisbayne and defeats the remaining dreadites. Characters: Deathstalker, Doodad, Brisbayne, Jotak
Location: Necromancer's fortress
-
Sword Rejected — Deathstalker decides the sword is too powerful for humanity and tries to destroy it. Characters: Deathstalker, Doodad
Location: After the fortress battle
A powerful swordsman known as Deathstalker recovers a cursed amulet from a corpse-strewn battlefield. Marked by dark magic and hunted by monstrous assassins, he must face the rising evil and break the curse.