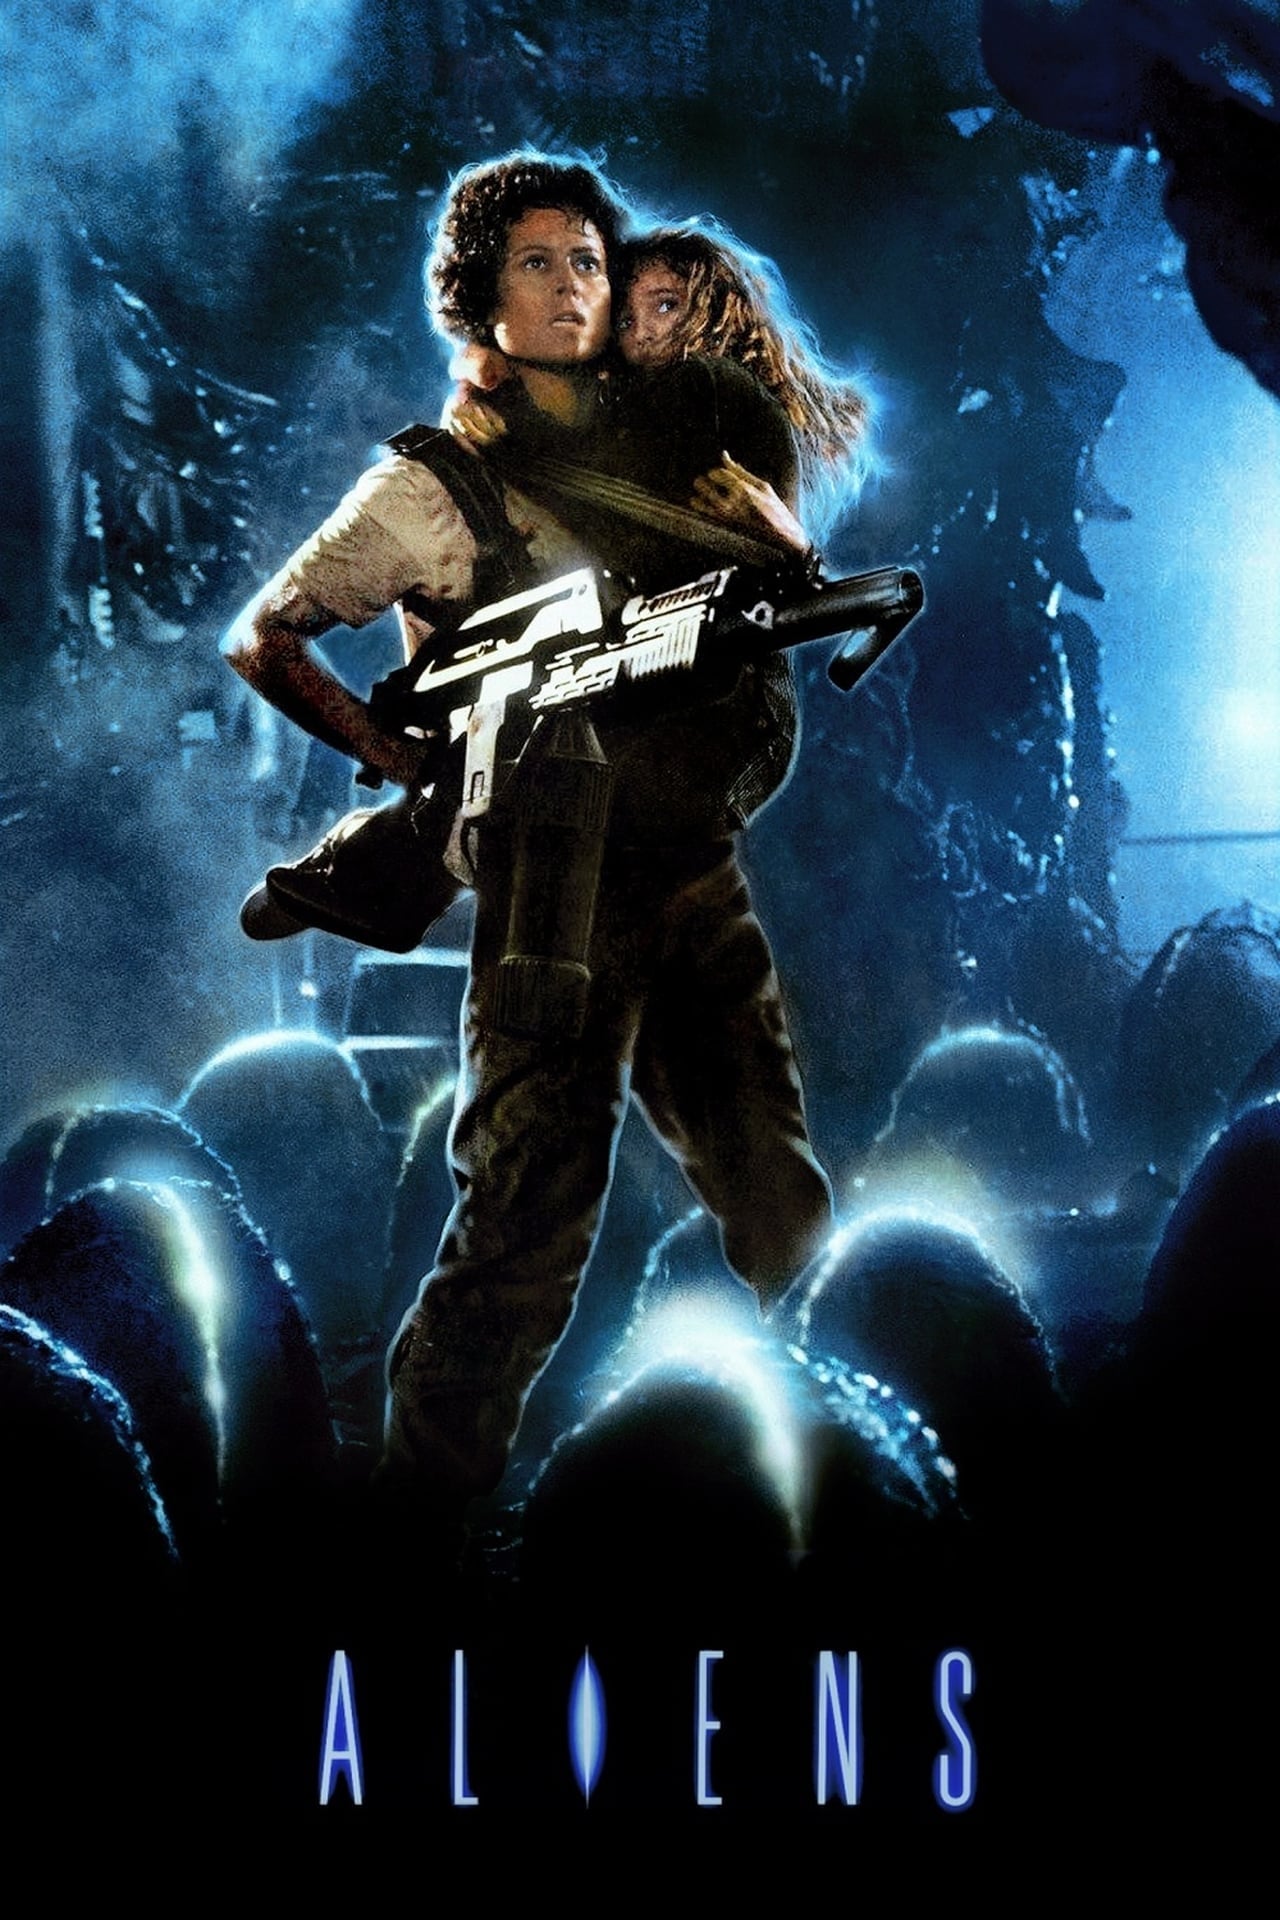
Story Structure — 5 Plot Phases
Debriefing and Deployment
Ripley is debriefed by Weyland-Yutani executives who dismiss her warnings about LV-426. Burke and Gorman recruit her to lead a marine expedition to investigate the lost colony.
Key Events
-
Debriefing at Weyland-Yutani — Ripley recounts her Nostromo survival while executives doubt her claims about alien eggs. Characters: Ripley
Location: Weyland-Yutani Office
-
Expedition Recruitment — Burke and Gorman convince a traumatized Ripley to join the mission to exterminate the creatures. Characters: Ripley, Burke, Lieutenant Gorman
Location: Sulaco Spaceship
-
Arrival on LV-426 — The team lands on the exomoon and surveys the battle-ravaged terraforming colony. Characters: Ripley, Burke, Lieutenant Gorman
Location: LV-426 Surface
-
Discovery of Newt — The search party finds the sole surviving colonist, a traumatized young girl named Newt. Characters: Ripley, Lieutenant Gorman
Location: Colony Ruins
Descent into the Hive
The team lands on the desolate exomoon and discovers the ruined terraforming station. They find the sole survivor Newt and navigate deadly corridors filled with alien secretions and cocooned victims.
Key Events
-
Discovery of Newt — The search party finds the sole surviving colonist, a traumatized young girl named Newt. Characters: Ripley, Lieutenant Gorman
Location: Colony Ruins
-
Descent into Processing Station — The team navigates secretion-covered corridors toward the source of the missing colonists' signals. Characters: Ripley, Burke, Lieutenant Gorman
Location: Atmosphere Processing Station
-
Nest Ambush — Marines discover cocooned victims and trigger an alien ambush that kills or captures many. Characters: Ripley, Burke, Lieutenant Gorman
Location: Processing Station Corridors
-
Ripley Assumes Command — After Gorman panics, Ripley takes tactical control and rams the APC into the nest to rescue survivors. Characters: Ripley, Lieutenant Gorman
Location: Station Corridors
-
Dropship Crash — A stowaway alien kills the pilots, causing the extraction vehicle to crash into the facility. Characters: Ripley, Burke, Lieutenant Gorman
Location: Processing Station Exterior
-
Barricade Defense — Survivors run low on ammo and fortify their position inside the colony against incoming threats. Characters: Ripley, Burke, Lieutenant Gorman
Location: Colony Facility
Betrayal and Breach
An alien ambush decimates the marine squad and crashes their dropship. Ripley uncovers Burke's corporate conspiracy to weaponize the aliens, leading to a violent confrontation in the medical lab.
Key Events
-
Barricade Defense — Survivors run low on ammo and fortify their position inside the colony against incoming threats. Characters: Ripley, Burke, Lieutenant Gorman
Location: Colony Facility
-
Burke's Greed Revealed — Ripley uncovers that Burke ordered the initial investigation to harvest alien eggs for corporate weapons research. Characters: Ripley, Burke
Location: Medical Lab
-
Cooling System Failure — Bishop reports critical damage to the cooling system, threatening a catastrophic nuclear explosion. Characters: Ripley, Burke, Bishop
Location: Power Plant
-
Facehugger Trap — Ripley and Newt awaken trapped with released facehuggers and trigger an alarm to summon help. Characters: Ripley, Newt
Location: Medical Lab
-
Accusation Against Burke — Ripley confronts Burke, accusing him of releasing facehuggers to use them as smuggling vessels. Characters: Ripley, Burke, Bishop
Location: Medical Lab
-
Power Cut and Ceiling Attack — Aliens breach the ceiling during a blackout, killing Burke and subduing other survivors. Characters: Ripley, Newt, Burke, Lieutenant Gorman
Location: Medical Lab
Descent into Darkness
Power failures allow aliens to slaughter the remaining crew and capture Newt. Ripley abandons the evacuation protocol to arm herself and venture alone into the queen's nesting chamber.
Key Events
-
Power Cut and Ceiling Attack — Aliens breach the ceiling during a blackout, killing Burke and subduing other survivors. Characters: Ripley, Newt, Burke, Lieutenant Gorman
Location: Medical Lab
-
Newt Captured — Amidst the chaos, Newt is separated from Ripley and taken deeper into the alien nest. Characters: Ripley, Newt
Location: Processing Station Hive
-
Solo Rescue Descent — Refusing to leave Newt behind, Ripley arms herself and descends alone into the dark processing station. Characters: Ripley
Location: Hive Entrance
-
Queen Encounter — Ripley and Newt encounter the massive alien queen and destroy her egg-laying ovipositor. Characters: Ripley, Newt
Location: Queen's Chamber
-
Escape to Dropship — The pair reaches the surface dropship just as the station begins its imminent nuclear detonation. Characters: Ripley, Newt, Bishop
Location: Surface Landing Zone
Final Ejection
Ripley destroys the queen's reproductive organs and escapes to the surface dropship. The alien queen infiltrates the Sulaco, prompting Ripley to use a cargo loader to eject it into space.
Key Events
-
Escape to Dropship — The pair reaches the surface dropship just as the station begins its imminent nuclear detonation. Characters: Ripley, Newt, Bishop
Location: Surface Landing Zone
-
Queen Stowaway Attack — The queen infiltrates the Sulaco, ripping Bishop apart and advancing on Newt. Characters: Ripley, Newt, Bishop
Location: Sulaco Airlock
-
Final Ejection — Ripley uses an exosuit loader to blast the queen into space, securing the survivors' escape. Characters: Ripley, Newt, Bishop
Location: Sulaco Airlock
-
Hypersleep Departure — The three survivors enter hypersleep aboard the Sulaco for their long journey back to Earth. Characters: Ripley, Newt, Bishop
Location: Sulaco Cryo Bay