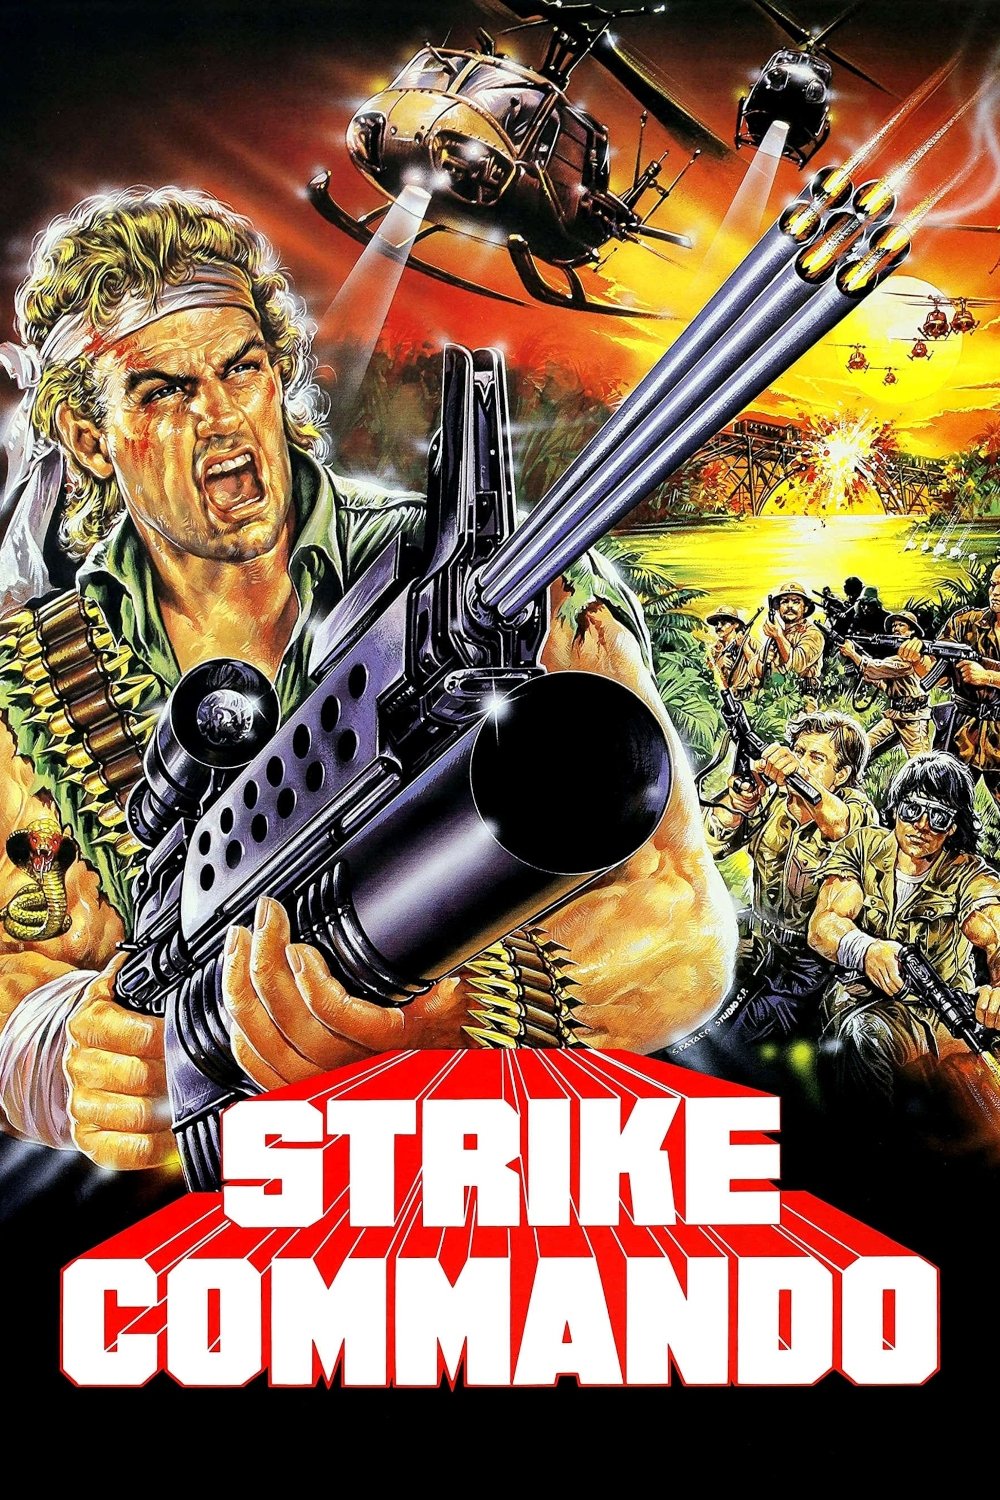
Plot Analysis Summary
A soldier abandoned by a failed operation survives with village help, resists enemy pressure, and pursues the commander he believes betrayed him.
Story Structure — 4 Plot Phases
The Strike Goes Wrong
Ransom's team is sent to destroy a depot, but Radek presses for an attack before the soldiers are ready. The failed operation kills the commandos and leaves Ransom behind.
Key Events
-
Depot Strike Assigned — A strike team is sent to destroy a depot while Radek and Harriman monitor the operation. Characters: Sgt. Michael Ransom, Col. Radek, Major Harriman
Location: Command post
-
Explosives Set — The soldiers set explosives and wait for the agreed signal. Characters: Sgt. Michael Ransom
Location: Depot
-
Radek Demands Attack — Radek presses for the depot to be hit at all costs. Characters: Col. Radek, Major Harriman
Location: Command post
-
Premature Detonation — The attack goes wrong before the team is ready, and the commandos are killed. Characters: Sgt. Michael Ransom, Col. Radek
Location: Depot
-
Ransom Left Behind — Ransom survives the failed attack but is left behind. Characters: Sgt. Michael Ransom
Location: Conflict zone
Shelter and Accountability
Villagers take Ransom into their care, with Lao watching over him. Back at command, Harriman objects to Radek's decisions but faces pressure not to file a report.
Key Events
-
Villagers Shelter Ransom — Villagers take Ransom into their care while Lao watches over him. Characters: Sgt. Michael Ransom, Le Due, Lao
Location: Village
-
Harriman Challenges Radek — Harriman argues that Radek's order sacrificed the dead soldiers. Characters: Major Harriman, Col. Radek
Location: Command
-
Report Discouraged — A senior officer warns Harriman not to submit a report because Radek has powerful support. Characters: Major Harriman
Location: Command
-
Honors Cannot Undo Loss — Harriman remains convinced the men deserve justice despite official honors. Characters: Major Harriman
Location: Command
A Dangerous Escape
Ransom joins villagers including Cho-Li as they face enemy danger and try to get away. He encounters Boomer, hears about the propaganda effort, and refuses to surrender.
Key Events
-
Ransom Joins Villagers — Ransom joins forces with villagers, including Cho-Li, and seeks a way to reach the others and escape. Characters: Sgt. Michael Ransom, Cho-Li
Location: Village
-
Boomer Reveals Propaganda — Boomer says his captors forced him to broadcast propaganda aimed at making Ransom give in. Characters: Sgt. Michael Ransom, Martin Boomer
Location: Captivity
-
Ransom Refuses Surrender — Ransom refuses to surrender after hearing about the captors' plan. Characters: Sgt. Michael Ransom, Martin Boomer
Location: Captivity
-
Radek Accusation — Ransom learns Radek may have caused his capture and may be working with the enemy. Characters: Sgt. Michael Ransom, Col. Radek
Location: Conflict zone
Radek Exposed and Pursued
Ransom learns that Radek may have caused his capture and may be working with the enemy. Radek interrupts the escape and orders Ransom killed, but Ransom survives the fighting; afterward Radek has fled.
Key Events
-
Escape Interrupted — Radek arrives with armed men and orders Ransom killed, disrupting the escape. Characters: Sgt. Michael Ransom, Col. Radek
Location: Escape route
-
Ransom Survives Fighting — Ransom survives the fighting and remembers Lao and the villagers he tried to protect. Characters: Sgt. Michael Ransom, Col. Radek, Lao
Location: Conflict zone
-
Radek Flees — Radek has fled, Ransom vows to find him, and Harriman continues demanding a decision about his conduct. Characters: Sgt. Michael Ransom, Col. Radek, Major Harriman
Location: After the war