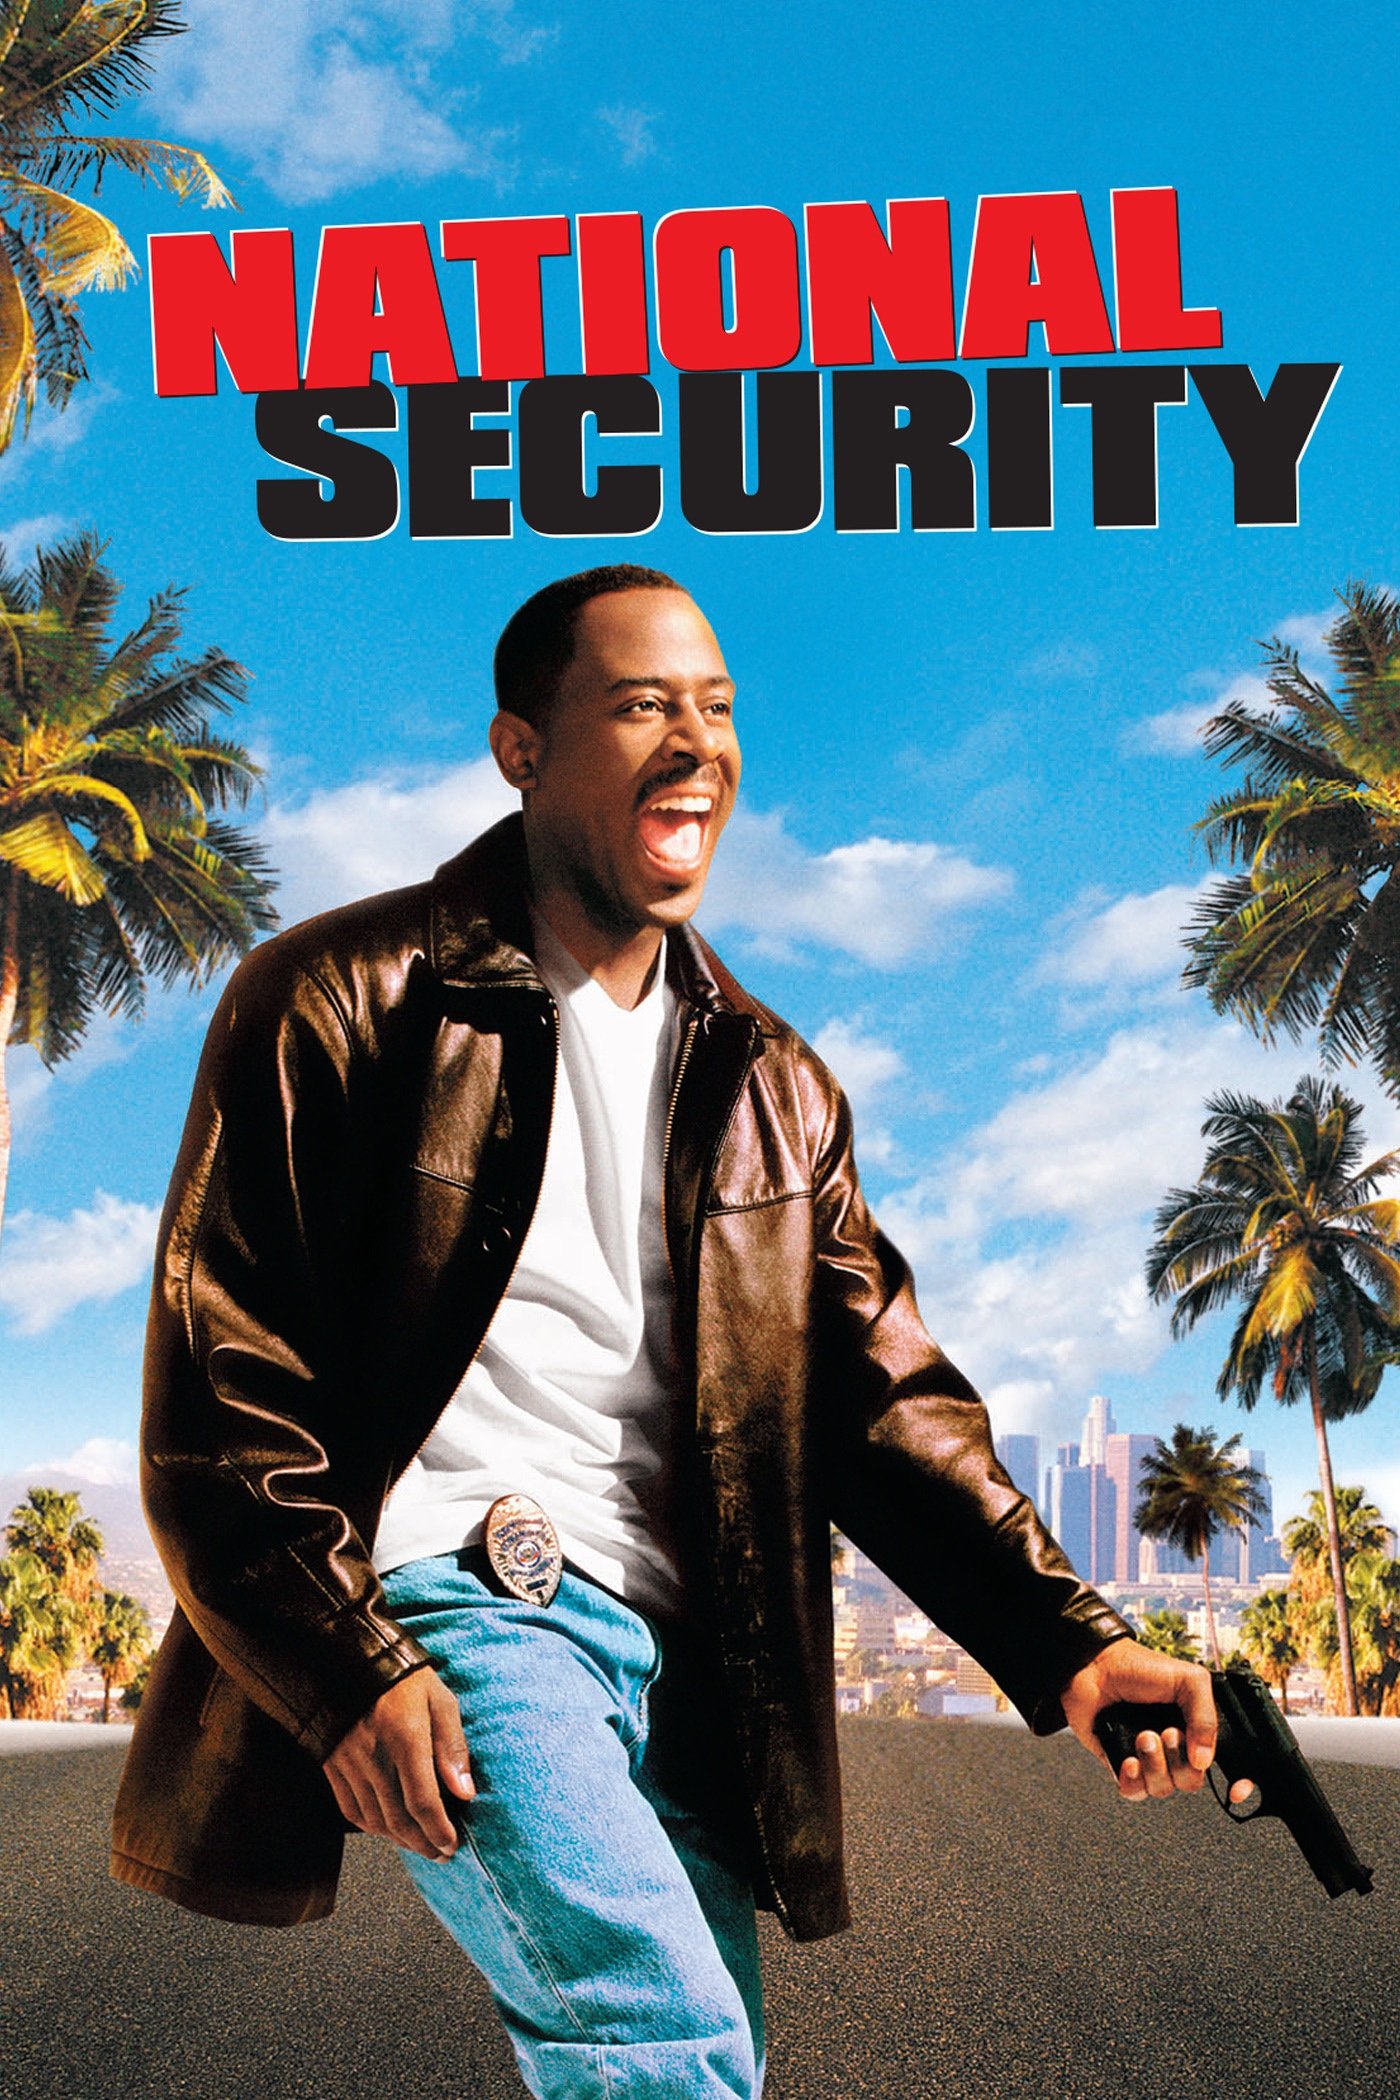
Plot Analysis Summary
Two unlikely partners overcome mutual distrust, expose a police-backed criminal operation, and earn their place in the LAPD.
Story Structure — 5 Plot Phases
A Partner’s Death
Hank and Charlie investigate a warehouse heist, but Charlie is killed by the thieves. Earl separately fails the police academy, setting up his troubled first encounter with Hank.
Key Events
-
Warehouse Heist Investigation — Hank and Charlie investigate a warehouse heist before the thieves escape. Characters: Hank Rafferty, Charlie Reed, Nash
Location: Warehouse
-
Charlie Is Killed — Charlie is killed during the heist, motivating Hank’s continued investigation. Characters: Hank Rafferty, Charlie Reed, Nash
Location: Warehouse
-
Academy Failure — Earl fails the police academy after accidentally causing an explosion. Characters: Earl Montgomery
Location: Police academy
-
The Bee Misunderstanding — Hank swats away Earl’s allergic bee, but a video makes the incident appear to be an assault. Characters: Hank Rafferty, Earl Montgomery
Location: Street near Hank’s car
The Cost of Misjudgment
A bee-related misunderstanding makes Hank appear to have assaulted Earl. Earl’s lie leads to Hank’s firing and imprisonment, while Hank’s investigation is interrupted.
Key Events
-
Hank Loses His Badge — Hank is fired and sentenced to six months in prison because of Earl’s false account. Characters: Hank Rafferty, Earl Montgomery
Location: Court and police department
-
Security Guard Return — After release, Hank becomes a security guard and crosses paths with Earl at work. Characters: Hank Rafferty, Earl Montgomery
Location: Security company
The Alloy Trail
Working as security guards, Hank and Earl encounter another heist and follow a dropped phone to a stolen van. They discover that the beer kegs conceal valuable aerospace alloy.
Key Events
-
Soda Warehouse Heist — Hank investigates a tripped alarm and interrupts a heist while Earl is on duty. Characters: Hank Rafferty, Earl Montgomery, Nash
Location: Soda warehouse
-
Van Chase Begins — A dropped cell phone leads Hank and Earl to a semi-trailer truck. Characters: Hank Rafferty, Earl Montgomery
Location: Road near the soda warehouse
-
Bridge Escape — After a shootout, Hank and Earl drive the thieves’ van out of the truck and off the bridge. Characters: Hank Rafferty, Earl Montgomery, Nash
Location: Vincent Thomas Bridge
-
Alloy Keg Discovery — The apparently ordinary beer kegs are revealed to contain valuable atomic aerospace alloy. Characters: Hank Rafferty, Earl Montgomery
Location: Foundry
-
Denise Rejects Them — Hank hides the van and kegs in Denise’s garage, but Earl deceives her and provokes a fight. Characters: Hank Rafferty, Earl Montgomery, Denise
Location: Denise’s garage
-
Hank and Earl Fight — Hank punches Earl after their heated argument, deepening their personal conflict. Characters: Hank Rafferty, Earl Montgomery
Location: Outside Denise’s garage
The Mole Revealed
After escaping police suspicion, Hank and Earl trace the van and encounter Nash’s gang. Nash is identified as Charlie’s killer, while a meeting with McDuff exposes the corrupt police connection.
Key Events
-
Police Pursuit Escape — Police suspect them in the earlier shootout, but Hank and Earl escape. Characters: Hank Rafferty, Earl Montgomery
Location: City streets
-
The Police Mole — Hank realizes that the thieves must have a mole inside the police department. Characters: Hank Rafferty, Earl Montgomery
Location: City streets
-
Stakeout at Van Address — Hank and Earl trace the van’s owner and stake out the address. Characters: Hank Rafferty, Earl Montgomery, Nash
Location: Van owner’s address
-
Earl Is Shot — Earl enters alone and is shot in the leg before Hank arrives. Characters: Hank Rafferty, Earl Montgomery, Nash
Location: Van owner’s address
-
Nash Identified — Hank recognizes Nash as Charlie’s murderer during the escape. Characters: Hank Rafferty, Earl Montgomery, Nash
Location: Van owner’s address
-
Truth About the Bee — A bee triggers Earl’s panic, allowing Denise to realize that Earl lied about Hank’s assault. Characters: Hank Rafferty, Earl Montgomery, Denise
Location: Denise’s garage
-
Nash Meets McDuff — Hank and Earl witness Nash meeting McDuff, confirming the police mole. Characters: Hank Rafferty, Earl Montgomery, Nash, Detective Frank McDuff
Location: Yacht club
Justice at the Coast
Hank and Earl report the conspiracy to Washington and stage a dangerous sale of the alloy. Nash takes Washington hostage, but the resulting coastal gunfight ends with Nash’s death and the partners’ restoration.
Key Events
-
Report to Washington — Hank and Earl tell Washington what they know about Nash and McDuff. Characters: Hank Rafferty, Earl Montgomery, Lieutenant Washington
Location: Police office
-
The Million Dollar Ruse — Hank and Earl pretend to offer McDuff the kegs for one million dollars. Characters: Hank Rafferty, Earl Montgomery, Detective Frank McDuff, Nash
Location: Coastal meeting area
-
Washington Taken Hostage — Nash discovers the plan and takes Washington hostage before the confrontation. Characters: Nash, Lieutenant Washington, Hank Rafferty, Earl Montgomery
Location: Coastal meeting area
-
Coastal Gunfight — Hank and Earl rescue Washington and fight Nash’s gang, apprehending or killing most of the criminals. Characters: Hank Rafferty, Earl Montgomery, Nash, Detective Frank McDuff, Lieutenant Washington
Location: Coast
-
Nash’s Final Defeat — Although Hank is shot, he survives and kills Nash with a crane’s lifting hook. Characters: Hank Rafferty, Earl Montgomery, Nash
Location: Coast
-
Partners Reinstated — Six months later, Hank is reinstated and Earl is admitted to the police force as his partner. Characters: Hank Rafferty, Earl Montgomery
Location: LAPD
-
Car Thief Stopped — Earl recognizes a supposed lockout as a theft and stops the thief before the car explodes. Characters: Hank Rafferty, Earl Montgomery
Location: Street