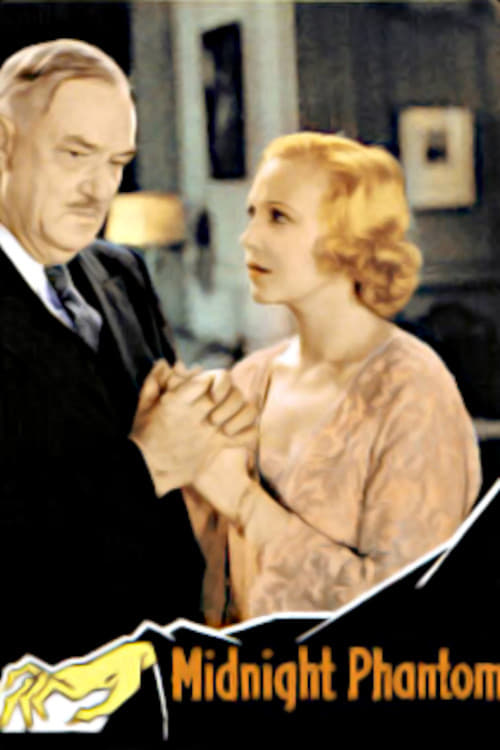
Story Structure — 4 Plot Phases
The Chief's Harsh Command
Chief Sullivan humiliates people under his authority while Kathleen manages the crowded office. The station atmosphere becomes hostile and resentful.
Key Events
-
Chief Scolds His Staff — Chief Sullivan angrily berates people under his command for poor performance. Characters: Chief James A. Sullivan
Location: Chief Sullivan's office
-
Crowded Waiting Room — Several people wait outside the office for their turn to be reprimanded. Characters: Kathleen Ryan
Location: Police station waiting room
-
Kathleen Controls Access — Kathleen sends waiting people into Sullivan's office one at a time. Characters: Kathleen Ryan, Chief James A. Sullivan
Location: Chief Sullivan's office
-
Graham Is Mentioned — Sullivan mentions Graham as a noted criminologist and another suitor. Characters: Chief James A. Sullivan, Prof. David Graham
Location: Chief Sullivan's office
-
Station Resentment Grows — Reprimanded employees leave the station in a visibly hostile mood. Characters: Chief James A. Sullivan, Kathleen Ryan
Location: Police station
Gunfire and Broken Approval
A police chase ends with the criminals dead, including a robber whose identity creates a personal crisis. Sullivan then refuses to approve the intended marriage.
Key Events
-
Criminals Flee by Car — A car chase begins between criminals and the police.
Location: City roads
-
Chase Ends in Gunfire — The police exchange gunfire with the fleeing criminals.
Location: City roads
-
A Criminal Dies — All criminals die except one, who apologizes before dying.
Location: City roads
-
Marriage Opposition Begins — Sullivan opposes the planned marriage after learning the dead robber's identity. Characters: Chief James A. Sullivan
Location: Police station
-
Marriage Defiance — The marriage is declared possible despite Sullivan's refusal to approve it.
Location: Police station
Death in the Demonstration Room
Graham displays his expertise in criminal behavior before Sullivan is found dead. The room is sealed, yet a second murder follows.
Key Events
-
Criminal Traits Demonstration — Graham demonstrates his knowledge of criminal traits before an audience. Characters: Prof. David Graham, Chief James A. Sullivan
Location: Demonstration room
-
Sullivan Dies in Audience — After the demonstration, Sullivan is found dead, possibly from a poison dart. Characters: Prof. David Graham, Chief James A. Sullivan
Location: Demonstration room
-
Room Sealed — Nobody is allowed to leave the room after Sullivan's death. Characters: Prof. David Graham
Location: Demonstration room
-
Second Murder Occurs — Another murder occurs only minutes after Sullivan's death. Characters: Prof. David Graham
Location: Demonstration room
-
Graham Is Approached — A suspect approaches Graham while the room remains under scrutiny. Characters: Prof. David Graham
Location: Demonstration room
The False Victim's Trap
A blackout creates a staged death, and Graham uses the apparent crime to accuse another person. The deception collapses when the supposed victim rises with a gun.
Key Events
-
Lights Go Out — The lights go out during the confrontation. Characters: Prof. David Graham
Location: Demonstration room
-
False Death Revealed — When the lights return, a supposed victim is found lying on the floor. Characters: Prof. David Graham
Location: Demonstration room
-
Graham Accuses the Suspect — Graham claims the apparent victim committed the murder for personal reasons. Characters: Prof. David Graham
Location: Demonstration room
-
Graham Exposed as Killer — The supposed victim rises, points a gun at Graham, and proves Graham killed Sullivan. Characters: Prof. David Graham
Location: Demonstration room
-
Confession and Arrest — Graham confesses to the murder and is arrested. Characters: Prof. David Graham
Location: Demonstration room
-
Picnic Aftermath — A picnic follows, while grief remains after Graham's execution and the recent murders.
Location: Picnic setting