Plot Analysis Summary
A bomb-disposal officer must overcome grief, betrayal, and dwindling time to save a passenger liner from a former mentor.
Story Structure — 5 Plot Phases
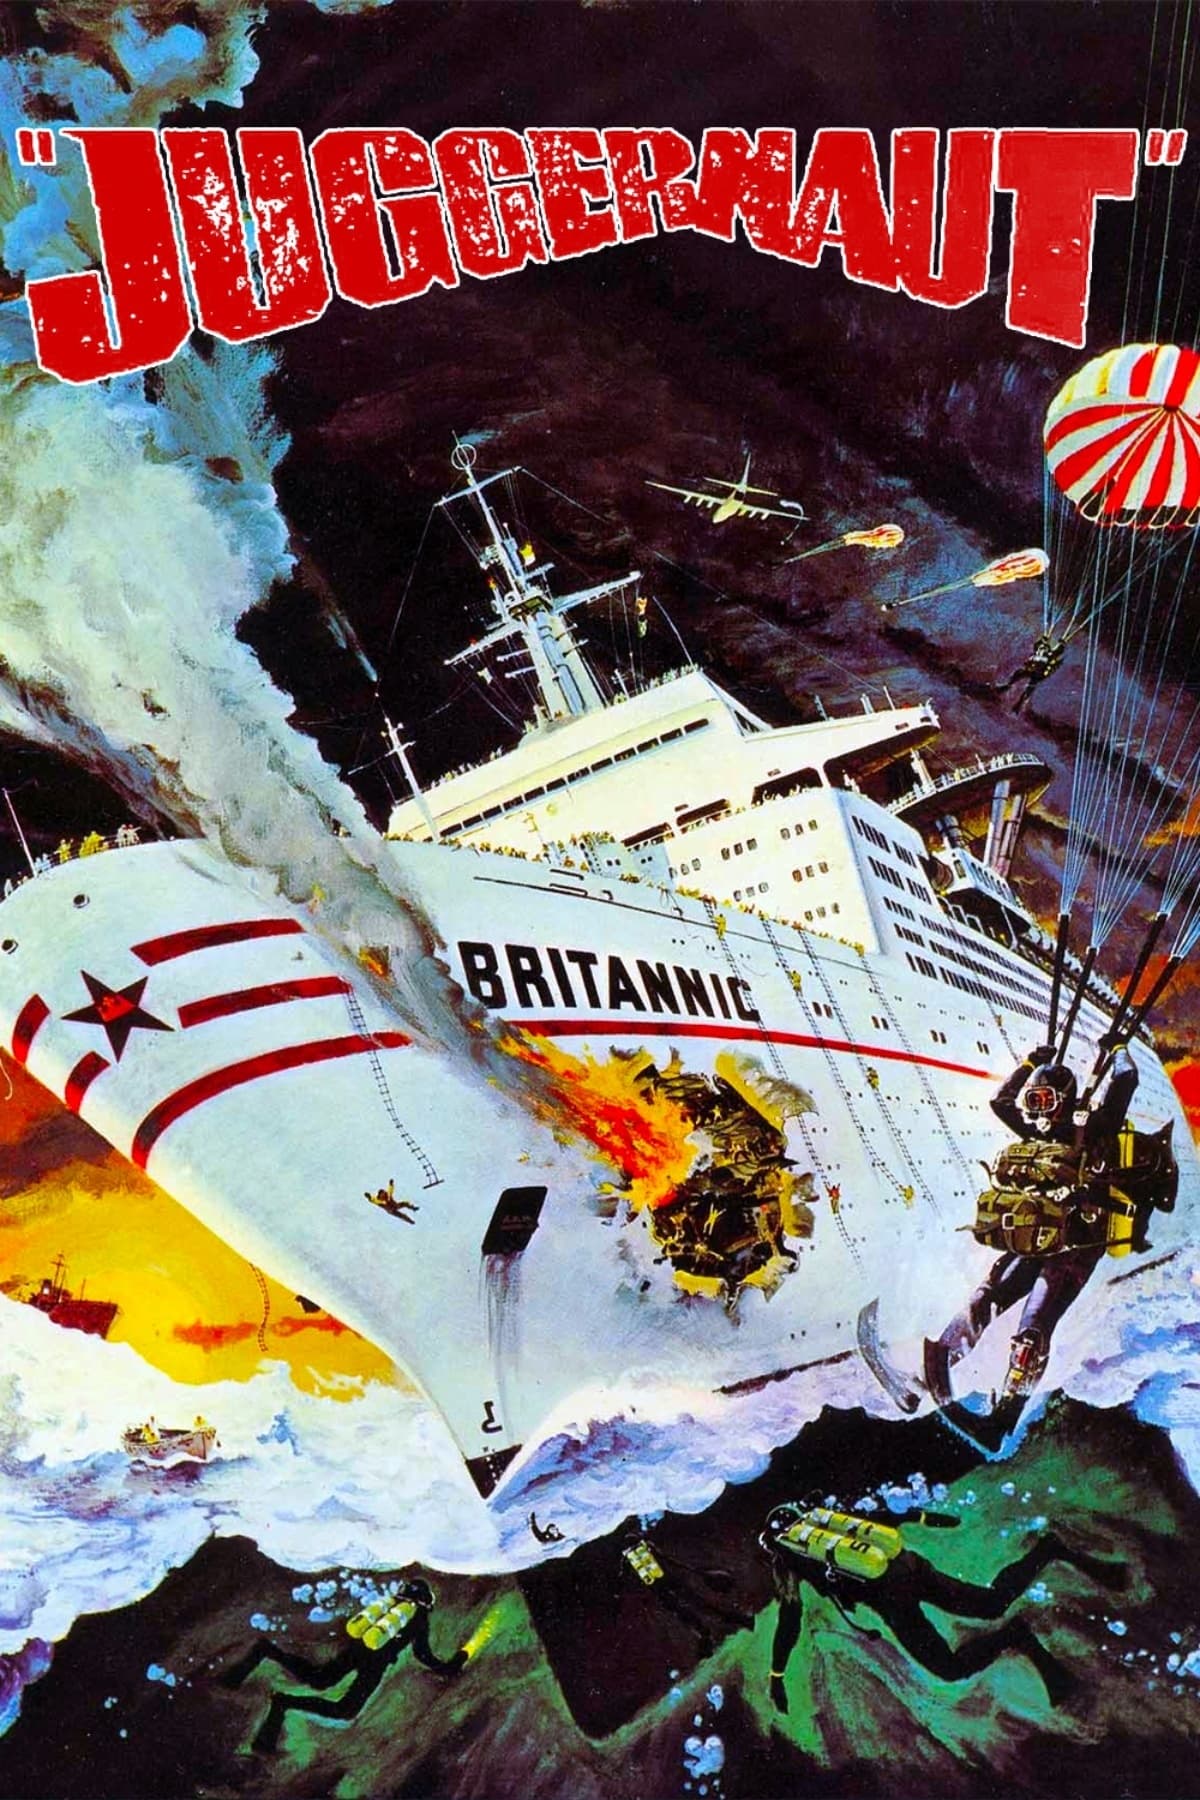
A Threat At Sea
The Britannic carries passengers across the North Atlantic when Juggernaut announces that explosives are hidden aboard. A demonstration blast confirms the danger, while rough seas make evacuation impossible.
Key Events
-
Britannic Crosses North Atlantic — The ocean liner carries 1200 passengers across the North Atlantic.
Location: SS Britannic
-
Juggernaut Makes Threat — A caller claiming to be Juggernaut says explosives are aboard the ship. Characters: Nicholas Porter, Sidney Buckland
Location: London and SS Britannic
-
Barrel Bombs Revealed — Explosives are hidden in barrels and will detonate if moved. Characters: Sidney Buckland
Location: SS Britannic
-
Ransom Demand Delivered — Juggernaut demands £500,000 in exchange for bomb-disposal instructions. Characters: Nicholas Porter, Sidney Buckland
Location: London
-
Funnel Demonstration Attack — A demonstration blast behind the funnel injures a crewman. Characters: Sidney Buckland
Location: SS Britannic funnel area
-
Evacuation Becomes Impossible — Rough seas prevent the shipping line from safely evacuating passengers. Characters: Nicholas Porter
Location: SS Britannic
The Price Of Survival
Nicholas Porter faces a ransom demand, but government policy rejects appeasement and threatens the shipping company's subsidy. The crisis shifts from negotiation toward a dangerous rescue mission.
Key Events
-
Government Rejects Appeasement — Government officials warn that paying the ransom will cost the company its subsidy. Characters: Nicholas Porter
Location: London
-
Fallon Parachutes Aboard — Fallon arrives by air transit and parachutes onto the ship. Characters: Lt. Cmdr. Anthony Fallon
Location: SS Britannic
-
Bomb Unit Begins Search — Fallon and the unit locate the barrel-bombs and begin defusing work. Characters: Lt. Cmdr. Anthony Fallon, Charlie Braddock
Location: SS Britannic
The Failed Defusal
Fallon arrives by parachute and leads the bomb-disposal unit aboard the ship. A drilling attempt detonates one device, and Braddock later dies when a hidden mechanism explodes.
Key Events
-
Drilling Attempt Explodes — Drilling into a barrel fails, detonating it and damaging the ship. Characters: Lt. Cmdr. Anthony Fallon, Charlie Braddock
Location: SS Britannic
-
Unit Splits Across Ship — Fallon assigns each remaining device to a team member and leads by radio. Characters: Lt. Cmdr. Anthony Fallon, Charlie Braddock
Location: SS Britannic
-
Fallon Tests Defusing Sequence — Fallon performs each step first so the others can copy the procedure. Characters: Lt. Cmdr. Anthony Fallon, Charlie Braddock
Location: SS Britannic
-
Hidden Mechanism Detonates — Braddock triggers a concealed mechanism and is killed in the explosion. Characters: Lt. Cmdr. Anthony Fallon, Charlie Braddock
Location: SS Britannic
-
Fallon Abandons Operation — Distraught after Braddock's death, Fallon advises paying the ransom. Characters: Lt. Cmdr. Anthony Fallon
Location: SS Britannic
The Bomber Unmasked
The ransom trap fails, forcing Fallon back to the bombs as dawn approaches. London investigators identify Juggernaut as Sidney Buckland, Fallon's former instructor and life-saver.
Key Events
-
Ransom Collection Trap Fails — Negotiations collapse after Juggernaut detects the police trap at the collection point. Characters: Nicholas Porter, Sidney Buckland
Location: London
-
Fallon Returns To Duty — With ransom negotiations broken, Fallon is ordered to continue the operation. Characters: Lt. Cmdr. Anthony Fallon
Location: SS Britannic
-
Buckland Unmasked — The bomber is identified as former military bomb-disposal officer Sidney Buckland. Characters: Sidney Buckland
Location: London police situation room
-
Former Mentor Contacted — Fallon insists on speaking with Buckland because Buckland trained him and saved his life. Characters: Lt. Cmdr. Anthony Fallon, Sidney Buckland
Location: SS Britannic and London situation room
The Final Wire
Buckland agrees to advise Fallon but deliberately gives the wrong wire choice. Fallon trusts his judgment, cuts the red wire, and enables the remaining devices to be safely disarmed.
Key Events
-
Former Mentor Contacted — Fallon insists on speaking with Buckland because Buckland trained him and saved his life. Characters: Lt. Cmdr. Anthony Fallon, Sidney Buckland
Location: SS Britannic and London situation room
-
Final Wire Choice — Buckland says to cut blue, but Fallon senses deception and cuts red. Characters: Lt. Cmdr. Anthony Fallon, Sidney Buckland
Location: SS Britannic and London situation room
-
Bombs Safely Disarmed — Fallon's method works, the remaining unit follows it, and the ship is saved. Characters: Lt. Cmdr. Anthony Fallon, Sidney Buckland
Location: SS Britannic