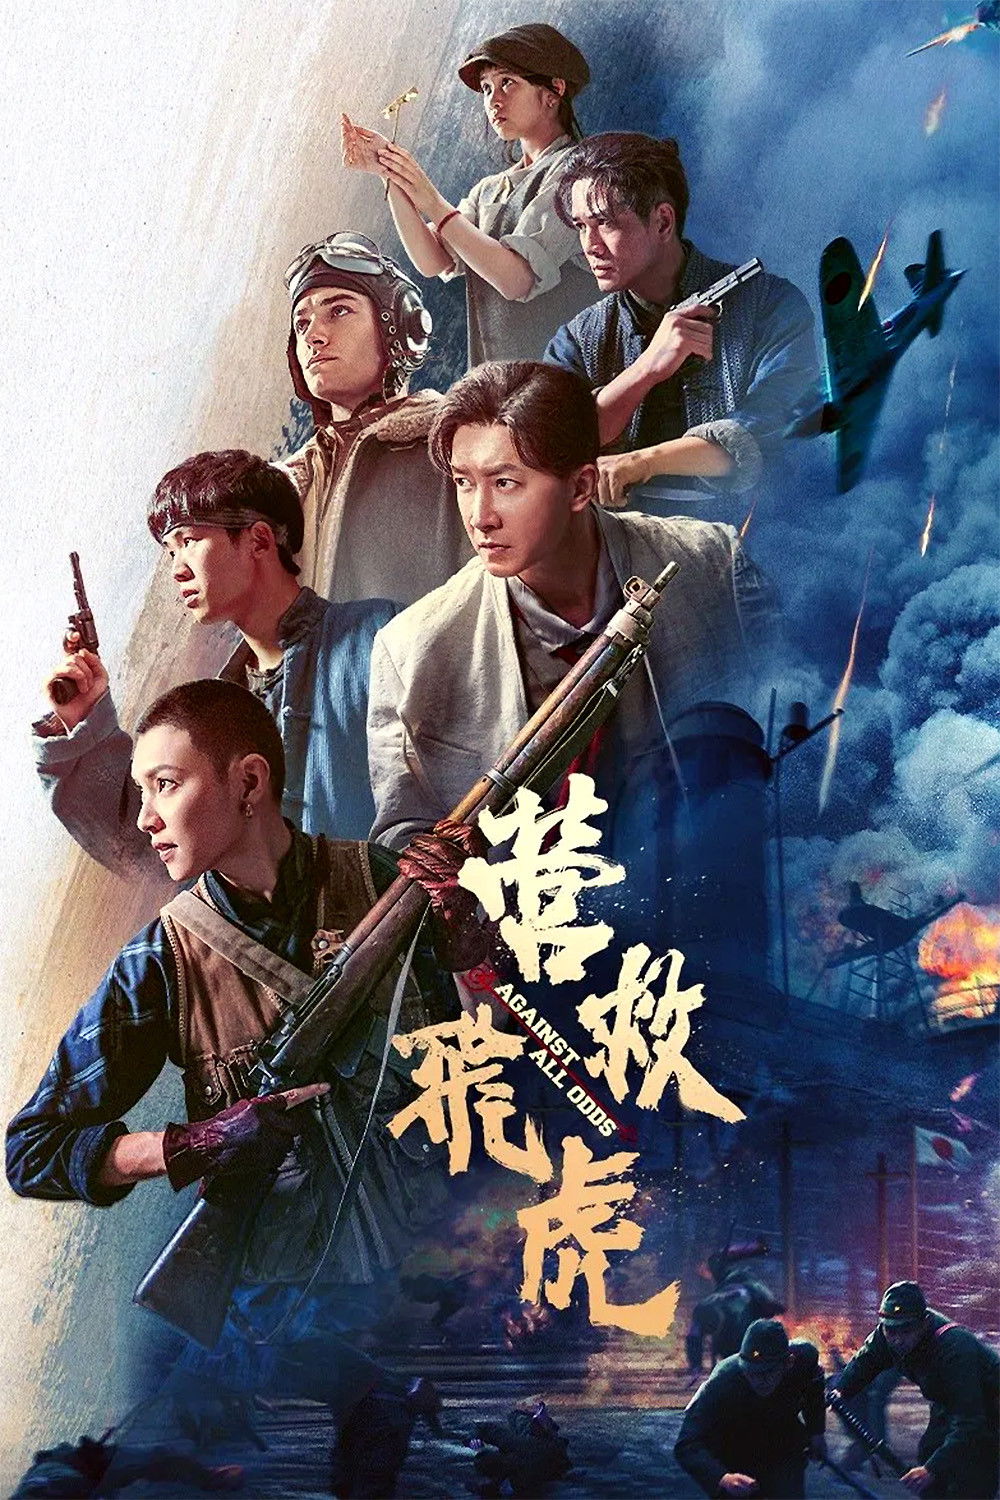
Plot Analysis Summary
A captured pilot, a covert operative, and a resistance brigade sacrifice everything to expose a Japanese radar station and sustain allied cooperation.
Story Structure — 5 Plot Phases
Hong Kong Under Occupation
Japanese forces occupy Hong Kong and transform it into a strategic fortress. The Flying Tigers prepare raids while Smiley arrives under a concealed identity.
Key Events
-
Pearl Harbor Aftermath — Japanese air raids begin after the attack on Pearl Harbor.
Location: Hong Kong
-
Hong Kong Falls — The city falls after eighteen days and becomes a Japanese fortress.
Location: Hong Kong
-
Flying Tigers Prepare — The Flying Tigers prepare attacks against Japanese targets at Whampoa Dock. Characters: James Harnett
Location: Guilin base
-
Smiley Arrives — Smiley arrives from Shanghai and poses as a bowling alley manager. Characters: Smiley
Location: Wan Chai bowling alley
-
Secret Elimination Plan — Smiley is expected to remove Ichijo before Arima replaces him. Characters: Smiley, Ichijo, Arima
Location: Hong Kong
The Pilot and the Hunter
Harnett conducts bombing and reconnaissance missions before Igarashi shoots him down. His capture creates the opportunity for Ichijo's propaganda event.
Key Events
-
Faulty Bombing Raid — Harnett and his peers bomb Japanese targets but also hit civilian structures. Characters: James Harnett
Location: Hong Kong
-
Radar Station Reconnaissance — Harnett photographs a new Japanese radar station. Characters: James Harnett
Location: Ho Man Tin hill
-
Dogfight and Capture — Igarashi shoots down Harnett during a dogfight, leading to his capture. Characters: James Harnett, Igarashi
Location: Hong Kong airspace
-
Propaganda Press Conference — Ichijo brings Harnett to the bowling alley for a boastful press conference. Characters: Ichijo, James Harnett, Smiley
Location: Wan Chai bowling alley
Rescue and Hidden Allegiance
Smiley sabotages the press conference as the brigade attempts to rescue Harnett. Ichijo is killed, and Smiley's resistance identity and history with Arima are revealed.
Key Events
-
Resistance Rescue Attempt — The brigade launches an uncoordinated operation to rescue Harnett. Characters: Smiley, James Harnett, Gutsy, Sister 3, Dan, Ichijo
Location: Wan Chai bowling alley
-
Ichijo Is Killed — The sabotaged press event ends with Ichijo's death. Characters: Smiley, Ichijo, James Harnett
Location: Wan Chai bowling alley
-
Smiley's Identity Revealed — Smiley is revealed as a CCP operative with a deadly history involving Arima. Characters: Smiley, James Harnett, Arima
Location: Hong Kong
The Gun Camera Sacrifice
Harnett and Smiley recognize the gun camera's importance and return for it. Dan and Sister 3 die delaying Arima, while Smiley sacrifices himself to save the mission.
Key Events
-
Broken Camera Remembered — Harnett remembers that the gun camera broke off near the radar station. Characters: Smiley, James Harnett, Gutsy
Location: Retreat route
-
Camera Retrieval Mission — The team returns for the gun camera while Arima's forces pursue them. Characters: Smiley, James Harnett, Gutsy, Sister 3, Dan, Arima
Location: Ho Man Tin hill
-
Dan and Sister 3 Sacrifice — Dan and Sister 3 stay behind to stall Arima's advancing forces. Characters: Dan, Sister 3, Arima, James Harnett
Location: Ho Man Tin hill
-
Smiley's Final Disguise — Smiley disguises himself as Harnett and draws Igarashi's aircraft away. Characters: Smiley, James Harnett, Gutsy, Igarashi
Location: Ho Man Tin hill
-
Arima's Suicide — Arima shoots himself after defeat and losing control of Igarashi. Characters: Arima, Igarashi
Location: Hong Kong
-
Sea Cave Rendezvous — Harnett and Gutsy safely reach the sea cave and exchange family gifts. Characters: James Harnett, Gutsy
Location: Sea cave
Revenge and Historical Memory
Harnett returns to Guilin, receives orders for another Hong Kong mission, and shoots down Igarashi. The film closes by connecting the story to allied cooperation and historical photographs.
Key Events
-
Return to Guilin — Harnett travels through several locations and safely returns to Guilin. Characters: James Harnett
Location: Guilin base
-
Second Radar Mission — Harnett returns to bomb the radar station and shoots down Igarashi. Characters: James Harnett, Igarashi
Location: Hong Kong airspace
-
Allied Intelligence Sharing — William O'Day thanks the brigade, enabling intelligence sharing between allied units.
Location: Hong Kong
-
Historical Photograph Comparison — The film compares historical photographs with images from the production.
Location: Film documentation