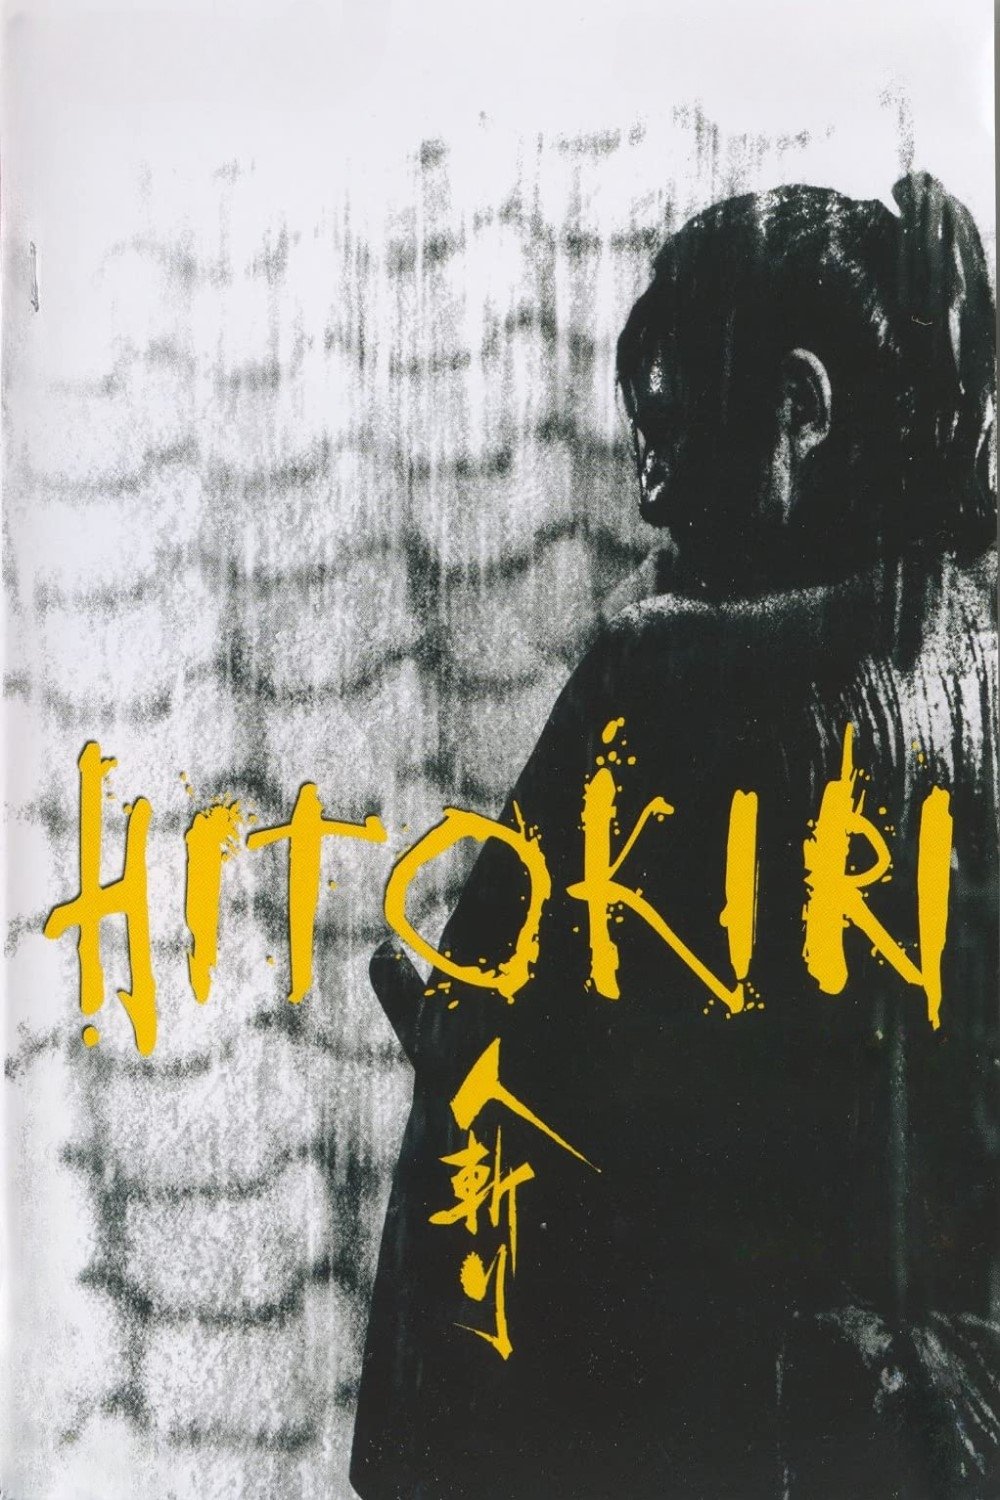
Story Structure — 4 Plot Phases
A Killer Enters The Cause
A poor ronin joins an Imperial loyalist group and earns a reputation as a successful killer. A warning about his dependence on the group's commander introduces the danger of betrayal.
Key Events
-
A Ronin Joins Imperial Loyalists — A poor ronin joins an Imperial loyalist group led by a powerful commander.
Location: Tosa
-
The Killer Gains Reputation — The ronin becomes a renowned and successful killer for the loyalist cause.
Location: Tosa
-
Warning About Blind Loyalty — An independent political figure warns the killer that he is merely the commander's dog.
Location: Tosa
-
A Threatened Future — The warning predicts that the commander will eventually betray his loyal subordinate.
Location: Tosa
-
Night Attack Begins — The loyalist group launches a night attack against Ishibe Station.
Location: Ishibe Station
-
The Killer Reveals Himself — The ronin reveals his identity and compromises the night attack.
Location: Ishibe Station
Loyalty Under Pressure
A failed night attack brings the commander's anger and exposes the instability of the ronin's loyalty. He leaves, regrets the decision, and returns to apologize.
Key Events
-
The Killer Reveals Himself — The ronin reveals his identity and compromises the night attack.
Location: Ishibe Station
-
Commander's Wrath — The commander reacts angrily to the failed operation and the subordinate's mistake.
Location: Loyalist headquarters
-
Loyalty Begins To Fracture — The failure and growing resentment over subordination begin to test the killer's loyalty.
Location: Tosa
-
The Killer Abandons His Leader — Disillusioned by the conflict, the killer temporarily abandons his commander.
Location: Tosa
-
A Regretful Return — The regretful killer returns to his commander and apologizes for leaving.
Location: Loyalist headquarters
-
An Assassination Order — The killer is ordered to assassinate an aristocrat outside Sarugatsuji.
Location: Loyalist headquarters
The Sword Of Evidence
The ronin receives an assassination order and uses another swordsman's weapon. The recovered sword leads to interrogation and the swordsman's harakiri.
Key Events
-
An Assassination Order — The killer is ordered to assassinate an aristocrat outside Sarugatsuji.
Location: Loyalist headquarters
-
The Borrowed Sword — The assassination is carried out using another swordsman's weapon.
Location: Sarugatsuji
-
Interrogation Over Murder — A swordsman is interrogated after the aristocrat's death and the recovered sword is presented as evidence.
Location: Interrogation chamber
-
The Sword Brings Ruin — The swordsman responds to the evidence by committing harakiri.
Location: Interrogation chamber
-
A Bid For Political Power — The commander intensifies a plan to become daimyo by eliminating political opponents.
Location: Tosa
-
The Ronin Is Arrested — The killer is arrested as a ronin by an armed patrol organization.
Location: Aizu-controlled territory
Betrayal And Execution
The commander's political ambitions make the ronin expendable after his arrest. Poison fails to kill him, but his confession leads to crucifixion and final knowledge of the commander's fate.
Key Events
-
The Ronin Is Arrested — The killer is arrested as a ronin by an armed patrol organization.
Location: Aizu-controlled territory
-
The Leader Betrays His Killer — The commander accepts the need to sacrifice the killer for his own political ambitions.
Location: Prison quarters
-
Poisoned Sake — The imprisoned killer is given sake drugged with a poisonous substance, but survives.
Location: Prison quarters
-
Confession Of Murders — Disillusioned by betrayal, the killer confesses to murders committed for the loyalist group.
Location: Prison
-
Crucifixion And Final News — The killer is condemned to crucifixion and learns that his former commander will be forced to commit harakiri.
Location: Execution ground