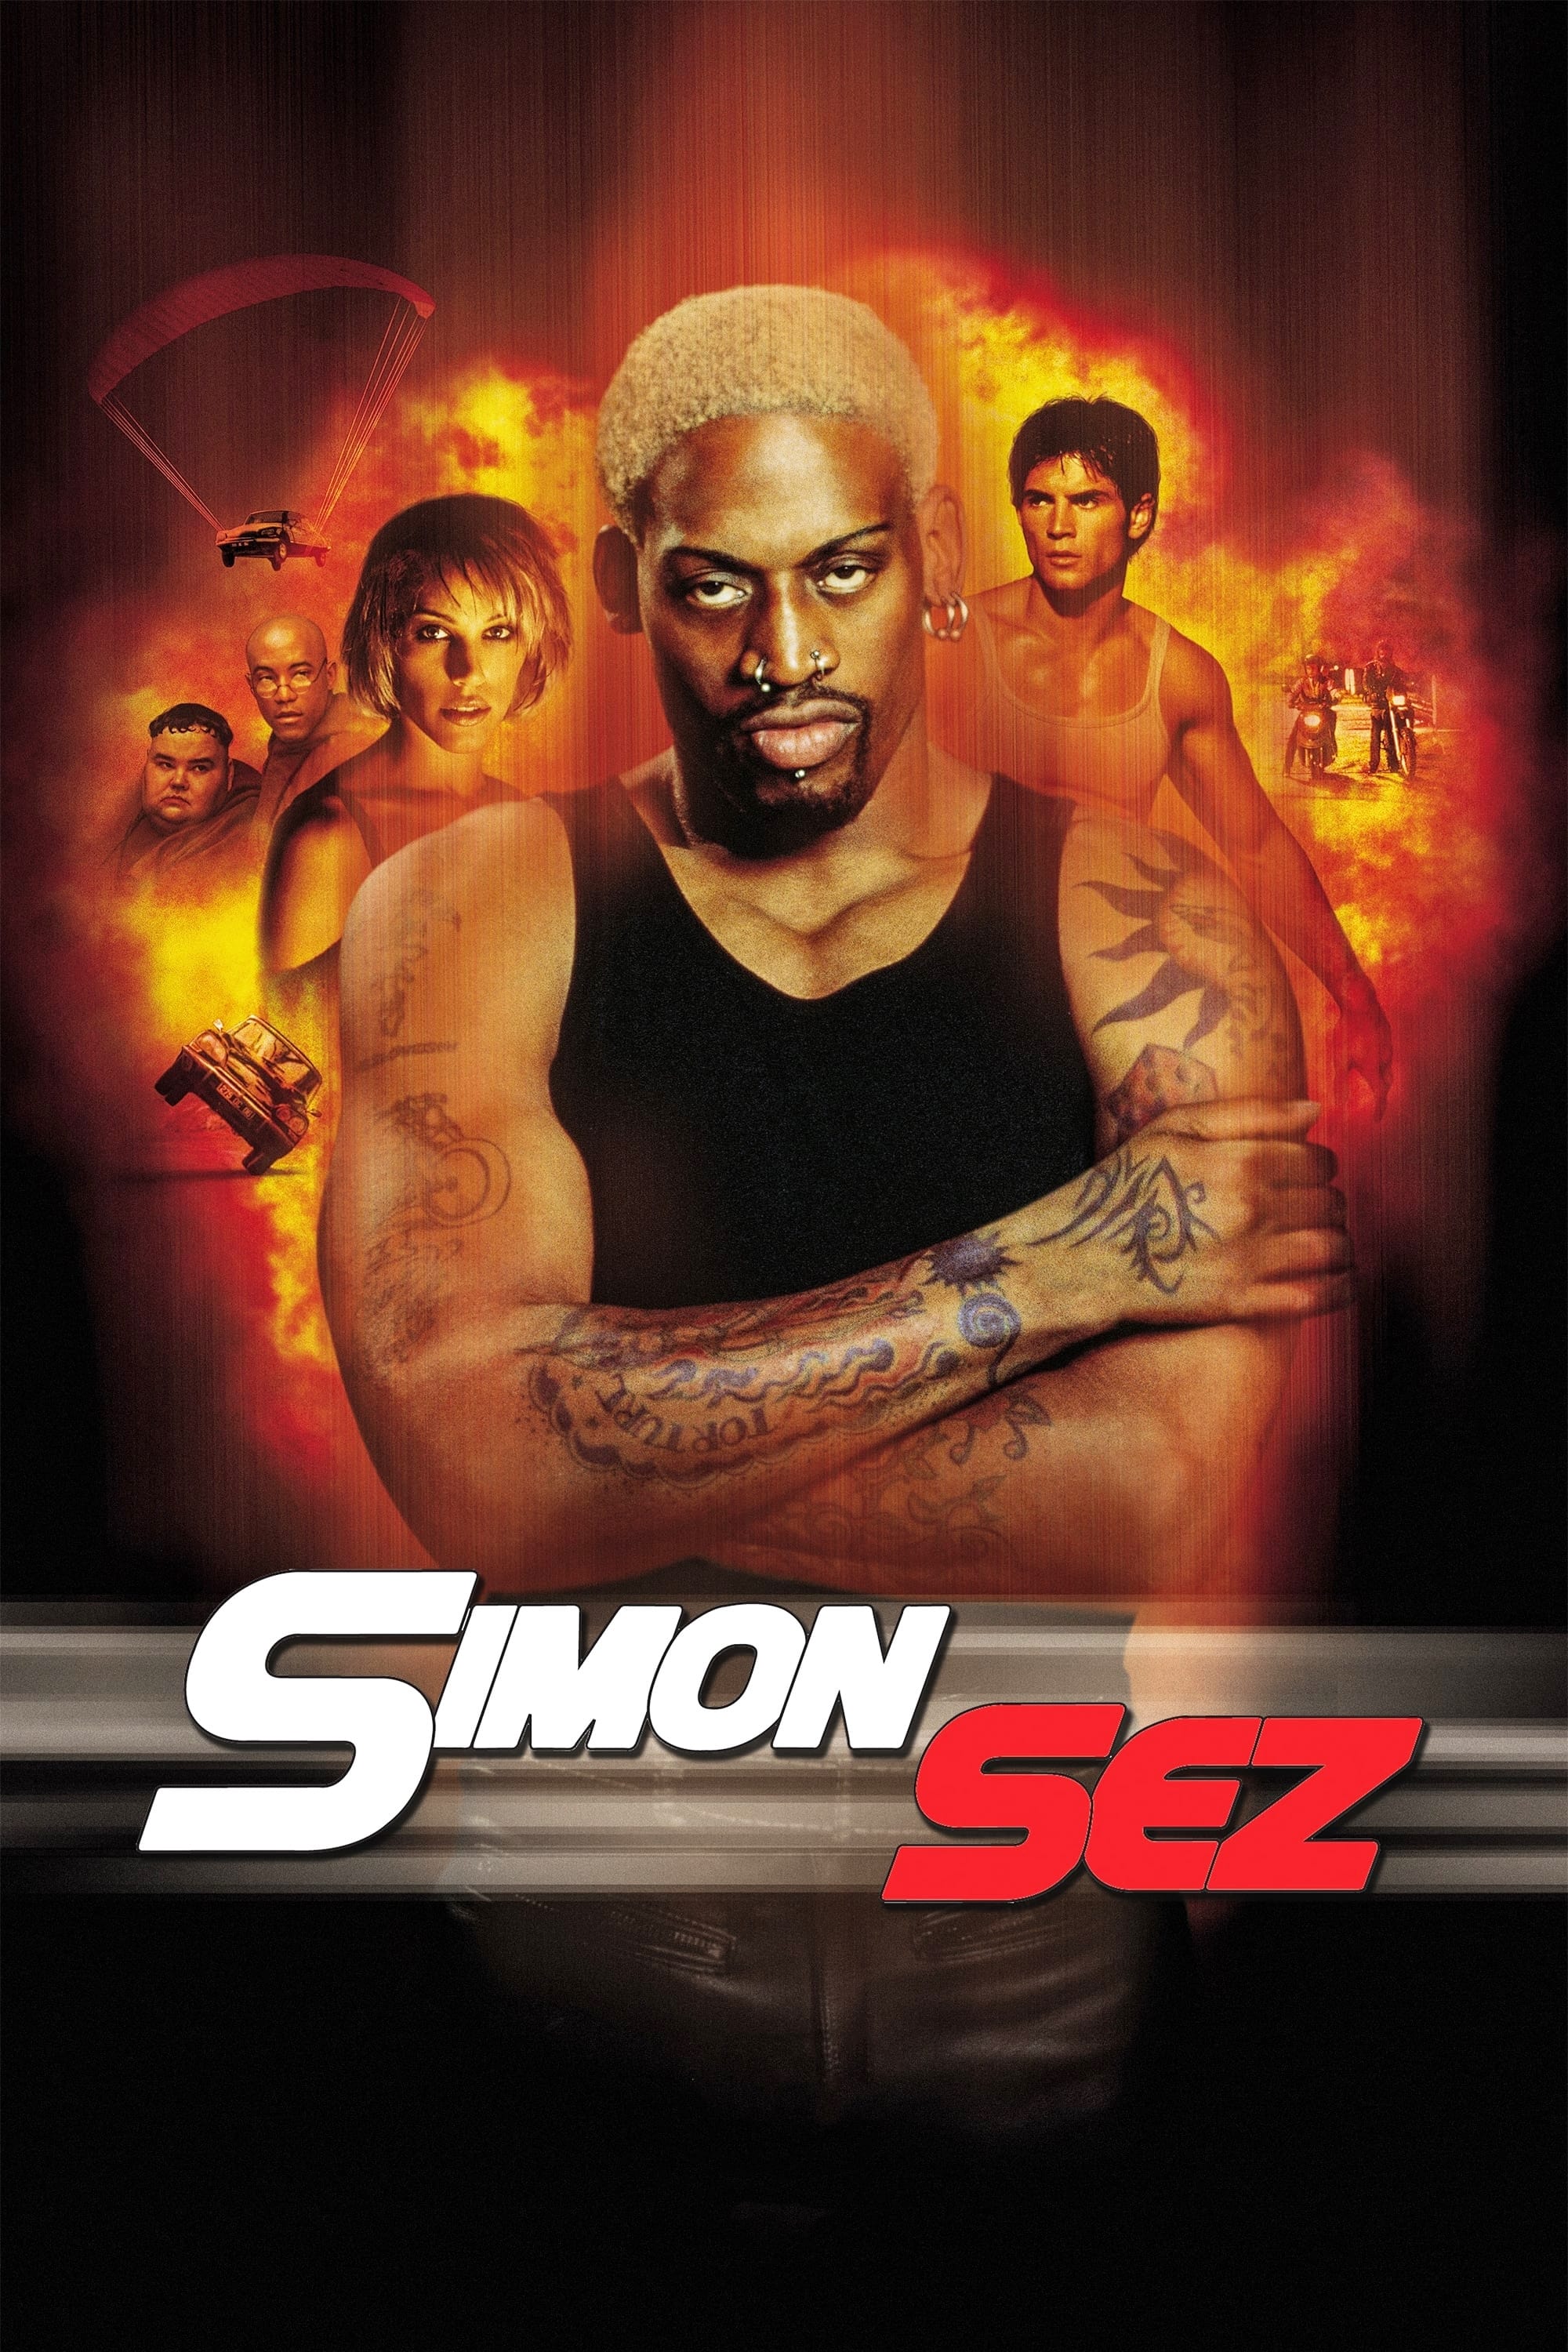
Plot Analysis Summary
An Interpol partnership becomes entangled in a missing fortune, a hostage exchange, and stolen military targeting technology.
Story Structure — 5 Plot Phases
The Broken Arms Deal
Simon and Nick Miranda observe an arms transaction involving Colonel Jacques Telore. The colonel refuses the weapon sale, prompting Simon's confrontation and revealing a larger scheme.
Key Events
-
Aerial Arms Surveillance — Simon and Nick Miranda observe an arms transaction from the air. Characters: Simon, Nick Miranda
Location: Aerial surveillance area
-
The Arms Deal Begins — The surveillance reveals a meeting concerning the sale of a weapon. Characters: Simon, Nick Miranda, Colonel Jacques Telore
Location: Arms transaction site
-
Colonel Refuses the Sale — The colonel refuses to sell the weapon, collapsing the agreement. Characters: Simon, Colonel Jacques Telore
Location: Arms transaction site
-
Simon Challenges Betrayal — Simon intervenes and confronts the colonel about betraying the agreement. Characters: Simon, Colonel Jacques Telore
Location: Arms transaction site
-
Influence Behind the Deal — The encounter indicates that the arms dealer has influence over the colonel. Characters: Simon, Nick Miranda, Colonel Jacques Telore
Location: Arms transaction site
The Empty Briefcase
A briefcase becomes the center of competing efforts and distrust. Instead of two million dollars, it contains a CD and bricks, shifting attention toward the missing money and mysterious disk.
Key Events
-
The Briefcase Becomes Contested — Several competing groups begin pursuing a briefcase. Characters: Simon, Nick Miranda
Location: Urban meeting area
-
Money Replaced by Bricks — The case expected to hold two million dollars contains only a CD and bricks. Characters: Simon, Nick Miranda, Michael Gabrielli
Location: Briefcase exchange site
-
The Missing Money Deepens Distrust — The missing money and mysterious disk intensify distrust among the competing sides. Characters: Simon, Nick Miranda, Michael Gabrielli
Location: Urban safe location
-
The Hostage Becomes Leverage — The hostage is held as leverage while recovery of the disk is demanded. Characters: Simon, Nick Miranda, Michael Gabrielli
Location: Unknown holding location
Escape Under Fire
Michael is pressured by the hostage situation while Simon and Nick Miranda attempt to move the hostage to safety. Their escape develops into a car chase, gunfire, and pursuit through the city.
Key Events
-
Michael Is Pressured — Michael is pressured to complete an exchange to protect the hostage. Characters: Michael Gabrielli
Location: Exchange preparation area
-
A Difficult Escort Begins — Simon and Nick Miranda attempt to move the hostage to safety. Characters: Simon, Nick Miranda
Location: City streets
-
Escape Through the City — Arguments during the escort develop into an elaborate escape. Characters: Simon, Nick Miranda
Location: City streets
-
Gunfire and Pursuit — Attackers pursue the vehicle through the city while gunfire erupts. Characters: Simon, Nick Miranda
Location: City streets
-
The Hostage Stays Alive — Simon and Nick Miranda prevent the hostage from being recaptured. Characters: Simon, Nick Miranda
Location: Temporary safe location
-
Humor Amid the Danger — Simon's obvious attraction adds humor and tension to the partnership. Characters: Simon, Nick Miranda
Location: Temporary safe location
The Weapon's Secret
The family hostility behind the conflict is explained, and the stolen software is identified as a targeting system. Its connection to a long-range portable laser weapon raises the stakes.
Key Events
-
Humor Amid the Danger — Simon's obvious attraction adds humor and tension to the partnership. Characters: Simon, Nick Miranda
Location: Temporary safe location
-
The Family Hostility Explained — The hostage explains the hostility between William and Michael's family. Characters: Michael Gabrielli, William Fence
Location: Safe meeting location
-
Military Software Identified — The stolen software is identified as a targeting system. Characters: Simon, Nick Miranda, Michael Gabrielli
Location: Safe meeting location
-
The Laser Weapon's Range — The system controls a portable laser weapon with a three-hundred-mile range. Characters: Simon, Nick Miranda, Michael Gabrielli
Location: Safe meeting location
The Deceptive Exchange
Michael joins Simon and Nick Miranda for an exchange involving William Fence. The exchange becomes a deception, leading to a rescue plan and an unresolved disguised assault.
Key Events
-
Michael Joins the Team — Michael joins Simon and Nick Miranda for the planned exchange and rescue. Characters: Simon, Nick Miranda, Michael Gabrielli
Location: Operational safe house
-
The Exchange Plan — The group plans to exchange the disk for the hostage with William Fence. Characters: Simon, Nick Miranda, Michael Gabrielli, William Fence
Location: Exchange site
-
The Exchange Is Deceptive — The exchange becomes another deception, forcing the group to organize a rescue. Characters: Simon, Nick Miranda, Michael Gabrielli, William Fence
Location: Exchange site
-
A Rescue Is Organized — Simon, Michael, and Nick Miranda reorganize their plan to recover the hostage. Characters: Simon, Nick Miranda, Michael Gabrielli
Location: Operational safe house
-
Disguised Attack Team — Simon, Michael, Nick, and a disguised group prepare to attack the arms dealer. Characters: Simon, Nick Miranda, Michael Gabrielli
Location: Attack staging area
-
Unresolved Final Assault — The available sequence ends as the disguised team prepares its assault, leaving the outcome unresolved. Characters: Simon, Nick Miranda, Michael Gabrielli
Location: Arms dealer's operation