Story Structure — 5 Plot Phases
A Bomb On The Express
Okita's failed business and personal separation lead him into an extortion scheme. The threat against Hikari 109 immediately turns a routine journey into a national emergency.
Key Events
-
Okita Loses His Company — Bankruptcy leaves Okita separated from his wife and son and desperate for a new beginning. Characters: Tetsuo Okita
Location: Okita's former company
-
The Extortion Plan Forms — Okita and Koga organize a plan to extort money from the government. Characters: Tetsuo Okita, Masaru Koga
Location: Okita's hideout
-
Hikari 109 Departs — The bullet train begins its journey to Hakata with 1,500 passengers aboard. Characters: Aoki, Kikuchi
Location: Tokyo station
-
The Bomb Threat Arrives — Okita warns Miyashita that the train will explode if its speed falls below eighty kilometers per hour. Characters: Tetsuo Okita, Miyashita, Aoki
Location: Railway security office
-
Freight Train Destroyed — A similar bomb destroys freight train 5790, proving that Okita's threat is genuine. Characters: Tetsuo Okita
Location: Yubari to Oiwake rail line
Speed Against The Clock
The train must maintain dangerous speed while security searches for the bomb. A destroyed freight train and a ransom demand convince officials that the threat is real.
Key Events
-
Speed Restrictions Imposed — Railway authorities order the train to maintain speed while security personnel search for the bomb. Characters: Aoki, Miyashita
Location: Hikari 109 control systems
-
The First Searches Fail — Security personnel search the train, but the bomb remains undiscovered as passengers grow suspicious. Characters: Aoki, Kikuchi
Location: Hikari 109 carriages
-
Ransom Demand Escalates — Okita demands five million in an aluminum suitcase in exchange for the passengers' safety. Characters: Tetsuo Okita, Miyashita
Location: Railway security office
-
Koga's Fingerprints Found — A cigarette pack bearing Koga's fingerprints gives police their first lead. Characters: Masaru Koga, Miyashita
Location: Yubari Station
-
Passengers Learn The Truth — Kikuchi tells passengers about the bomb after panic rises and a passenger goes into labor. Characters: Aoki, Kikuchi
Location: Hikari 109 passenger cars
-
Bomb Attached To Wheel — Railway officials discover that the bomb is attached to one of the train's wheels. Characters: Aoki, Miyashita
Location: Hikari 109 undercarriage
Panic And Pursuit
Passengers panic as the bomb's location remains unknown and a passenger goes into labor. Police identify Koga, while the ransom transfer collapses and the conspiracy begins to unravel.
Key Events
-
Bomb Attached To Wheel — Railway officials discover that the bomb is attached to one of the train's wheels. Characters: Aoki, Miyashita
Location: Hikari 109 undercarriage
-
Ransom Transfer Ordered — Okita orders the ransom to be sent north by helicopter and landed at Yorii High School. Characters: Tetsuo Okita, Miyashita
Location: Railway security office
-
The Suitcase Is Dropped — The ransom suitcase is pulled toward a cliff but is dropped when nearby police activity exposes the operation. Characters: Miyashita
Location: Arakawa River near Iwate
-
The Conspiracy Suffers A Death — A conspirator fleeing by motorcycle is pursued by police and dies after colliding with a light post. Characters: Masaru Koga
Location: Road near Iwate
-
Panic Near Shin-Osaka — A businessman threatens to open the emergency door, while passengers hear about the conspirator's death. Characters: Aoki, Kikuchi
Location: Hikari 109 near Shin-Osaka
-
Koga Escapes The Chase — Police locate Koga, but he escapes despite being shot and wounded during the pursuit. Characters: Masaru Koga, Miyashita
Location: Tokyo streets
-
Okita Rejects Surrender — Okita considers ending the mission after the bloodshed, but Koga persuades him to continue. Characters: Tetsuo Okita, Masaru Koga
Location: Okita's hideout
The Conspiracy Collapses
Okita collects the ransom, but the bomb diagram is destroyed and Koga dies in the surrounded hideout. Authorities turn to a public appeal and information from Fujio.
Key Events
-
Okita Rejects Surrender — Okita considers ending the mission after the bloodshed, but Koga persuades him to continue. Characters: Tetsuo Okita, Masaru Koga
Location: Okita's hideout
-
The Ransom Is Collected — Following Okita's instructions, officials leave the money by an abandoned truck, allowing him to take it. Characters: Tetsuo Okita, Miyashita
Location: Kanda motorway
-
The Diagram Is Lost — Okita directs Miyashita to a bomb diagram, but the cafe burns before police can retrieve it. Characters: Tetsuo Okita, Miyashita
Location: Sun Plaza Cafe in Shinbashi
-
Koga Takes His Own Life — When police surround the hideout, Koga detonates dynamite rather than surrender. Characters: Masaru Koga
Location: Okita's hideout
-
Kuramochi Appeals On Television — Railway authorities broadcast an appeal asking Okita to help disarm the bomb. Characters: Aoki, Miyashita
Location: Television studio and control room
-
Fujio Reveals Okita's Escape — While being escorted after arrest, Fujio reveals that Okita plans to leave Japan under a false name. Characters: Shinji Fujio, Tetsuo Okita
Location: Police transport
Stopping The Bullet Train
High-speed cameras locate the bomb and Aoki disarms it before safely stopping Hikari 109. At the airport, Yasuko exposes Okita's false identity and his escape ends in death.
Key Events
-
Fujio Reveals Okita's Escape — While being escorted after arrest, Fujio reveals that Okita plans to leave Japan under a false name. Characters: Shinji Fujio, Tetsuo Okita
Location: Police transport
-
The Bomb Is Located — High-speed cameras locate the bomb beneath the second coach. Characters: Aoki, Miyashita
Location: Hikari 109 undercarriage
-
Aoki Defuses The Bomb — Aoki cuts an access hole and successfully disarms the bomb, though officials suspect another device. Characters: Aoki, Miyashita
Location: Hikari 109 second coach
-
Hikari 109 Finally Stops — Despite fears of a second bomb, Aoki brings the train to a stop without incident. Characters: Aoki, Miyashita
Location: Railway line
-
Okita Is Exposed At Haneda — Yasuko recognizes Okita at the airport, exposing his cover as he attempts to escape. Characters: Tetsuo Okita, Yasuko
Location: Haneda Airport
-
Okita Is Shot Dead — Okita is shot dead while trying to flee outside the airport. Characters: Tetsuo Okita, Yasuko
Location: Haneda Airport exterior
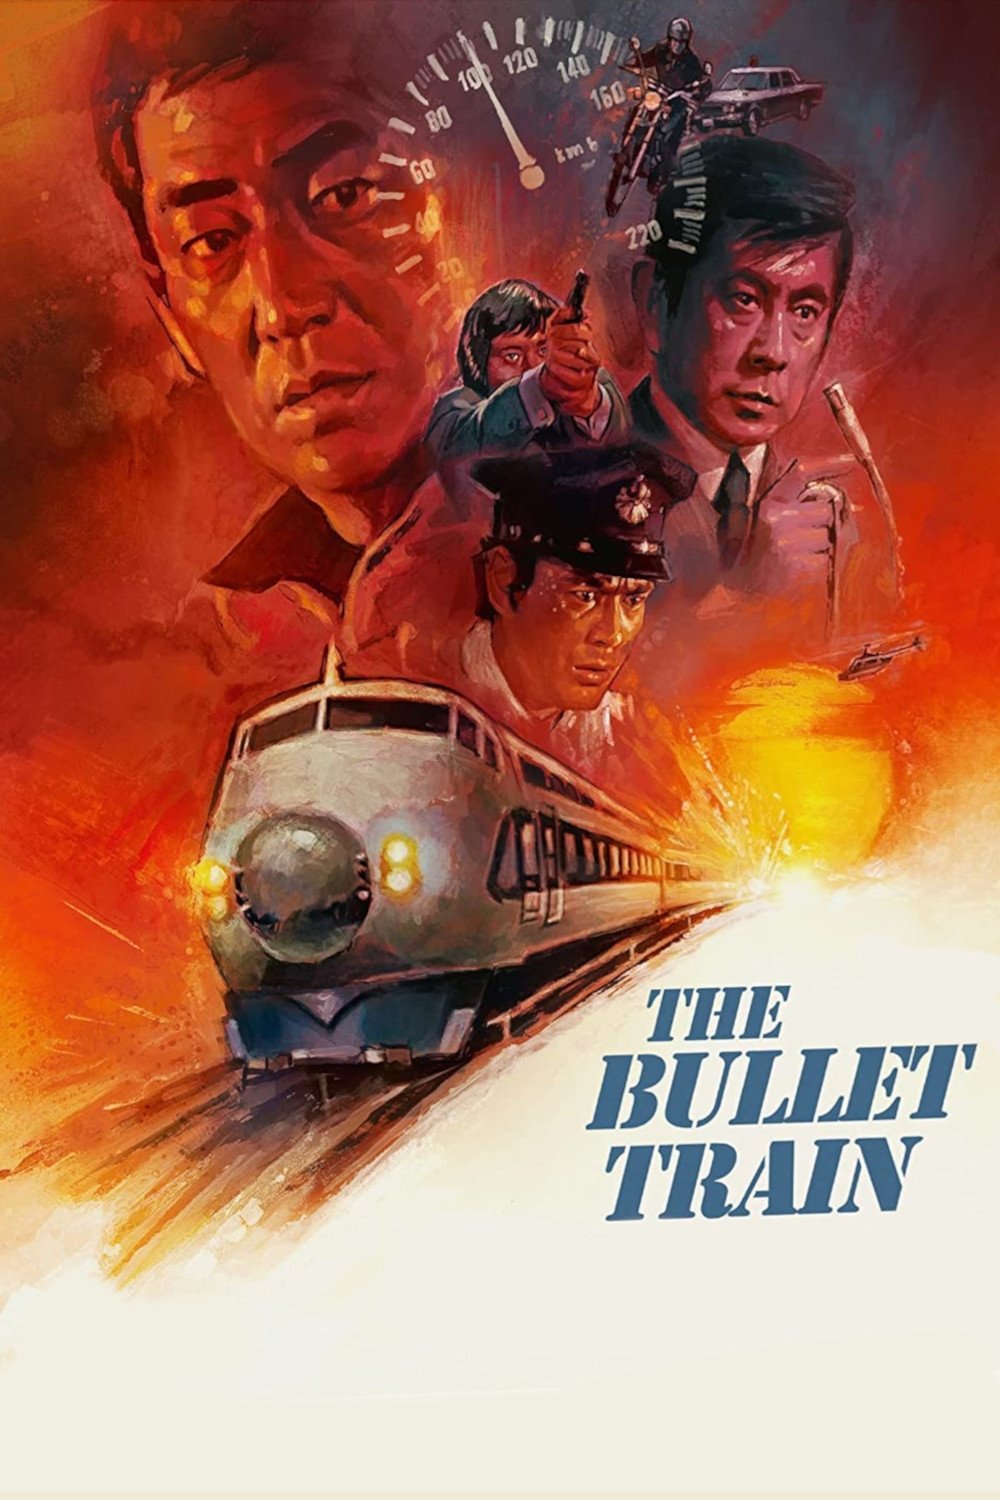
A Japanese bullet train is threatened with a bomb that will explode automatically if the train slows below 80 km/h, unless a ransom is paid. Police race to find the bombers so the train crew can learn how to defuse the bomb.