Story Structure — 5 Plot Phases
The Red Zone Assignment
Nash introduces his experienced four-man contractor team and its no one left behind principle. The team is assigned to extract Mohamed Asan from the dangerous lower quadrant of Sector 4.
Key Events
-
Nash Introduces His Mission — Nash identifies himself as a private military contractor with eight years of dangerous missions. Characters: Nash Olsen
Location: Military briefing area
-
The Four-Man Team — Nash describes a four-man team that has completed missions without losing a member. Characters: Nash Olsen, Brad, Scott
Location: Contractor staging area
-
No One Left Behind — The team adopts no one left behind as its guiding principle. Characters: Nash Olsen, Brad, Scott
Location: Contractor staging area
-
Extraction Assignment — The team receives orders to extract Mohamed Asan from the lower quadrant of Sector 4. Characters: Nash Olsen, Mohamed Asan
Location: Sector 4 briefing area
-
Entering The Red Zone — Nash and his men enter the region considered too dangerous for regular military forces. Characters: Nash Olsen, Brad, Scott
Location: Sector 4 red zone
Friendly Fire Disaster
Enemy forces concentrate around Mohamed, who escapes while the contractors remain trapped. Their friendly GPS signal is missed, leading to an air strike that nearly destroys the team.
Key Events
-
Entering The Red Zone — Nash and his men enter the region considered too dangerous for regular military forces. Characters: Nash Olsen, Brad, Scott
Location: Sector 4 red zone
-
Enemy Forces Concentrate — Enemy forces gather around Mohamed as the extraction operation becomes more difficult. Characters: Nash Olsen, Mohamed Asan, Brad, Scott
Location: Sector 4 combat area
-
Mohamed Escapes — Mohamed escapes while Nash's contractors remain trapped inside the combat zone. Characters: Nash Olsen, Mohamed Asan
Location: Sector 4 combat area
-
Friendly Signal Missed — The contractors' friendly GPS signal is not identified in time. Characters: Nash Olsen, Brad, Scott
Location: Sector 4 combat area
-
Air Strike Launched — An air strike is launched against the zone containing the trapped contractors. Characters: Nash Olsen, Brad, Scott
Location: Sector 4 combat area
-
Team Nearly Destroyed — The strike kills nearly the entire team and leaves only one survivor. Characters: Nash Olsen, Brad, Scott
Location: Sector 4 combat area
-
Commanders Realize The Cost — Commanders realize their own forces may have destroyed the contractors they hired. Characters: Nash Olsen
Location: Military command area
A Promise Under Strain
Two months later, Nash remains haunted by the failed mission and argues with Tammy about his responsibilities as a father. The imprisoned contractors endure more than seventy days while hoping Nash will return.
Key Events
-
Two Months Later — Two months later, Nash remains haunted by the failed mission and the men left behind. Characters: Nash Olsen, Tammy Olsen
Location: Nash's personal surroundings
-
Tammy Challenges Nash — Tammy urges Nash to focus on their son and abandon the rescue effort. Characters: Nash Olsen, Tammy Olsen
Location: Nash's personal surroundings
-
Nash Chooses Rescue — Nash insists that nobody else will save his surviving teammates. Characters: Nash Olsen, Tammy Olsen
Location: Nash's personal surroundings
-
Captives Endure Seventy Days — The captured contractors spend more than seventy days imprisoned and fear execution. Characters: Brad, Scott
Location: Enemy prison hideout
-
Hope For Nash's Return — The prisoners continue believing that Nash will return instead of leaving them behind. Characters: Brad, Scott
Location: Enemy prison hideout
The One-Man Rescue
Nash gathers weapons, explosives, transportation, and intelligence for a solo rescue. He follows a delivered map toward the military cache and the enemy hideout.
Key Events
-
Nash Arms Himself — Nash prepares weapons, ammunition, explosives, and transportation for a one-man rescue mission. Characters: Nash Olsen
Location: Mission preparation area
-
The Rescue Information — Nash obtains information about military caches, enemy movements, and the captors' hideout. Characters: Nash Olsen
Location: Mission preparation area
-
Following The Delivered Map — Nash makes contact with Delta and follows the delivered map toward the cache and prisoners. Characters: Nash Olsen
Location: Route toward the military cache
Escape Without Closure
Nash assaults the hideout and reunites with the trapped contractors, but the escape is devastated by Brad's fatal wound and the report of Scott's death. The surviving men flee in a truck while the final outcome remains unresolved.
Key Events
-
Assault On The Hideout — Nash assaults the captors' hideout and reunites with the trapped contractors. Characters: Nash Olsen, Brad, Scott
Location: Enemy prison hideout
-
Escape Under Fire — Nash orders the rescued men to move while enemy fire continues. Characters: Nash Olsen, Brad, Scott
Location: Area outside the enemy hideout
-
Brad Is Fatally Wounded — Brad is shot and fatally wounded during the attempted escape. Characters: Nash Olsen, Brad
Location: Escape route
-
Nash Refuses To Leave Brad — Nash refuses to accept Brad's death until escape becomes impossible. Characters: Nash Olsen, Brad
Location: Escape route
-
Scott Reported Killed — Scott is reported to have been killed by the enemy during the escape. Characters: Nash Olsen, Scott
Location: Escape route
-
Truck Escape Remains Unresolved — Nash and the surviving men flee in a truck, but the final outcome remains unresolved. Characters: Nash Olsen, Brad, Scott
Location: Truck escape route
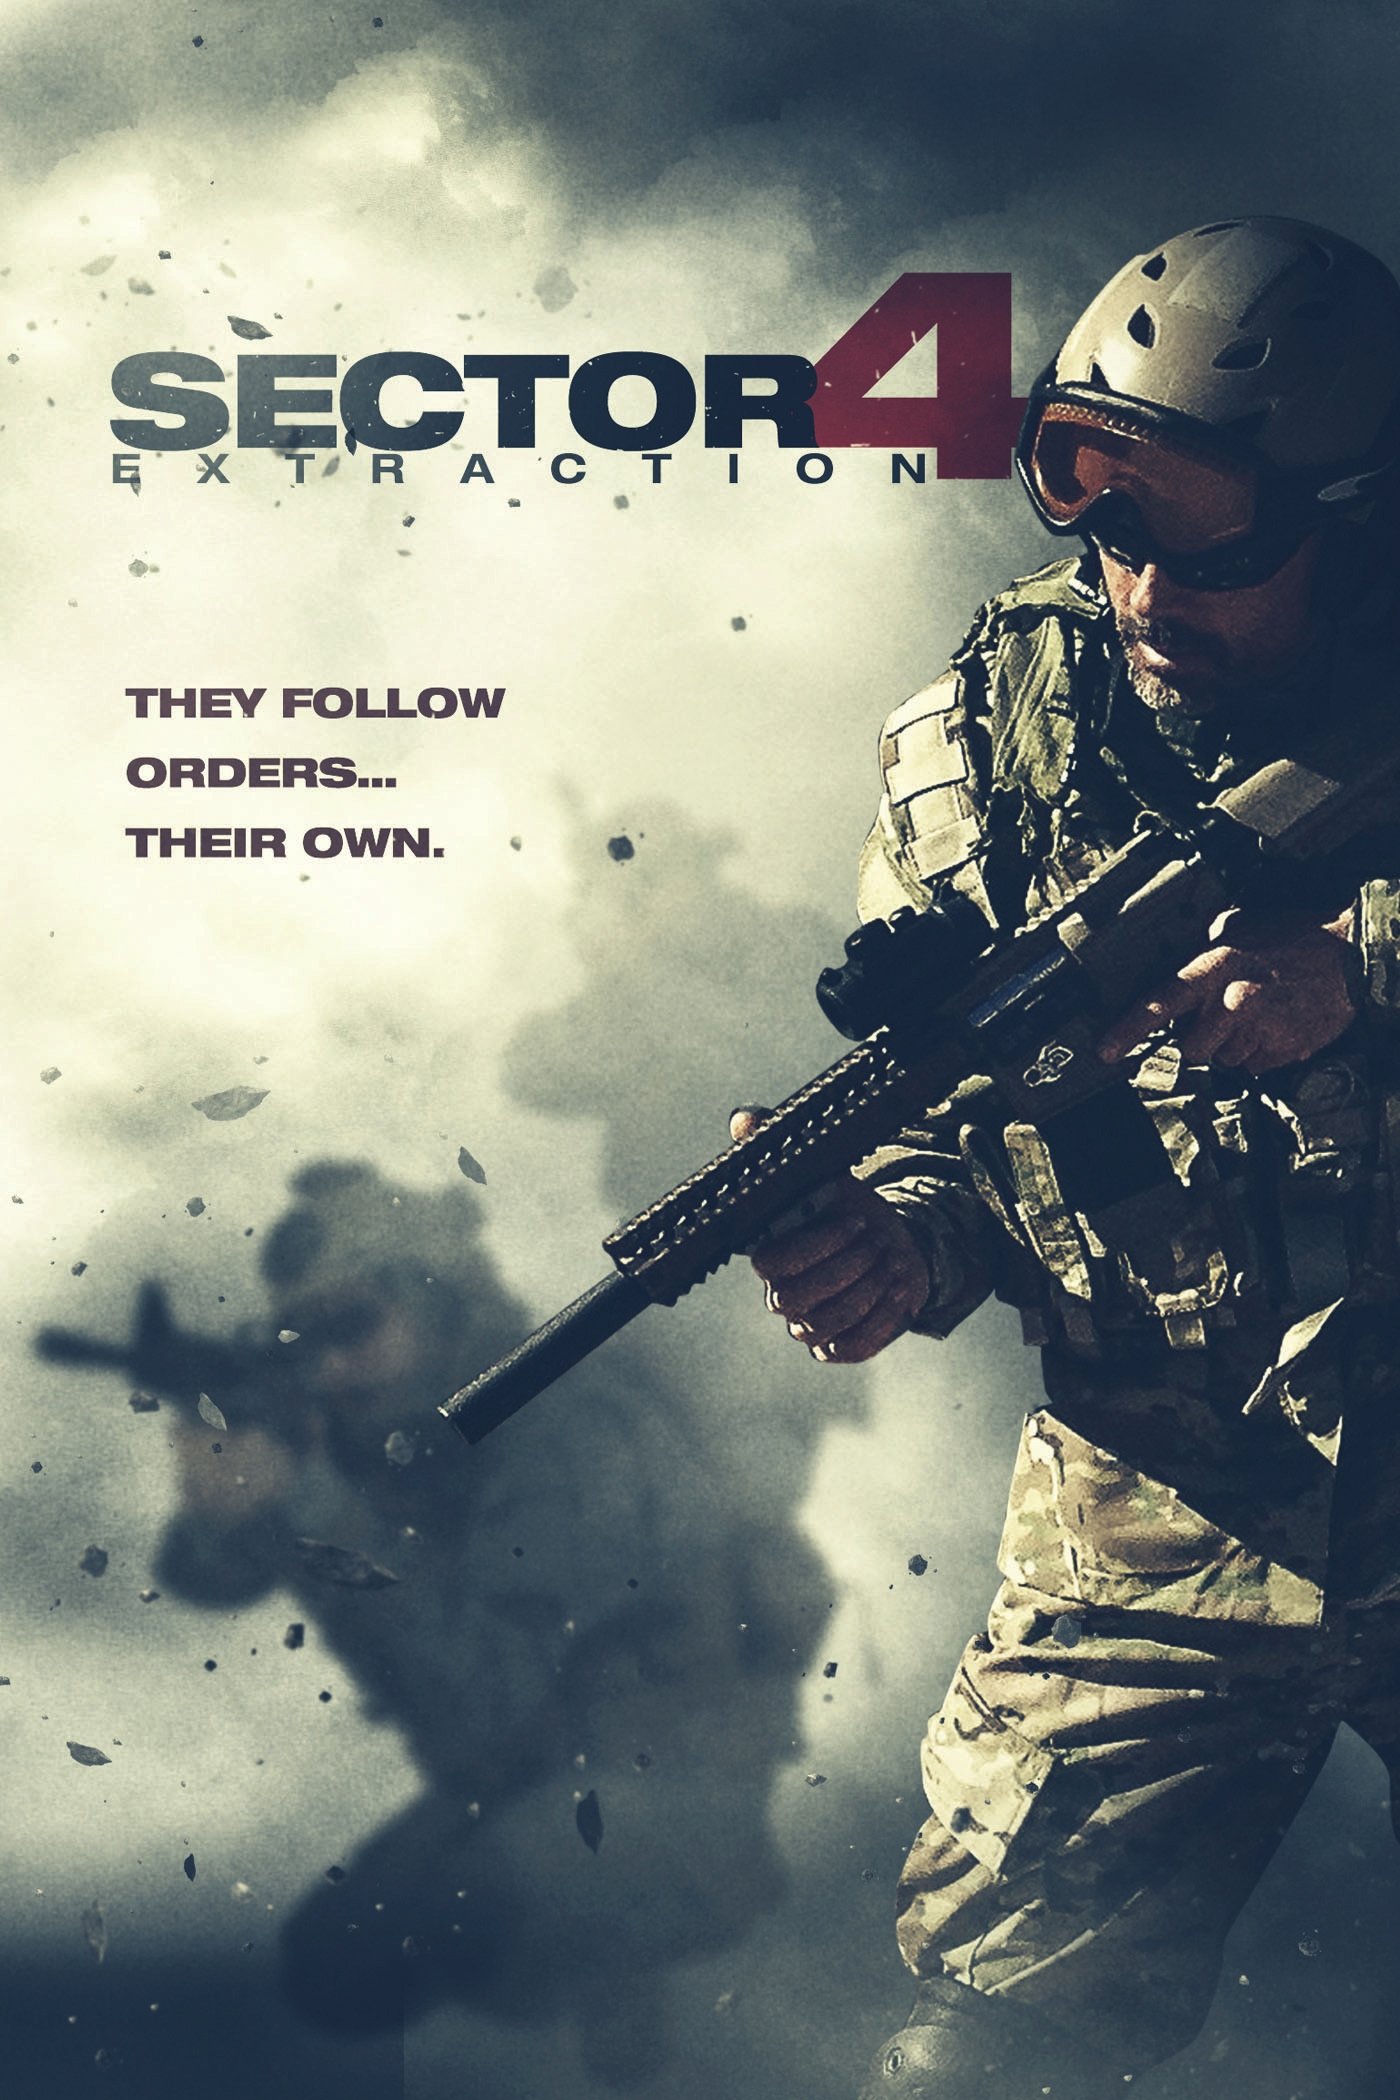
When an elite band of private mercenaries known as Black Knight gets caught behind enemy lines in a Middle East combat zone, their only hope for survival lies with the team leader, who has escaped but vows to return.