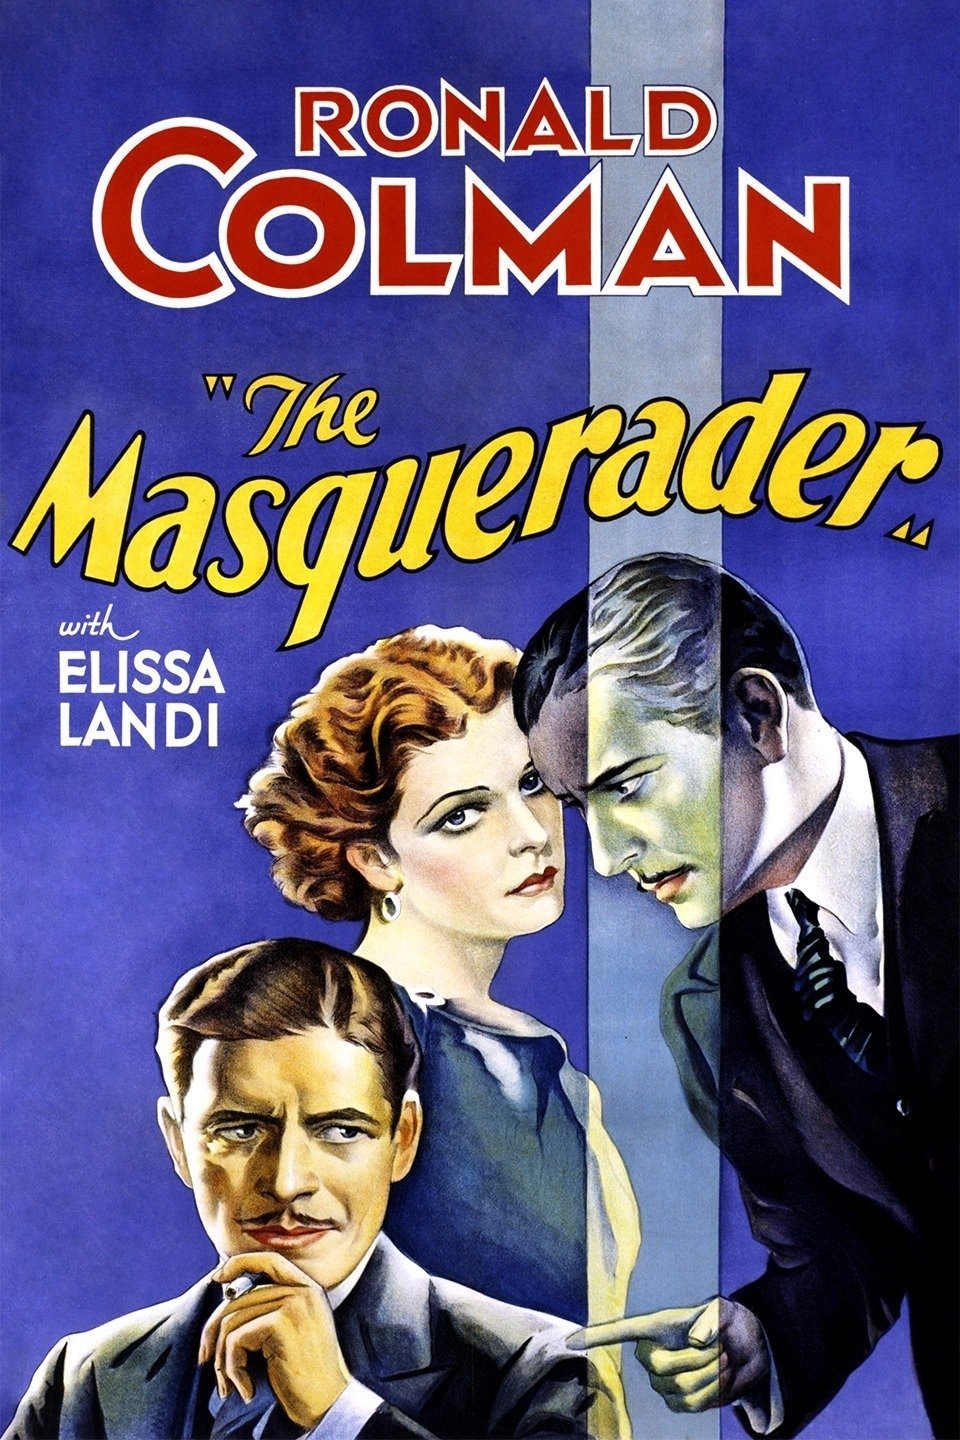
Plot Analysis Summary
A failing politician's lookalike cousin assumes his identity, wins public success, and inherits the emotional consequences of the deception.
Story Structure — 5 Plot Phases
Collapse Beneath the Spotlight
Political unrest frames Sir John's public failure in Parliament. His collapse, drug use, and threatened political future reveal a crisis that he cannot manage openly.
Key Events
-
Workers Demand Employment — Civil unrest grows as unemployed workers demand work while the government refuses intervention. Characters: Fraser, Lakely
Location: England
-
Parliamentary Collapse — The politician collapses at the beginning of a speech intended to attack government inaction. Characters: Sir John Chilcote / John Loder, Fraser, Lakely
Location: Parliament
-
Refusal of Medical Help — He revives, refuses a doctor, and takes something in a drink. Characters: Sir John Chilcote / John Loder, Doctor
Location: Parliament
-
Political Future Threatened — Fraser demands that Sir John attend a meeting about his political future. Characters: Sir John Chilcote / John Loder, Fraser
Location: Party offices
-
Fogbound Cousins Meet — Walking home, Sir John encounters his lookalike journalist cousin, who condemns his parliamentary performance. Characters: Sir John Chilcote / John Loder
Location: London fog
The Lookalike's Dangerous Offer
Sir John encounters his journalist cousin in the London fog and turns to him after further professional and personal deterioration. The proposed impersonation transforms private resemblance into a public scheme.
Key Events
-
Mistress Confronts Neglect — Sir John visits Lady Diana, whose relationship with him is already damaged by his neglect. Characters: Sir John Chilcote / John Loder, Lady Diana Joyce
Location: Lady Diana's residence
-
A Final Speaking Chance — The party and newspaper editor allow one more speech despite Sir John's failures. Characters: Fraser, Lakely, Sir John Chilcote / John Loder
Location: Political offices
-
Drug Addiction Revealed — Sir John's drug addiction and deteriorating health become clear to those around him. Characters: Sir John Chilcote / John Loder, Doctor, Brock
Location: Chilcote residence
-
Shipyard Manager Fired — Sir John neglects his shipyards and fires his business manager. Characters: Sir John Chilcote / John Loder, Brock
Location: Chilcote shipyards
-
The Masquerade Proposed — Sir John persuades his lookalike cousin to impersonate him and deliver the speech. Characters: Sir John Chilcote / John Loder
Location: Chilcote residence
Triumph Behind a False Face
Brock discovers the secret but helps Loder deliver the speech. The performance succeeds, and the continuing masquerade expands from Parliament to the shipyards.
Key Events
-
Brock Discovers the Secret — Brock finds the cousins together, identifies Loder, and notices his First World War wrist scar. Characters: Sir John Chilcote / John Loder, Brock
Location: Chilcote residence
-
Impersonator Takes Parliament — Loder delivers an impassioned speech that becomes a rousing political success. Characters: Sir John Chilcote / John Loder, Brock, Fraser, Lakely
Location: Parliament
-
Masquerade Continues — Sir John's condition fails to improve, forcing Loder to continue the public deception. Characters: Sir John Chilcote / John Loder, Brock, Fraser, Lakely
Location: London political offices
-
Shipyard Strike Settled — Acting as Sir John, Loder settles the strike at the shipyards. Characters: Sir John Chilcote / John Loder, Brock
Location: Chilcote shipyards
The Scar at the Nightclub
Loder's feelings for Sir John's estranged wife deepen while Lady Diana investigates his absence. Her nightclub accusation nearly destroys the deception, but the apparent evidence fails when Sir John appears.
Key Events
-
Forbidden Kiss Interrupted — Loder embraces and kisses Sir John's estranged wife but stops himself before fully surrendering to the deception. Characters: Sir John Chilcote / John Loder
Location: Chilcote residence
-
Private Investigation Begins — Lady Diana hires a private detective to investigate the apparent Sir John's neglect of her. Characters: Lady Diana Joyce, Sir John Chilcote / John Loder
Location: London
-
Nightclub Accusation — Lady Diana confronts the apparent Sir John with a police inspector and publicly claims he is an impostor. Characters: Lady Diana Joyce, Sir John Chilcote / John Loder, Brock, Fraser, Lakely
Location: Nightclub
-
Scar Identifies Loder — Lady Diana dances with the unwilling Loder and recognizes the scar on his wrist. Characters: Lady Diana Joyce, Sir John Chilcote / John Loder, Fraser, Lakely
Location: Nightclub
-
False Exposure Collapses — Loder hides when the real Sir John arrives, and Lady Diana is discredited when no scar appears on Sir John's wrist. Characters: Lady Diana Joyce, Sir John Chilcote / John Loder, Brock, Fraser, Lakely
Location: Nightclub
A Death That Seals the Masquerade
Sir John dies before the truth can be publicly settled. Brock reveals the identity confusion, and Loder remains after learning that the estranged wife knows the secret.
Key Events
-
Sir John's Death — Sir John dies, and Brock tells the late-arriving doctor that the deceased's name is John Loder. Characters: Sir John Chilcote / John Loder, Brock, Doctor
Location: Chilcote residence
-
Truth Offered to Eve — Loder plans to end the deception but discovers that Brock has already revealed everything to the estranged wife. Characters: Sir John Chilcote / John Loder, Brock
Location: Chilcote residence
-
Loder Chooses to Stay — The estranged wife asks Loder to remain, and he accepts the life created by the masquerade. Characters: Sir John Chilcote / John Loder, Brock
Location: Chilcote residence