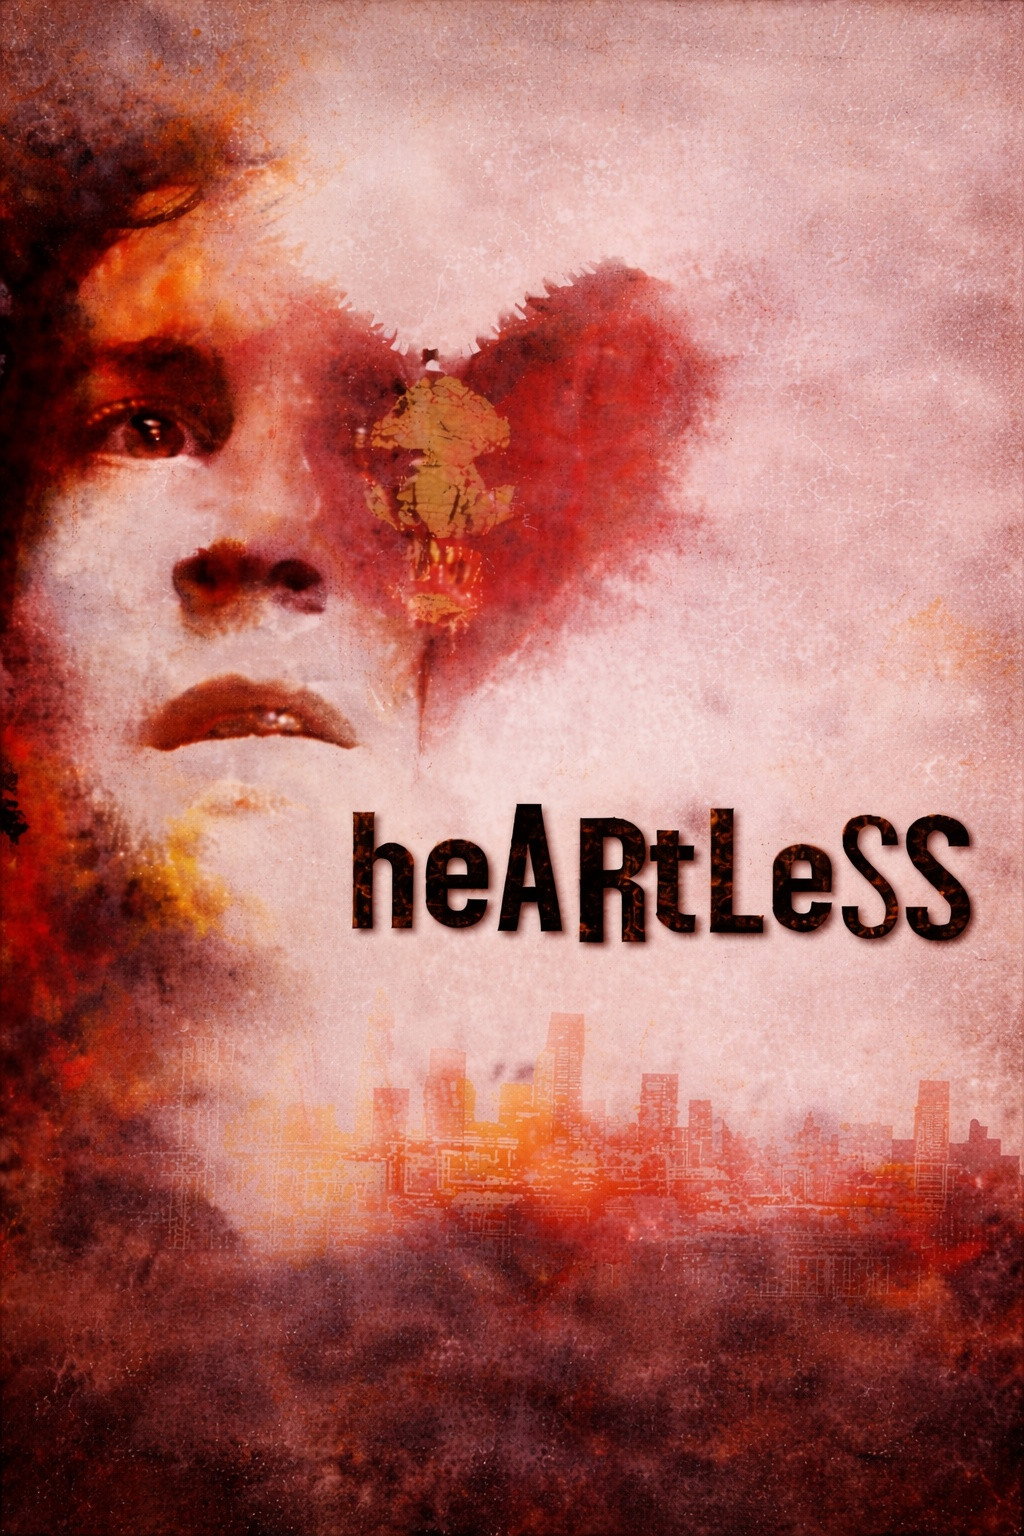
A lonely photographer enters a destructive bargain for acceptance and ultimately confronts the uncertainty of reality, guilt, and identity.
Story Structure — 5 Plot Phases
A Face In The Dark
Jamie lives as an isolated photographer and meets Tia. His investigation of a disturbing face leads him to hooded vandals with apparently demonic features.
Key Events
Jamie Faces Alienation — Jamie works as a lonely photographer while alienation and bullying shape his life. Characters: Jamie MorganLocation: Photographic studio
Jamie Meets Tia — Jamie meets aspiring model Tia at the studio he shares with his family. Characters: Jamie Morgan, TiaLocation: Photographic studio
The Face In The Window — Jamie notices a disturbing face watching him from a house window in a developed image. Characters: Jamie MorganLocation: House window
The Hooded Vandals — Jamie follows a suspicious man and sees hooded vandals gathered around a fire. Characters: Jamie MorganLocation: Neighborhood fire site
The Demonic Face — A hooded figure reveals a lizard-like demonic face with huge pin-like teeth. Characters: Jamie MorganLocation: Neighborhood fire site
The Gang's Violence
Reports of Molotov murders and A.J.'s mutilation reveal that the threat is spreading through the neighborhood. Jamie and his mother are then attacked, leaving him traumatized and desperate.
Key Events
The Demonic Face — A hooded figure reveals a lizard-like demonic face with huge pin-like teeth. Characters: Jamie MorganLocation: Neighborhood fire site
Murders Spread — Jamie learns that horrific neighborhood murders have been committed with Molotov cocktails. Characters: Jamie MorganLocation: Neighborhood
A.J. Is Found Wounded — A.J. appears with a severe claw-like wound before parts of his body are discovered. Characters: Jamie Morgan, A.J.Location: Neighborhood
The Mother Is Killed — The demonic gang attacks Jamie and his mother; she is immolated while Jamie is beaten. Characters: Jamie MorganLocation: Neighborhood street
The Voice In The Dream — While unconscious, Jamie sees a man in a dream and later hears the same voice on the phone. Characters: Jamie MorganLocation: Hospital
The Faustian Transformation
A mysterious voice brings Jamie to Papa B, who offers a bargain based on removing his birthmark. Jamie accepts, survives self-immolation, and briefly experiences renewed confidence.
Key Events
The Voice In The Dream — While unconscious, Jamie sees a man in a dream and later hears the same voice on the phone. Characters: Jamie MorganLocation: Hospital
Papa B's Bargain — Papa B offers to remove Jamie's birthmarks in exchange for acts that spread chaos. Characters: Jamie Morgan, Papa BLocation: Papa B's apartment
Jamie Burns Himself — Jamie follows Papa B's instruction, immolates himself, survives, and reveals apparently perfect skin. Characters: Jamie Morgan, Papa BLocation: Papa B's apartment
A Day With Tia — A confident Jamie spends the day with Tia in the park where his father taught him photography. Characters: Jamie Morgan, TiaLocation: Park
Love Under Threat
Jamie grows closer to Tia but is forced toward murder by the Weapons Man. The hidden plan involving the safe is exposed, and Tia is killed during the resulting struggle.
Key Events
A Day With Tia — A confident Jamie spends the day with Tia in the park where his father taught him photography. Characters: Jamie Morgan, TiaLocation: Park
The Murder Demand — The Weapons Man tortures Jamie and demands that he kill a street hustler. Characters: Jamie Morgan, Weapons ManLocation: Street
Jamie And Tia Become Lovers — Jamie and Tia become lovers while Jamie temporarily hopes for a better life. Characters: Jamie Morgan, TiaLocation: Jamie’s home
The Safe Scheme Revealed — Tia's request exposes her earlier connection to a plan involving Jamie's safe and jewelry. Characters: Jamie Morgan, TiaLocation: Photographic studio
Tia Is Shot — During the struggle around the safe, Tia is accidentally shot and killed. Characters: Jamie Morgan, TiaLocation: Photographic studio
The Mark Returns
Jamie kills the clawed gang leader and discovers that his birthmark has returned. He confronts Papa B's forces, then reaches an ambiguous final vision as he burns.
Key Events
Tia Is Shot — During the struggle around the safe, Tia is accidentally shot and killed. Characters: Jamie Morgan, TiaLocation: Photographic studio
Jamie Fights The Clawed Gang Leader — Jamie is pursued by a gang leader with a metallic claw and fights back until the attacker dies. Characters: Jamie MorganLocation: Neighborhood
The Birthmark Returns — Jamie sees in a mirror that his birthmark has returned, suggesting it may never have disappeared. Characters: Jamie MorganLocation: Indoor room
Papa B Reveals Himself — Jamie fights Papa B's minions, faces Papa B's larger true form, and runs away. Characters: Jamie Morgan, Papa BLocation: Indoor room
The Final Burning — Jamie is caught by a Molotov cocktail, sees a vision of his father, and ascends into bright light. Characters: Jamie MorganLocation: Street
Story Breakdown
Lonely Photographer — Jamie begins isolated from ordinary social and romantic life while working with cameras and photographs.
Facial Birthmark — A large birthmark contributes to Jamie's alienation and motivates his later bargain.
Meeting Tia — Tia enters Jamie's life as an aspiring model at his photographic studio.
Demonic Neighborhood — Strange images, hooded vandals, and ritualized murders turn Jamie's surroundings into a place of dread.
Window Apparition — A disturbing face appears in a house window during Jamie's examination of photographs.
Molotov Murders — A series of neighborhood killings connects the apparent demons with fire and destruction.
Family Tragedy — The supernatural violence reaches Jamie directly and destroys the remaining security of his home life.
A.J. Attacked — Jamie’s neighbor and friend develops a claw-like wound before his body is discovered in pieces.
Mother Immolated — Jamie watches helplessly as the gang burns his mother and leaves him badly beaten.
Faustian Bargain — Papa B exploits Jamie's grief and appearance-related desperation through a promise of transformation.
Papa B's Offer — Papa B offers to remove Jamie's birthmarks in exchange for acts of chaos.
Burned Rebirth — Jamie immolates himself and appears to emerge with unblemished skin.
Love And Coercion — Jamie experiences romance with Tia while supernatural forces increasingly demand that he commit violence.
Weapons Man — The Weapons Man tortures Jamie and demands that he kill a living victim.
Romance With Tia — Jamie and Tia become lovers while he hopes that his life can improve.
Betrayal And Loss — The safe scheme is exposed, Tia dies, and Jamie's apparent transformation begins to collapse.
Safe Scheme — Tia's request concerning the work safe reveals her earlier involvement in a jewelry theft plan.
Tia's Death — Tia is accidentally shot during the confrontation around the safe.
Reality Unravels — Jamie confronts the apparent supernatural hierarchy and receives signs that his experiences may be uncertain or imagined.
Returning Birthmark — Jamie sees that the birthmark has returned, suggesting the bargain never fulfilled its promise.
Papa B Confronted — Jamie fights Papa B's minions and faces Papa B's larger true form.
Final Vision — Jamie is burned in the street and experiences a final vision connected to darkness, stars, and his father.
Masked Attackers — Ordinary sack masks make Jamie question whether the apparent demons were real.
Stars In Darkness — A vision of Jamie's father accompanies his burning and ascent into bright light.
Jamie Morgan is a troubled young man with a facial birthmark, which has left him isolated and fearful, hiding from the world outside. He lives in the East End, notorious for its violent hooded gangs. According to news reports, the gangs are now wearing demon masks. But, one night, after the murder of his mother, Jamie discovers the terrifying truth.