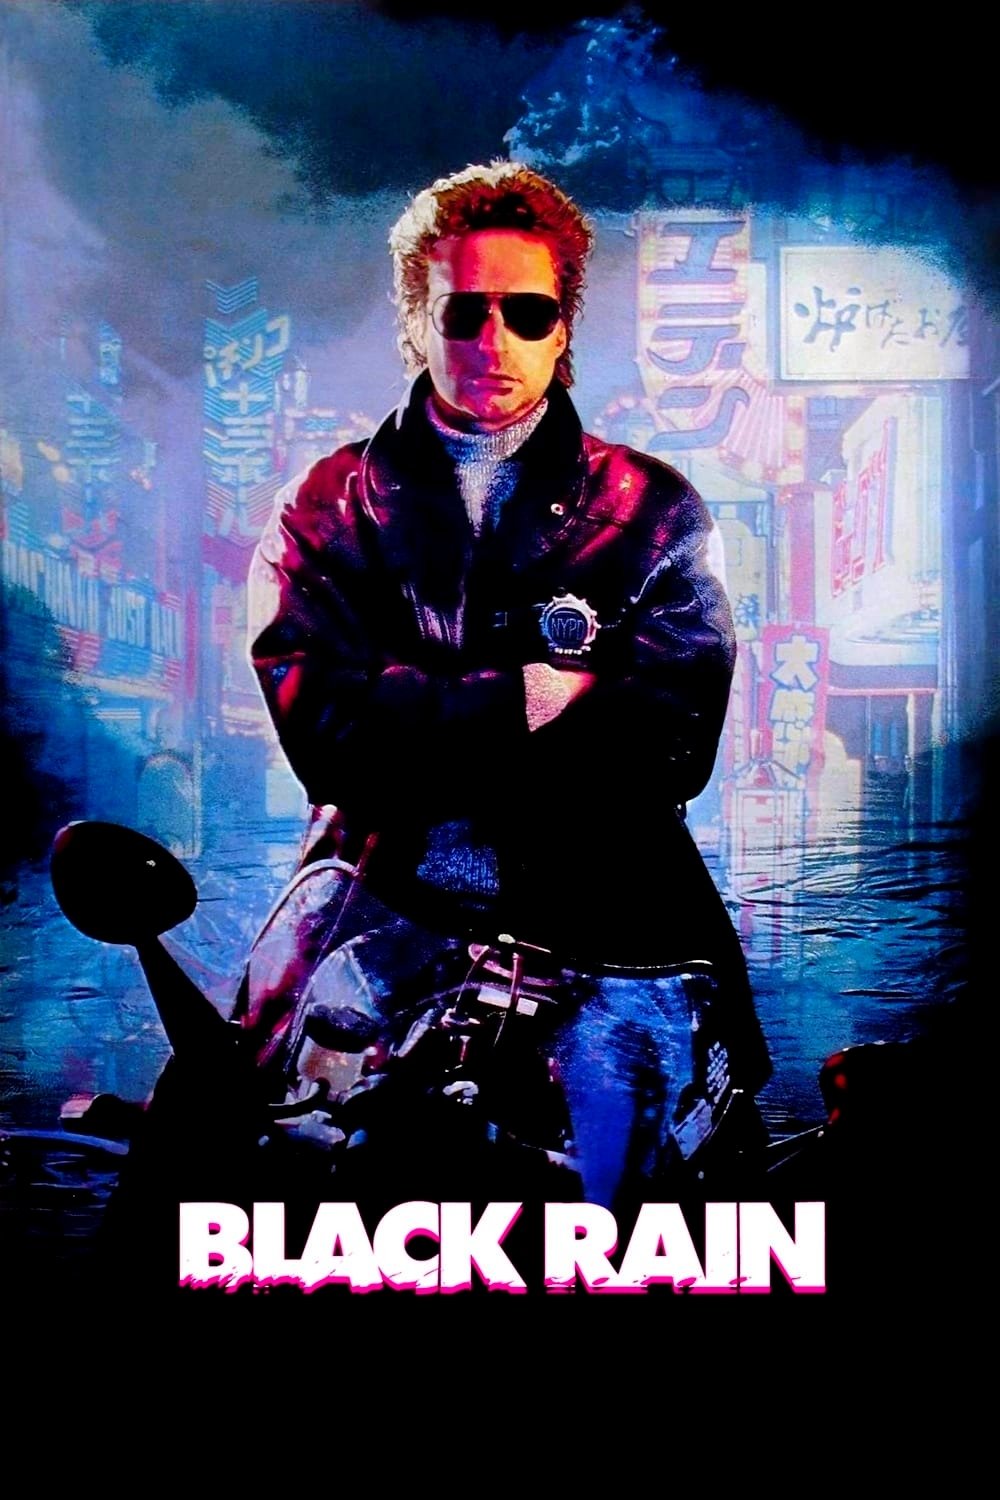
Plot Analysis Summary
An embattled detective pursues Sato through Osaka's yakuza conflict while confronting grief, corruption, cultural violence, and his own moral choices.
Story Structure — 5 Plot Phases
A Package From New York
Nick and Charlie confront professional suspicion while witnessing Sato's violent seizure of a mysterious package. Their arrest of Sato sends the detectives from New York to Osaka.
Key Events
-
Internal Affairs Interview — Internal Affairs questions Nick over allegedly stolen drug-bust evidence money. Characters: Nick Conklin
Location: New York
-
Mafioso Lunch Ambush — Nick and Charlie witness Sato kill Japanese men and seize a small package. Characters: Nick Conklin, Charlie Vincent, Sato
Location: New York restaurant
-
Sato Arrested — Nick and Charlie arrest Sato after the restaurant killings. Characters: Nick Conklin, Charlie Vincent, Sato
Location: New York
-
Escort to Osaka — The two detectives escort Sato to Osaka under Japanese orders. Characters: Nick Conklin, Charlie Vincent, Sato
Location: Airplane
-
Airport Deception — Yakuza disguised as police officers trick the detectives into surrendering Sato. Characters: Nick Conklin, Charlie Vincent, Sato
Location: Osaka airport
Osaka's False Welcome
The detectives lose Sato to criminals disguised as police officers but obtain permission to observe the Osaka investigation. Joyce introduces the gang war, while counterfeit bills reveal a larger criminal conflict.
Key Events
-
Airport Deception — Yakuza disguised as police officers trick the detectives into surrendering Sato. Characters: Nick Conklin, Charlie Vincent, Sato
Location: Osaka airport
-
Joint Investigation Approved — Nick and Charlie persuade Osaka police to let them observe the investigation. Characters: Nick Conklin, Charlie Vincent, Masahiro
Location: Osaka police headquarters
-
Joyce Reveals Gang War — Joyce tells Nick that Sato is fighting Sugai's powerful gang. Characters: Nick Conklin, Joyce
Location: Osaka nightclub
-
Unauthorized Police Raid — Nick and Charlie join a raid without permission, and Nick takes several bills. Characters: Nick Conklin, Charlie Vincent, Masahiro
Location: Osaka crime scene
-
Counterfeit War Identified — Nick proves the bills belong to a counterfeiting war between rival groups. Characters: Nick Conklin, Masahiro
Location: Osaka police headquarters
The Cost of Pursuit
Charlie is lured into a parking garage and killed by Sato. Nick confesses his own misconduct, traces Sato to Sugai, and discovers the importance of the printing plate.
Key Events
-
Charlie Lured Underground — A motorcyclist steals Charlie's coat and lures him into a parking garage. Characters: Nick Conklin, Charlie Vincent
Location: Underground parking garage
-
Charlie Is Killed — A biker gang attacks Charlie before Sato appears and decapitates him. Characters: Nick Conklin, Charlie Vincent, Sato
Location: Underground parking garage
-
Nick Confesses Misconduct — Nick admits to Masahiro that he stole money during the New York drug raid. Characters: Nick Conklin, Masahiro
Location: Osaka
-
Hostess Trail — Nick and Masahiro follow a hostess who is their only clue to Sato. Characters: Nick Conklin, Masahiro, Joyce
Location: Osaka
-
Foundry Negotiation — Sato offers Sugai the stolen plate half in exchange for becoming oyabun. Characters: Nick Conklin, Masahiro, Sato, Sugai
Location: Steel foundry
-
Nick Arrested and Deported — Nick is arrested for carrying a gun publicly and deported; Masahiro is suspended and demoted. Characters: Nick Conklin, Masahiro, Sato
Location: Osaka
Black Rain and Revenge
After deportation, Nick secretly returns and learns Sugai's historical motive for counterfeiting. Nick and Masahiro reunite at a remote farm to expose Sato's planned massacre.
Key Events
-
Nick Arrested and Deported — Nick is arrested for carrying a gun publicly and deported; Masahiro is suspended and demoted. Characters: Nick Conklin, Masahiro, Sato
Location: Osaka
-
Nick Returns Alone — Nick sneaks off the plane and returns to Osaka to continue pursuing Sato. Characters: Nick Conklin
Location: Airplane and Osaka
-
Sugai's Hiroshima Revelation — Sugai explains his counterfeit revenge scheme and his resentment over the black rain. Characters: Nick Conklin, Sugai, Joyce
Location: Osaka
-
Farm Strategy Meeting — Nick and Masahiro identify Sato's disguised men and deduce a planned massacre. Characters: Nick Conklin, Masahiro
Location: Remote farm
The Plates and the Choice
Sato betrays Sugai, triggering a gang gunfight and a motorcycle pursuit. Nick defeats Sato, refuses to execute him, and later secretly returns both plates to Masahiro.
Key Events
-
Truce Betrayed — Sato wounds Sugai during the truce and escapes with both printing plates. Characters: Nick Conklin, Masahiro, Sato, Sugai
Location: Remote farm
-
Gang Gunfight — The rival gangs exchange gunfire as Sato flees with the plates. Characters: Nick Conklin, Masahiro, Sato, Sugai
Location: Remote farm
-
Motorcycle Pursuit — Nick pursues Sato by motorcycle after the gang battle. Characters: Nick Conklin, Sato
Location: Road near the farm
-
Nick Spares Sato — Nick defeats Sato in a fistfight but chooses not to kill him for Charlie's sake. Characters: Nick Conklin, Masahiro, Sato
Location: Rural road
-
Sato Returned to Police — Nick and Masahiro walk the handcuffed Sato into police headquarters. Characters: Nick Conklin, Masahiro, Sato
Location: Police headquarters
-
Hidden Plates Revealed — Nick gives Masahiro a gift containing both unrecovered printing plates. Characters: Nick Conklin, Masahiro
Location: Airport