Plot Analysis Summary
A combat crew confronts loss, mechanical danger, and moral responsibility as Michael grows into command.
Story Structure — 5 Plot Phases
Losses Over Gerbini
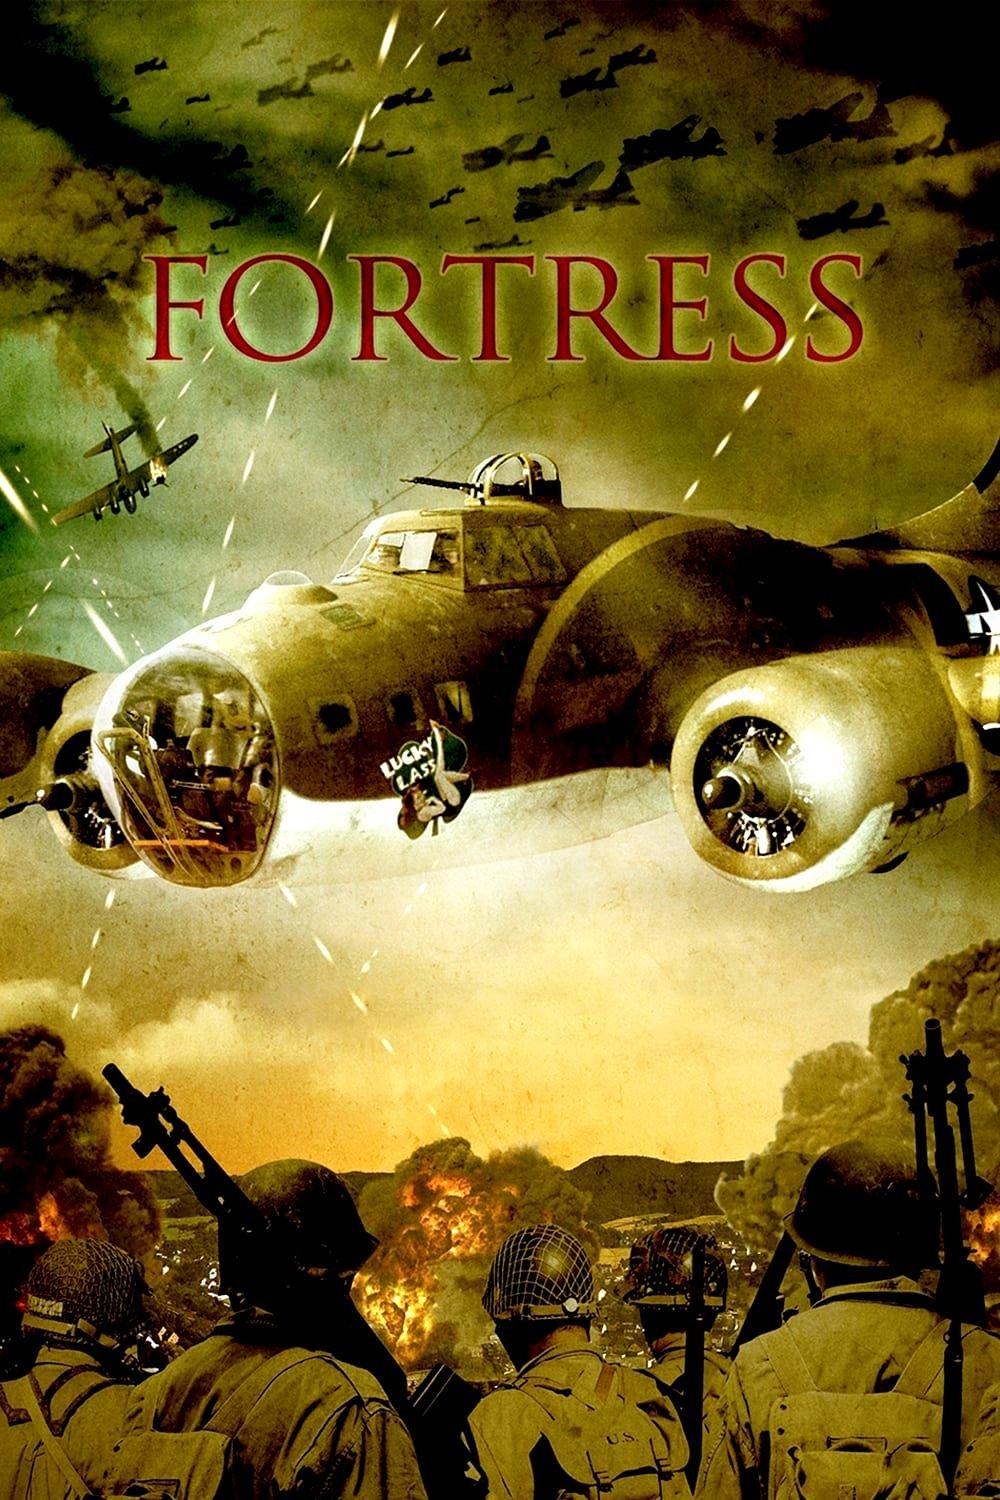
The Lucky Lass is introduced as a bomber facing extreme mission risk. A raid on Gerbini destroys the aircraft's stability and kills its pilot and waist gunners.
Key Events
-
Lucky Lass at Navrin — The bomber crew is stationed at Navrin during the 1943 campaign. Characters: Pop, Michael, Burt
Location: Navrin, Algeria
-
Twenty-Five Mission Rule — Crews must complete twenty-five missions despite poor survival odds. Characters: Michael, Burt
Location: Navrin air base
-
Gerbini Raid — The Lucky Lass is heavily damaged during the raid on Gerbini. Characters: Pop, Michael, Burt, Tom, Oliver
Location: Gerbini, Italy
-
Pop Is Killed — Pop and both waist gunners are killed during the damaged aircraft's return. Characters: Pop, Michael, Burt
Location: Gerbini airspace
A Jinx Among Crewmates
Michael joins the rebuilt crew and struggles to fit in. Navigation errors, engine trouble, and the destruction of the alcohol still cause the crew to distrust him.
Key Events
-
New Crew Assignments — Michael becomes co-pilot, while Tom and Oliver join as waist gunners. Characters: Michael, Burt, Tom, Oliver
Location: Navrin air base
-
Burt's Alcohol Still — Burt explains how the crew distills ethanol from aviation fuel. Characters: Burt, Michael, Tom, Oliver
Location: Lucky Lass ground quarters
-
Wake for the Fallen — The crew celebrates the aircraft's return to flight status and mourns its losses. Characters: Michael, Burt, Tom, Oliver, Caparelli
Location: Navrin air base
-
Michael Loses Formation — Michael takes control during a milk run and loses sight of the squadron. Characters: Michael, Burt, Tom, Oliver
Location: Clouds over the Mediterranean
-
Safe Return and Transfer Threat — Michael returns the crew safely and considers applying for a transfer. Characters: Michael, Burt, Tom, Oliver
Location: Navrin air base
-
Michael Takes the Seat — Michael is allowed to take the pilot's seat on the next mission. Characters: Michael, Burt, Tom, Oliver
Location: Lucky Lass cockpit
-
Engines Lose Power — The engines lose power, forcing the Lucky Lass to abort its milk run. Characters: Michael, Burt, Tom, Oliver
Location: Airspace near Messina
-
Still Explosion — The still is destroyed in a fiery explosion, and Michael is branded a jinx. Characters: Michael, Burt, Tom, Oliver
Location: Lucky Lass
-
Abort Saves Lives — The squadron returns heavily damaged, suggesting the aborted mission saved the crew. Characters: Michael, Burt, Tom, Oliver
Location: Navrin air base
Repair and Redemption
Michael forces a proper inspection that uncovers sand in the oil lines. He then protects Charlie at court-martial, earning acceptance from the crew.
Key Events
-
Lucky Lass Grounded — The aircraft is grounded and several crew members are reassigned. Characters: Michael, Burt, Charlie, Caparelli
Location: Navrin air base
-
Sand in Oil Lines — A renewed inspection finds sand fouling the aircraft's oil lines. Characters: Michael, Caparelli, Burt
Location: Lucky Lass maintenance area
-
Charlie Faces Court-Martial — Charlie faces charges after Monroe catches him stealing liquor. Characters: Michael, Charlie, Monroe
Location: Summary court-martial room
-
Michael Takes the Blame — Michael claims he ordered the alcohol for use as a cleaning solvent. Characters: Michael, Charlie, Caparelli, Monroe
Location: Summary court-martial room
-
O'Schmidt Celebration — Charlie is exonerated, and the crew declares Michael an honorary Irishman. Characters: Michael, Charlie, Burt, Caparelli
Location: Navrin air base
The Broken Return
The Rome mission initially succeeds when Burt releases the bombs despite being blinded. A midair collision, flak, deaths, and mechanical failures turn the return flight into a desperate survival struggle.
Key Events
-
Rome Mission Begins — The Lucky Lass flies another combat mission toward Rome. Characters: Michael, Burt, Tom, Oliver, Archie
Location: Airspace en route to Rome
-
Bomb Run Under Fire — Burt is blinded by shrapnel but successfully releases the bombs over the target. Characters: Michael, Burt, Tom, Oliver
Location: Over Rome
-
Collision in the Sky — A damaged bomber clips the Lucky Lass, sending it into an uncontrolled climb and spin. Characters: Michael, Burt, Tom, Oliver, Archie
Location: Airspace over Rome
-
Wally Is Killed — Ground fire destroys an engine and kills the aircraft commander during the struggle for control. Characters: Michael, Burt, Tom, Oliver, Archie
Location: Low altitude over Rome
-
Archie Joins the Cockpit — Michael brings Archie forward to help fly because Archie has flight-school experience. Characters: Michael, Archie, Burt
Location: Lucky Lass cockpit
-
Emergency Bailout Order — After the port landing gear falls away, Michael orders the crew to bail out. Characters: Michael, Burt, Tom, Oliver, Archie
Location: Lucky Lass over the sea
Command After Sacrifice
Archie sacrifices himself by flying the disintegrating bomber after pushing Michael to safety. Michael survives and begins a new command at Narvin.
Key Events
-
Archie's Final Flight — Archie pushes Michael out, then flies the bomber until it disintegrates. Characters: Michael, Archie
Location: Lucky Lass over the sea
-
Michael Becomes Commander — Michael, now a flight commander, receives a new replacement crew member. Characters: Michael
Location: Narvin air base